21 / 22
Using the Reset Button
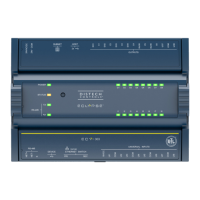
See the Status LED, DIP Switch, and Jumper Identification and Configuration [pg.6] for the location of the reset button. Depending on the amount of
time the reset button is held down, different actions are taken by the controller. The
STATUS
LED will turn off after each time interval.
Hold Reset For To
5 seconds Restart / reboot the controller.
10 seconds Reset both Ethernet and Wi-Fi IP addresses back to factory default settings.
20 seconds Reset the controller to its factory default settings. User accounts (user names and passwords) will also be reset to the
factory default settings and the controller license will be cleared.
If FIPS has been enabled on the controller, this will turn FIPS off.
Always backup the controller's license through the controller's Web interface before you hold the controller’s
reset button for 20 seconds. Once the controller reboots, you will have to install the license through the
controller's Web interface.
After you hold the controller’s reset button for 20 seconds, the controller’s HTTPS security certificates will be
regenerated. If you use HTTPS to connect to the controller, you will no longer be able to connect to the controller
from any PC that was used in the past to connect to the controller unless you delete the old HTTPS security
certificate from these PCs.
Maintenance
Turn off power before any kind of servicing. However, it is not necessary to remove power when hot-swapping
ECY IO module front assemblies (see Hot-swappable ECY IO Modules).
Regular Maintenance
Each controller requires minimal maintenance, but it is important to take note of the following:
£ Clean the outside of the controller by polishing it with a soft dry cloth.
£ Retighten terminal block connector screws annually to ensure the wires remain securely attached.
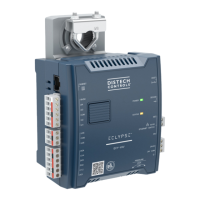
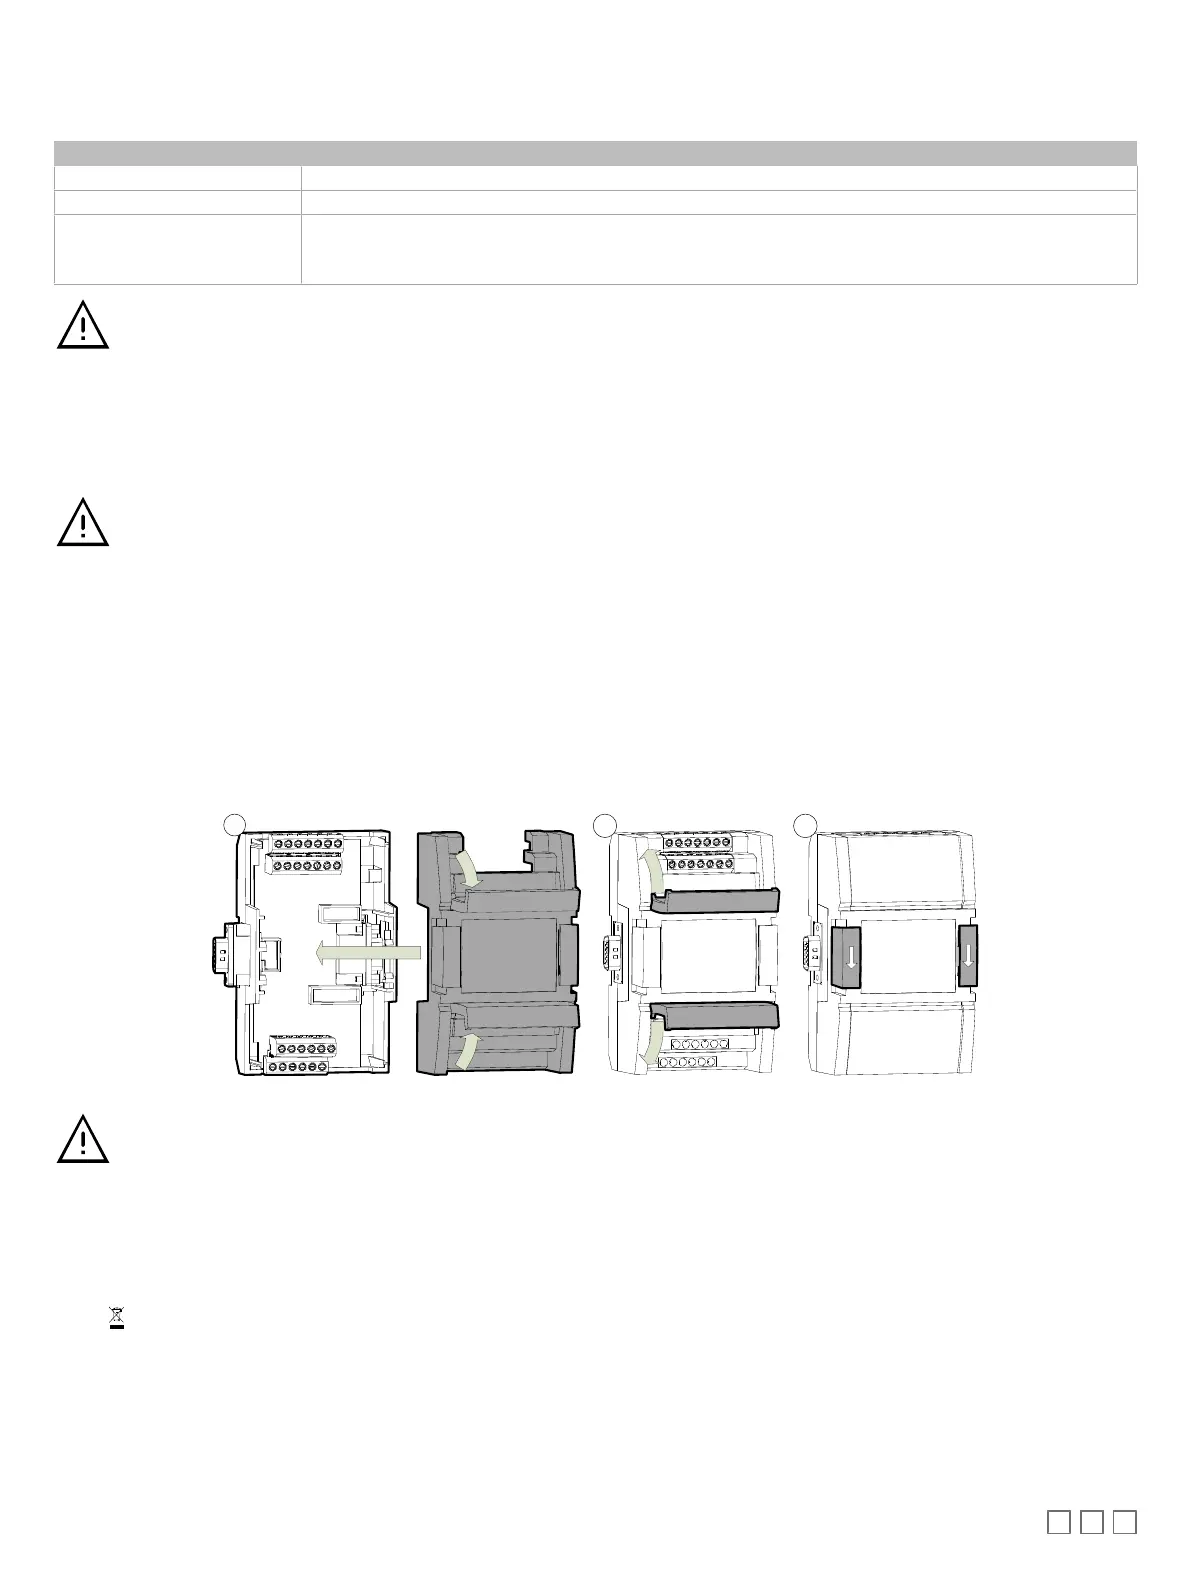
Hot-swappable ECY IO Modules
ECY IO module front assemblies are hot-swappable for easy maintenance (see Input and Output Overview [pg.13]). The front assembly of ECY IO mod-
ules separate from the base by pushing the two latches up to unlock a module’s front assembly and then opening and pulling the hinged gull-wing covers
(see Mounting Instructions [pg.8]). Avoid mismatching IO modules by matching the front assembly to the base assembly’s model label sticker on the
PCB. Install the new front assembly by raising the hinged gull-wing covers and seating the front assembly onto the base. Push down the hinged gull-wing
covers and push the two latches down to lock the module’s front assembly in place (see the figure below).
Figure28: Installing an ECY IO Module Front assembly
Risk of Electric Shock: The ECY-8DOR series are hot-swappable when hazardous voltages are not present.
Turn off power before any kind of servicing to avoid electric shock. This unit is to be serviced by trained
personnel only.
Disposal
The Waste Electrical and Electronic Equipment (WEEE) Directive sets out regulations for the recycling and disposal of products. The WEEE2002/96/EG
Directive applies to standalone products, for example, products that can function entirely on their own and are not a part of another system or piece of
equipment.
For this reason Distech Controls products are exempt from the WEEE Directive. Nevertheless, Distech Controls products are marked with the WEEE
symbol , indicating devices are not to be thrown away in municipal waste.
Products must be disposed of at the end of their useful life according to local regulations and the WEEE Directive.