15 - 9
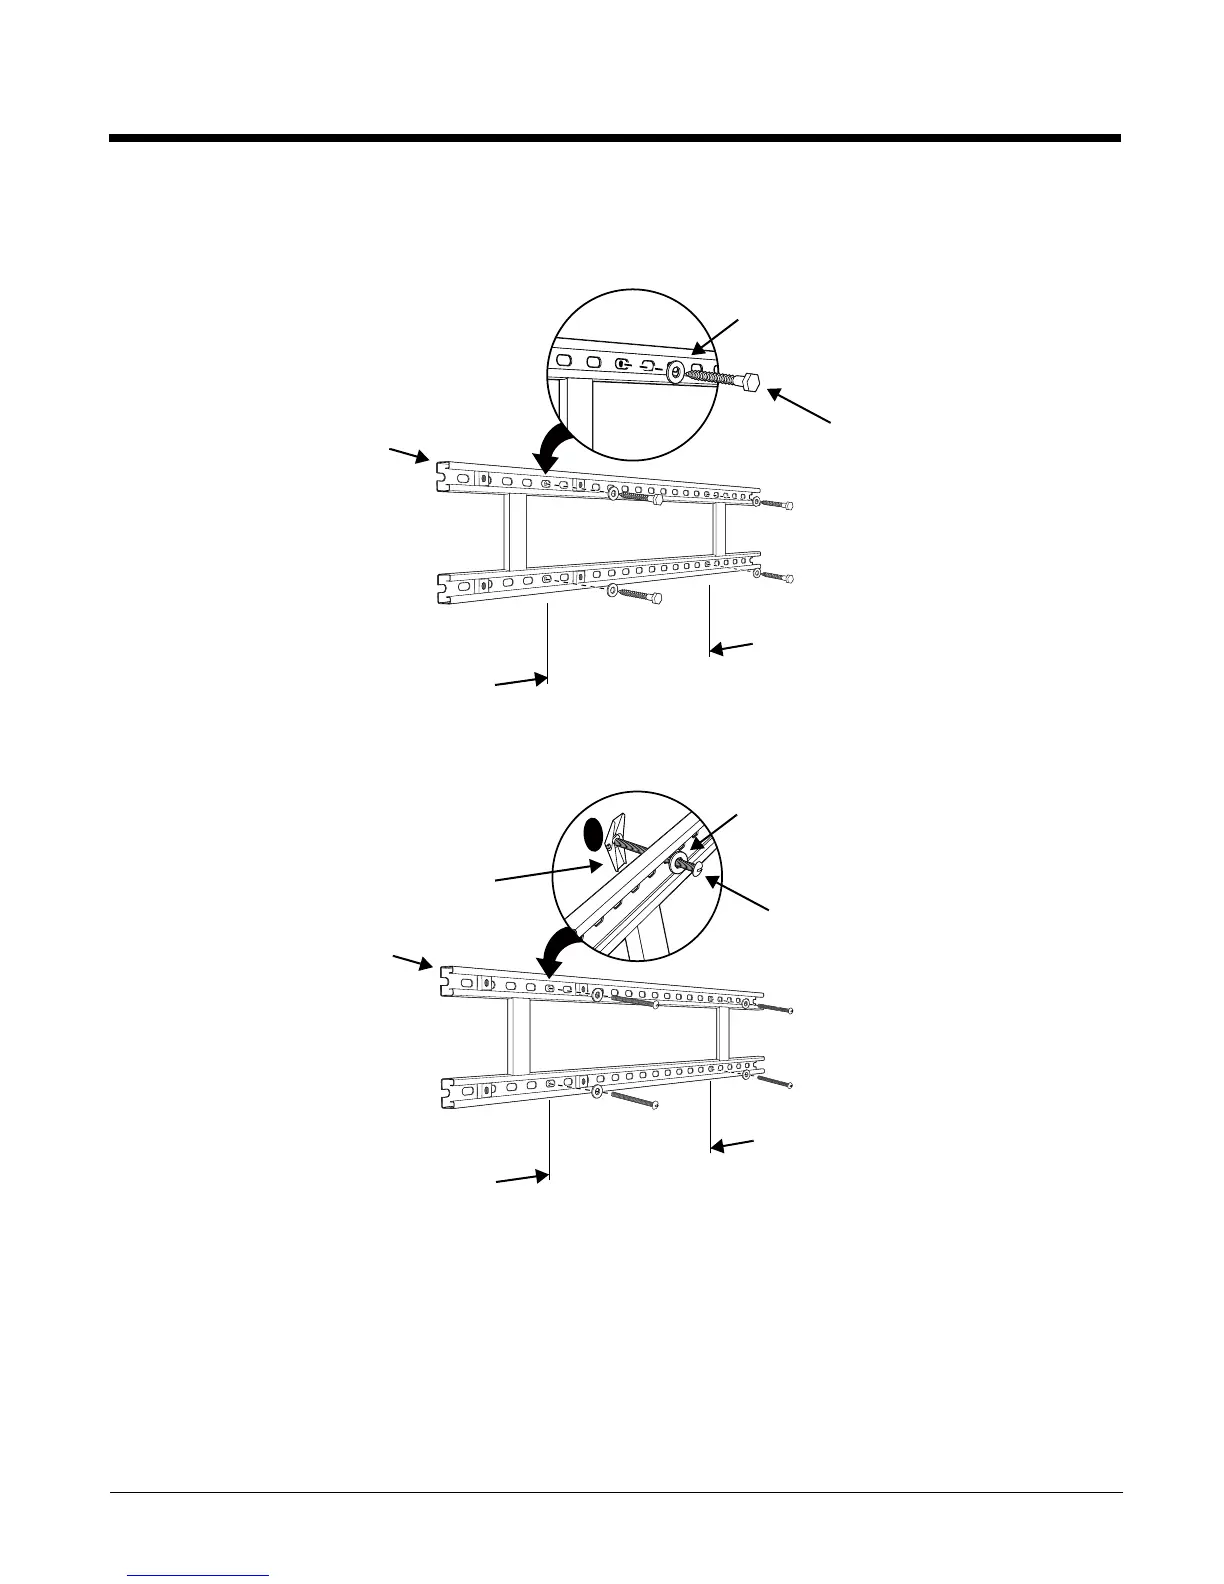
2. Attach the channel bracket to a dry, stable surface using the hardware listed on page 15-8 for the
appropriate mounting surface.
Mounting into Wood Stud
Mounting into Hollow Surface
3. Align the mounting holes on the wall bracket with the spring nuts installed in the channel bracket.
Secure the wall bracket in place using the cap screws listed on page 15-8.
4. See Securing the Base to the Wall Bracket (page 15-6) for detailed instructions on securing the
ChargeBase to the wall bracket.
Lag Bolt, Qty. 4
Channel Bracket
Minimum
16 in. (40.64 cm)
Washer, Qty. 4
Tog gle B o lt , Qty. 4
Channel Bracket
Minimum
16 in. (40.64 cm)
Washer, Qty. 4
Tog gle Nu t, Qt y. 4