[page 10] | gpelectric.com
8. OPERATING INSTRUCTIONS
WARNING: When the photovoltaic (solar) array is exposed to light, it supplies a dc voltage to this equipment.
8. OPERATING INSTRUCTIONS
8.1 POWER UP
When the GP-PWM-30-UL is connected to the battery, the controller will go into Power Up mode.
Icons Displayed: All segments of the numerical display; Backlight blinks.
Depending on the battery voltage when the GP-PWM-30-UL Power Up occurs, the controller
may do a Boost Charge or quickly go into Float Charge. The Charging Prole selected will
commence the following day after a Power Up (refer to the Charging Prole Chart on page
17-18 for more details).
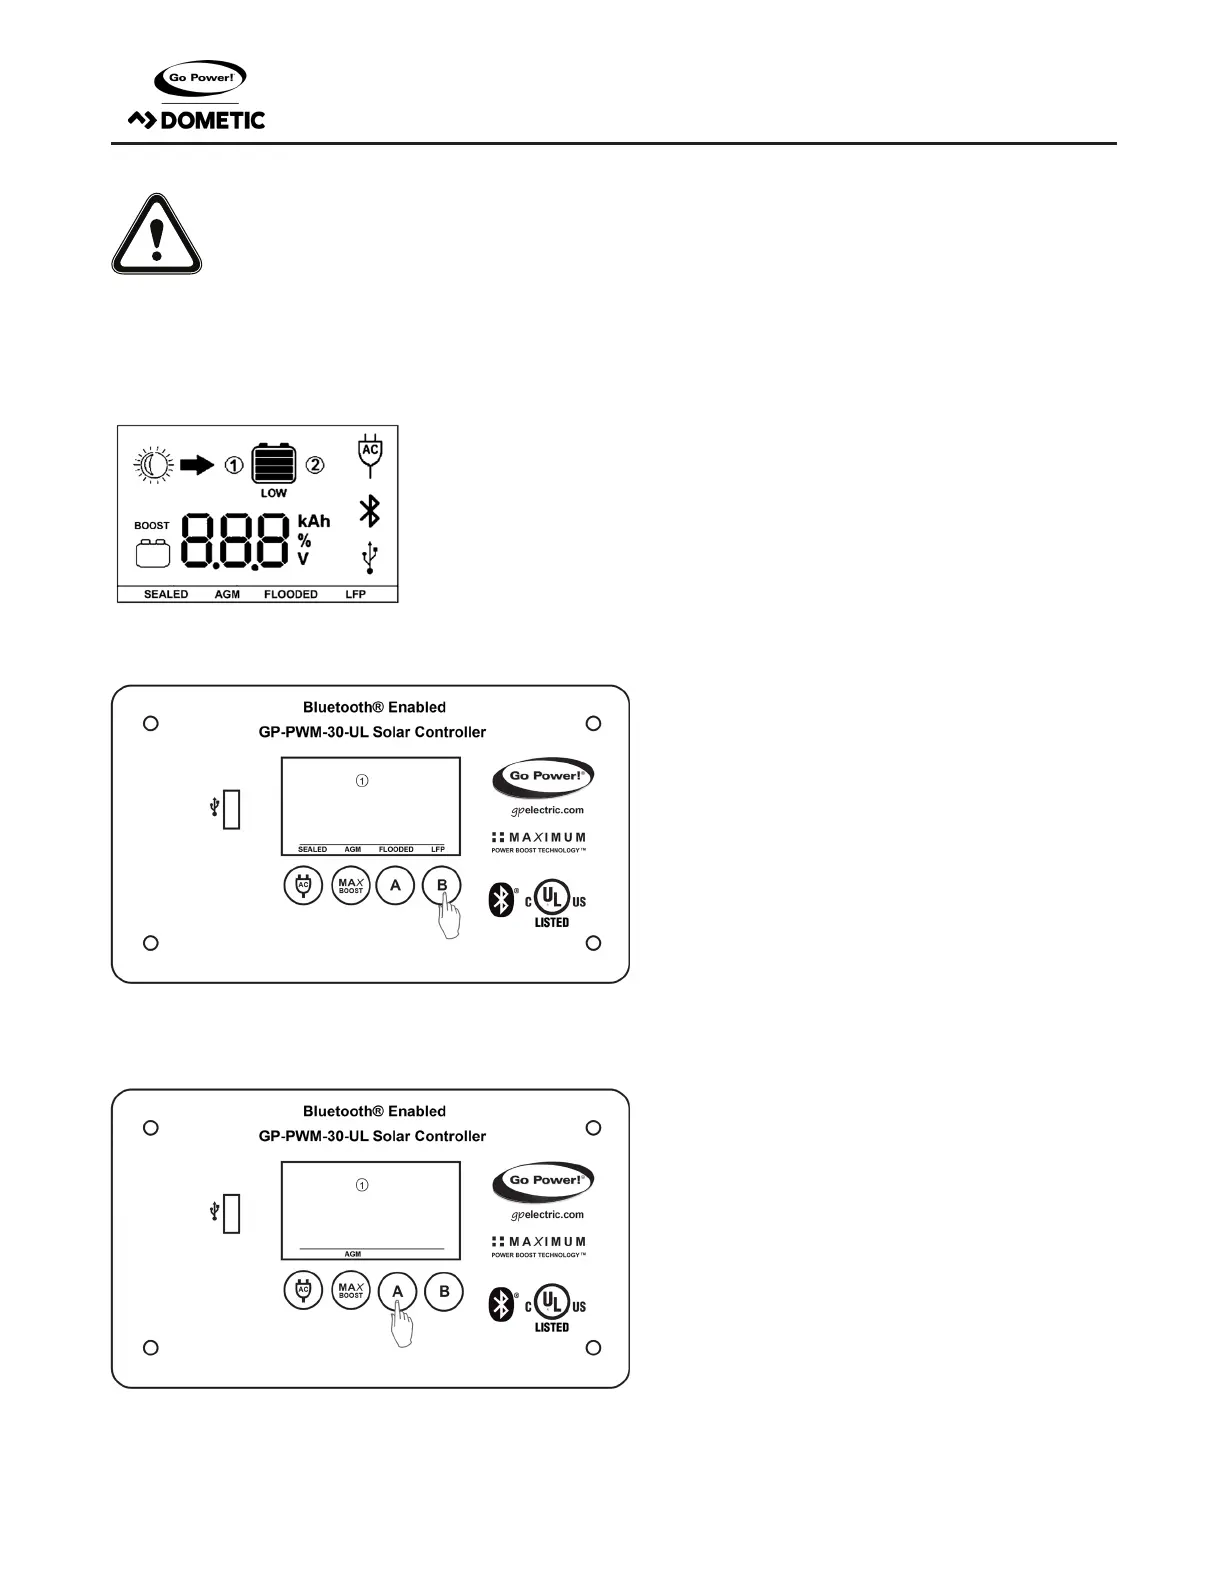
8.2 SETTING THE BATTERY CHARGING PROFILE
Setting Battery 1
To set the battery type for battery bank 1, hold the B Button
for 3 seconds. When the display shows a blinking number 1,
release the B Button.
Refer to the Battery Charge Prole Chart below for details on
each prole.
Next, select the charging prole of battery bank 1 by pressing
the B Button to toggle through the prole options: Sealed/Gel,
AGM, Flooded, or LFP.
To conrm the battery prole, press and hold the A Button for
3 seconds.

 Loading...


