2.
1.
2
1
B
A
1
1.
2.
3
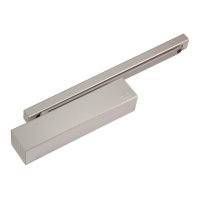
3. Align the clamping screw at a right angle to the door
leaf with the door closed.
4. Loosen the counter nut on the clamping screw.
5. Loosen / tighten the clamping screw such that it is at
a right angle to the door leaf when the arm is clipped
together.
5.8 Setting the Spring Tension
The spring is relaxed upon delivery. A pretension of at
least ten revolutions is required for operation. The setting
is checked during the learning cycle. The learning cycle is
canceled if the spring tension is too low. If the spring setting
is changed, a new learning cycle must be performed.
1. Please refer to the table for the required number of full
revolutions for the spring setting and adjust the spring
tension.
Selecting the EN Class
Door leaf width in mm 850 950 1,100 1,250 1,400
EN class EN 2 EN 3 EN 4 EN 5 EN 6
Min. closing torque
at 2°
13 Nm 18 Nm 26 Nm 37 Nm 54 Nm
Spring Setting Revolutions
ED 100 10 14 16 -- --
ED 250 -- -- 14 18 24
Potential Arm Combinations
Standard arm X X X X X
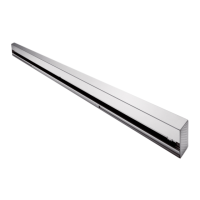
Slide channel X X X X X
The table indicates approximate values, so check the
closing torque at 2° and adjust if necessary pursuant to
EN 1154. For lintel depths greater than 300 mm, also
check the min. closing torque between
88° and 92°.
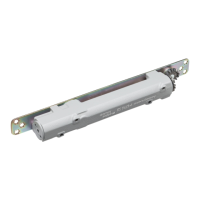
5.10 Setting the Braking Circuit
1. Ensure that the power supply is switched off.
2. Insert the plug depending on the installation type.
(A) = pull version of installation
(B) = push version of installation
The braking circuit does not work if the incorrect plug
is inserted. The door may close at high speed.
6. Press the ball head of the clamping screw into the
lever’s holding fixture.
7. Tighten the counter nut firmly.
5 mm
90°
ED 100, ED 250
—
20 DORMA