30 DR
ALL-TERRAIN
FIELD and BRUSH MOWER Safety & Operating Instructions
Removing and Replacing the Drive Chain
Tools Needed:
■ 1/2" wrench or socket
(chain cover)
■ Flat-head screwdriver
■ Pliers
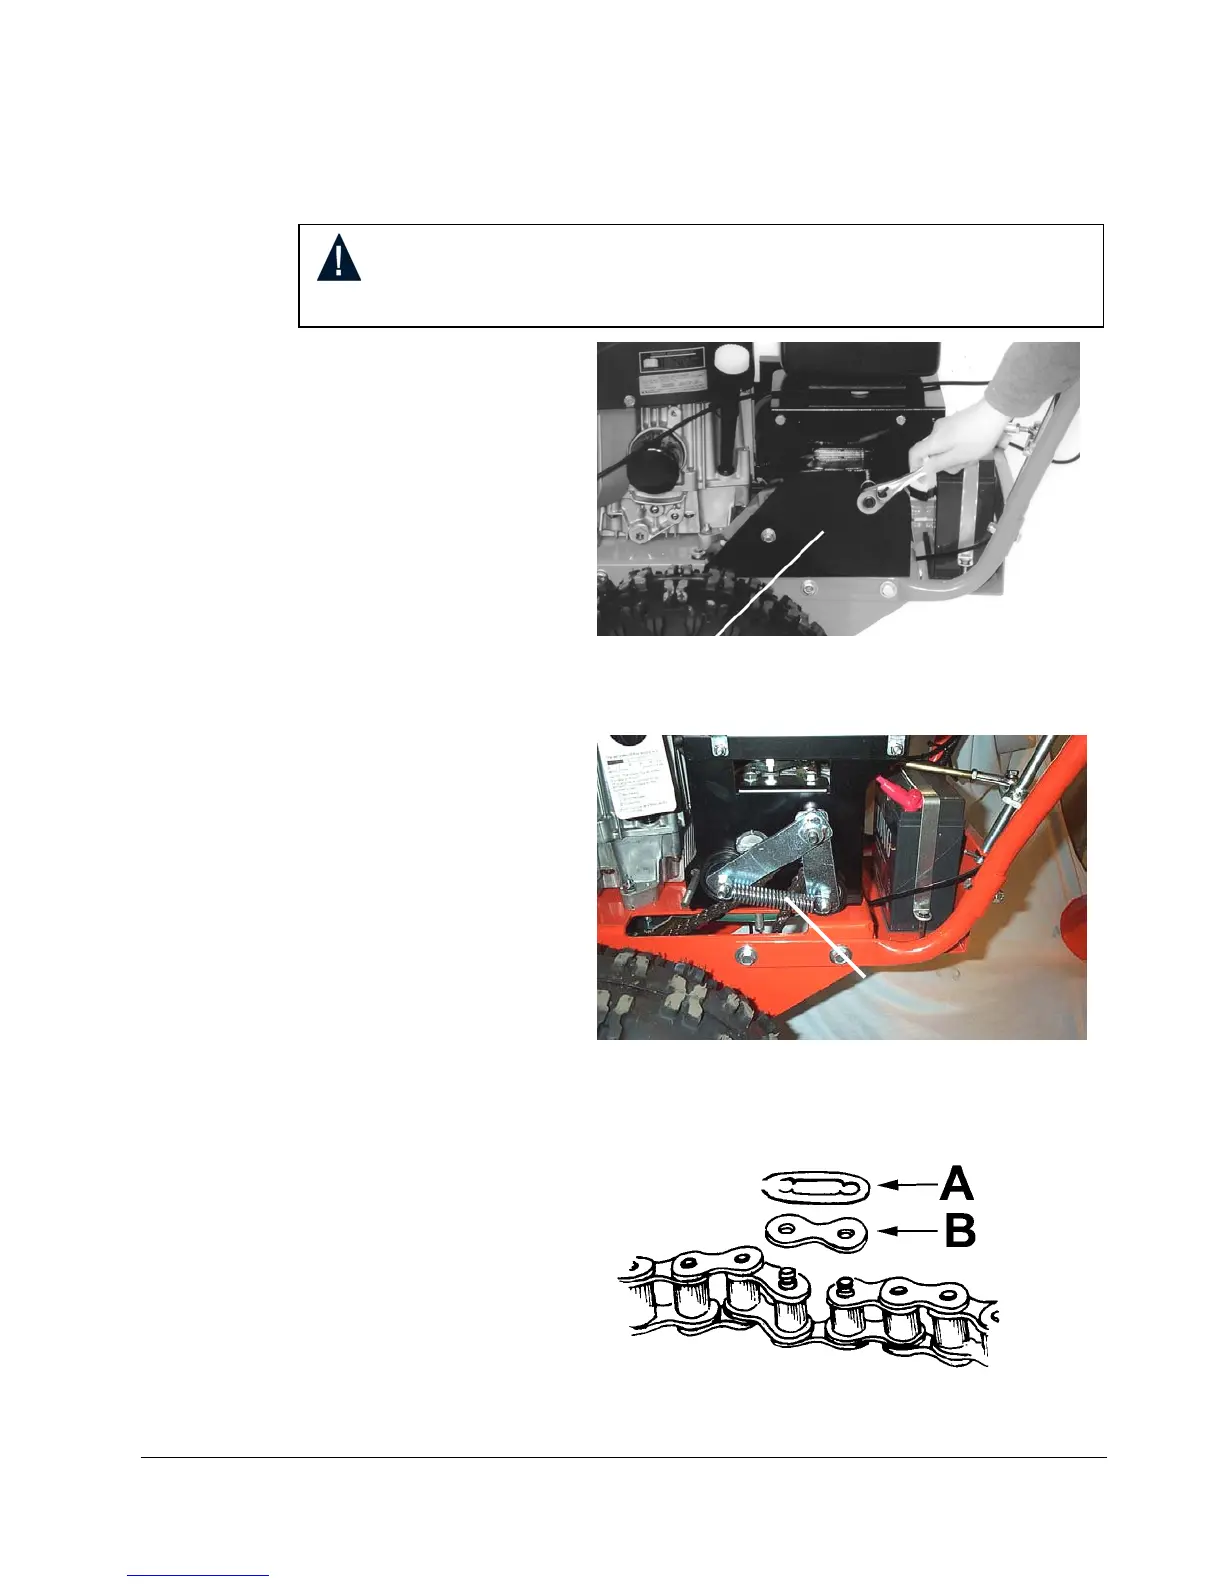
1. Remove the chain cover
(Figure 21).
2. Remove the tensioner
spring (Figure 22).
3. Remove the master
chain link (Figure 23).
First remove the lock
clip (A) with a flat-head
screwdriver and pliers.
You'll need to lift one
side and rotate the clip
to get it off the master
link. Next, remove the
side plate (B). Then
remove the master
chain link.
4. Slowly feed the chain
out.
5. Mount the new chain as
shown in Figure 22.
6. Add the master chain
link.
7. Replace the chain
cover and tighten the
lock nuts.
Figure 21
Figure 22
Figure 23
WARNING! Before performing any maintenance procedure, stop the
engine and disconnect the spark plug wire(s).
Remove the Chain Cover
Remove Tensioner
Spring