Client Drayton File Name 75 42 Dr ayt on LP 10R F & DIG IS TAT+2 RF 06 515 08 600 1 ISS C
Artworker -
Proof Stage
PRINT
Finished Size A5 148x210mm
Creative Director Mike Lane Artwork % 100%
Modification Date 21/08/15 2:56PM Bleed 3mm
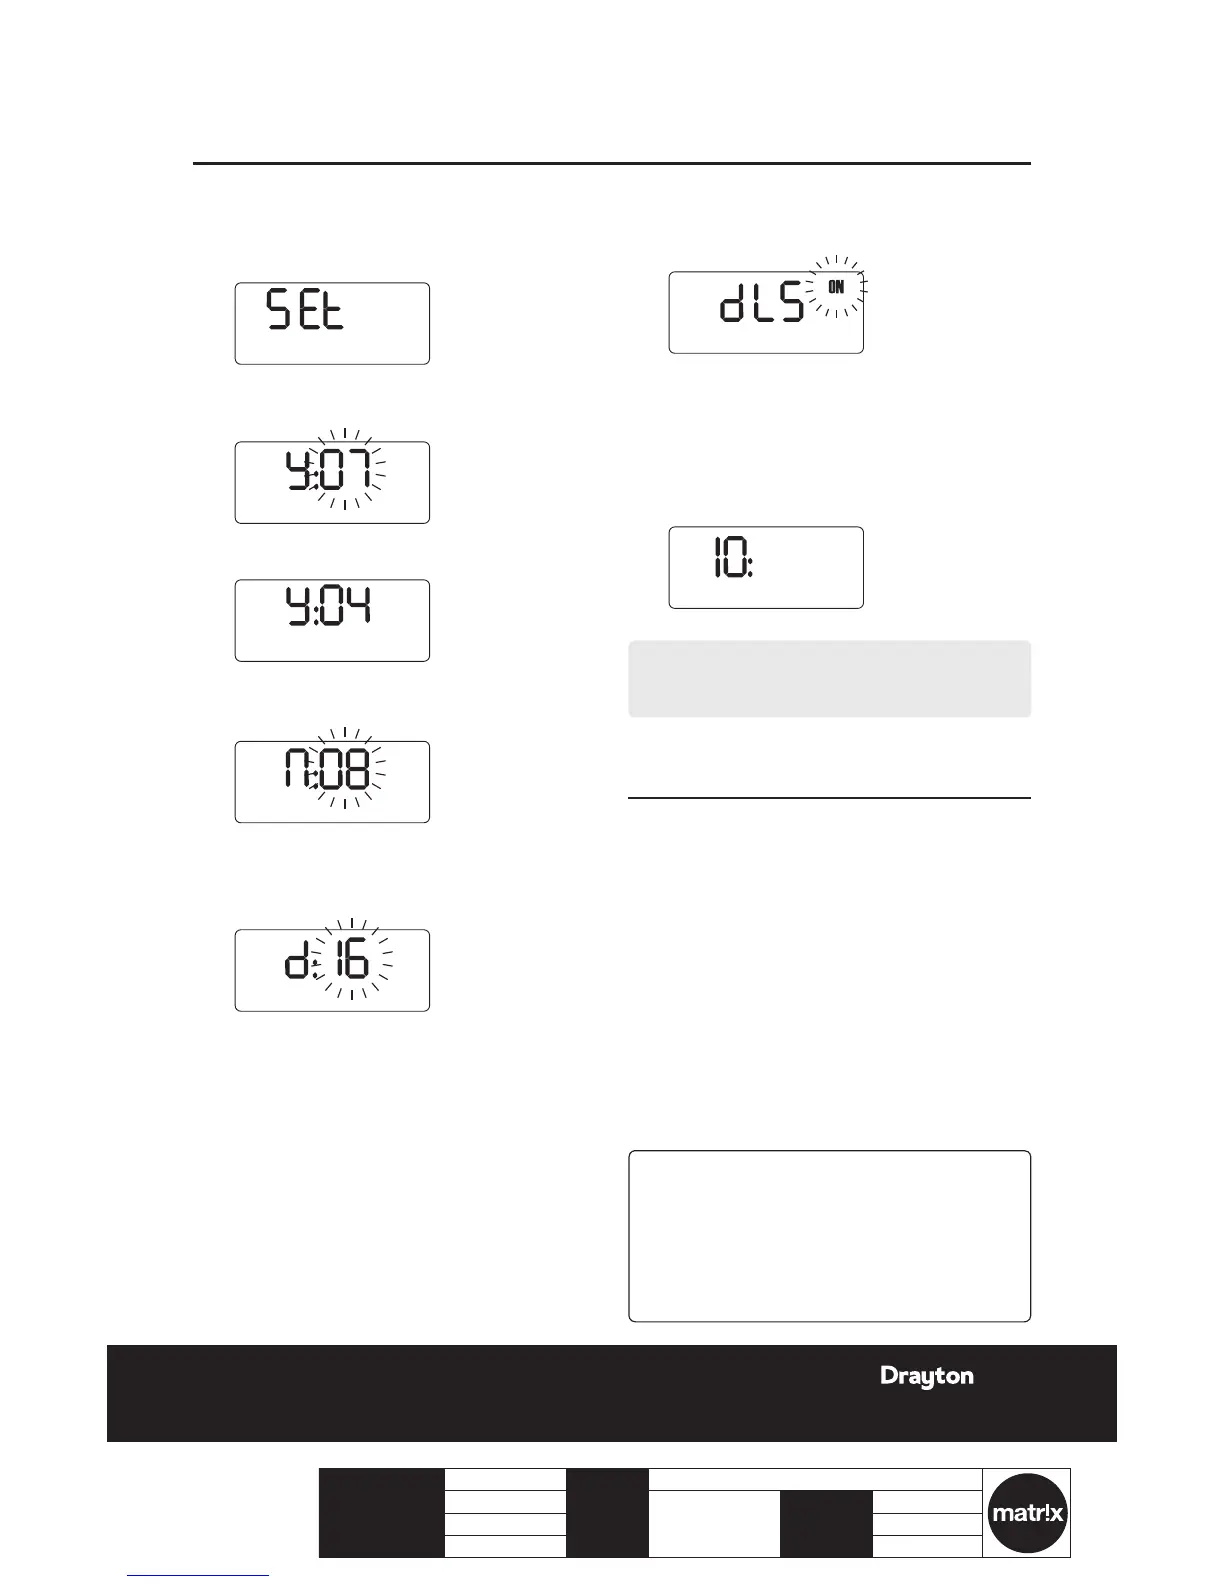
Setting the date:
1.
Press the set? button until SET and DATE? are
displayed.
2.
Press the OK button once, the year ashes on the
display.
3.
Press + or - to set the correct year, e.g. 04.
4.
When the correct year has been chosen, press set?
to select, now the month will ash.
5.
Press + or - to select the correct month, e.g. 08.
6.
When the correct month has been chosen, press
set? to select, now the day will ash.
7.
Press + or - to select the correct day, e.g. 16.
DATE?
DATE
DATE
DATE
DATE
MON
?
36
8:08
8.
When the correct day has been chosen, press set?
to select, now dLS will be displayed and ON will
ash.
9.
Press + or - to switch between ON or OFF. If you
choose ON then the clock will automatically adjust
the time for Daylight saving. If you choose OFF
then the time will not change to take account of the
Daylight Saving time change twice a year.
J
Press set? twice to return to the normal display.
NOTE:
dLS = Day Light Savings time
User Guide LP10RF Programmer & Receiver
Maintenance
The Digistat+2RF requires no maintenance.
The outer casing can be wiped clean using a dry cloth.
DO NOT use polish or detergents.
These units can not be serviced.
Should the existing units fail to function correctly,
check that the:
LP10RF Receiver times and program settings are
correct.
RF signal link is set up (Refer to page 2 for RF signal
range details).
Digistat +2RF Room thermostat batteries are the
correct type, tted correctly and are not exhausted.
Fit new batteries if in doubt.
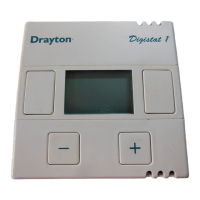
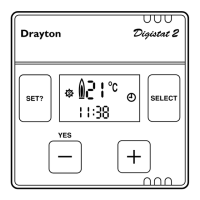
Digistat+2RF Thermostat
part number 22090
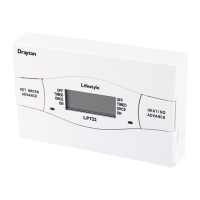
LP10RF Programmer & Receiver
part number 22589DR
25LP10RF & DIGISTAT+2RF
06515086001 ISSC