7
Initial Setup Procedure
If any problems are found during the initial setup
procedure, refer to the troubleshooting
Inbetriebnahme
Bitte orientieren Sie sich im Kapitel
„Problembehandlung“ falls bei der Inbetriebnahme
Fehler auftreten sollten
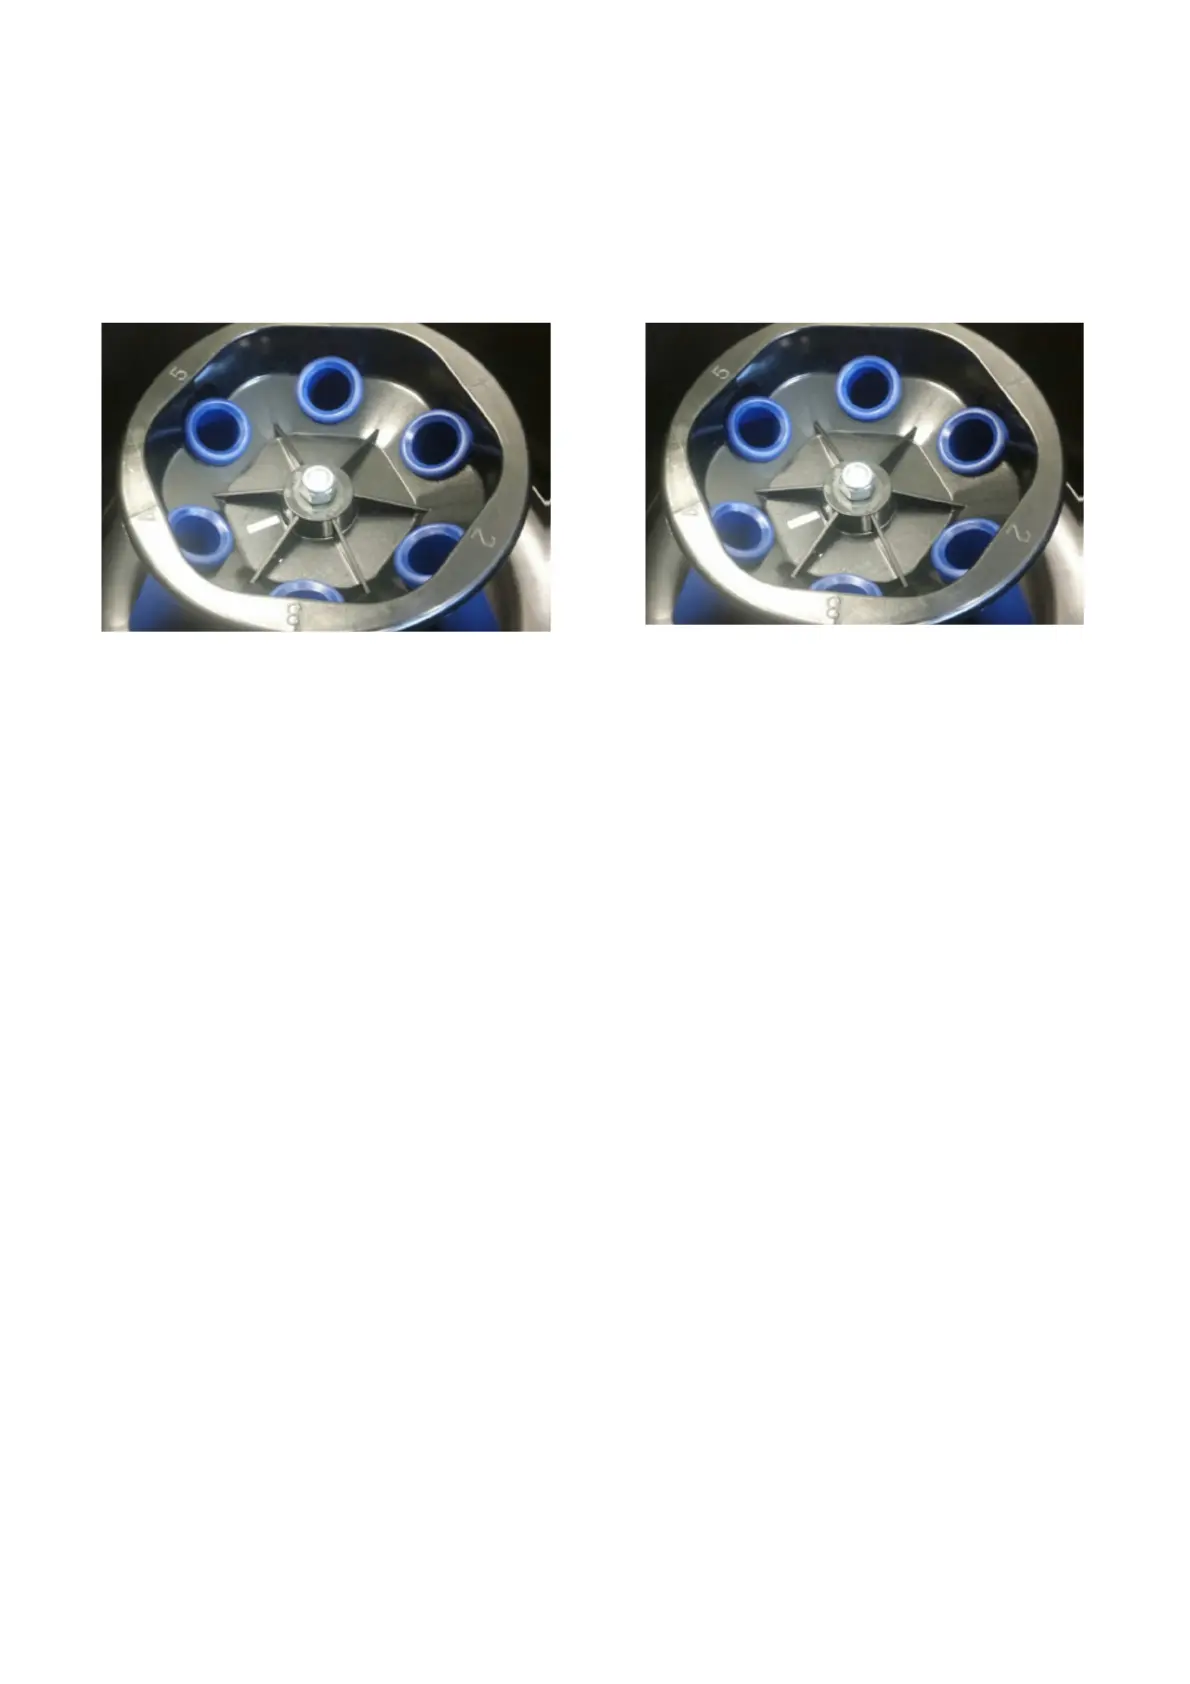
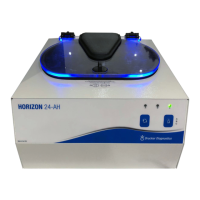
Horizontal Rotor Shown
Abbildung: Horizontaler Rotor
1. Plug the female end of the supplied line cord into
the power input module located on the rear of the
centrifuge. Plug the male end into an approved
electrical outlet. For electrical safety, the unit
must always be properly grounded.
2. Flip the switch on the power input module located
on the rear of the centrifuge to the ON ( | )
position.
3. For safety purposes, the locking system is
always activated. To deactivate the system, (in
order to insert or retrieve samples), press the
OPEN/STOP button on the control panel. The
UNLOCKED indicator light should illuminate. If it
does not, refer to the chapter troubleshooting.
The lid will be unlocked for 15 seconds after
pushing the OPEN/STOP button.
4. Turn the latch counterclockwise and open the lid.
5. Spin the rotor by hand; check for free and level
rotation. If the rotor does not spin freely, refer to
the chapter troubleshooting.
6. Place the six test tube holders inside the rotor (as
shown above), and verify that they are seated
properly.
1. Verbinden Sie das Netzkabel mit dem Gerät und
der Stromquelle. Aus Gründen der elektrischen
Sicherheit muss das Gerät immer ordnungs-
gemäß geerdet sein.
2. Schalten Sie die Zentrifuge mit dem Schalter auf
der Rückseite der Zentrifuge ein, indem Sie den
Schalter auf Ein ( | ) drücken.
3. Aus Sicherheitsgründen wird das Schließsystem
immer aktiviert. Um das System zu deaktivieren
(um Proben einzulegen oder zu entnehmen),
drücken Sie die Taste OPEN/STOP auf dem
Bedienfeld. Die UNLOCKED-Anzeigeleuchte
sollte nun leuchten. Sollte dies nicht der Fall sein,
prüfen Sie bitte im Kapitel „Problembehandlung“.
Der Deckel wird nach dem Drücken der OPEN /
STOP-Taste für 15 Sekunden entriegelt.
4. Drehen Sie den Riegel gegen den Uhrzeigersinn
und öffnen Sie den Deckel.
5. Drehen Sie den Rotor von Hand. Überprüfen Sie
damit die freie Beweglichkeit und Rotation. Wenn
sich der Rotor nicht frei bewegt, prüfen Sie bitte
im Kapitel „Problembehandlung“.
6. Legen Sie die sechs Probenröhrchen in die
Aufnahmen des Rotors (wie oben gezeigt) und
überprüfen Sie, ob sie richtig sitzen.