# of
Flashes
Trouble Type Trouble Notes
Red Blue
3 On Supervision Trouble
l Contact your central station to verify they are not experiencing any receiver
issues.
4 On Tamper Trouble
l Ensure the front cover is secured and the case tamper is closed.
The Red light will flash to indicate various trouble conditions outlined previously. If multiple trouble conditions are present, the
red light will flash according to the highest priority trouble. For example, if both a 3G4010 wireless network trouble (one flash)
and a low battery trouble (two flashes) are present; the red light will flash one time. Once the 3G4010 wireless network trouble
condition is corrected, the red light will then begin flashing two times.
General Troubles With Your System
The control panel is displaying a
telephone line trouble condition
l Ensure T1 and R1 of the 3G4010 are wired to the TIP and RING terminals of
the control panel.
l If the 3G4010 is being used as the primary communicator, the blue light will
always be OFF.
l If the 3G4010 red light is FLASHING, refer to the troubleshooting chart in this
guide.
The control panel displays a
communication trouble condition
l Ensure the panel is programmed for Contact ID or SIA.
l Ensure the control panel does not indicate a TLM trouble condition.
l If the 3G4010 red light is FLASHING refer to the troubleshooting chart in this
guide.
No signals are received at the central
station but no trouble condition is
displayed
l Ensure the control panel has a central station phone number programmed.
l Ensure the control panel has the correct account number programmed.
l Verify the reporting codes are programmed or the auto ContactID option is
enabled.
l Ensure the control panel communicator is enabled.
l Connect a handset to T1 and R1 of the 3G4010 in monitor mode to verify the
control panel is trying to communicate.
Not receiving internal signals generated
directly from the 3G4010
l Ensure the 3G4010 was initialized with the correct account number. This can
be checked by logging into the C24 Communications website.
l Ensure that there are no trouble conditions on the 3G4010.
The phone line is seized when the
3G4010 is connected
l Verify correct phone line wiring.
l Ensure the Ringer Equivalency Number (REN) is not being exceeded on the
line.
General Information
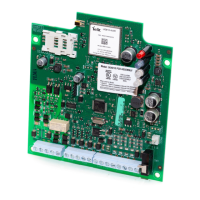
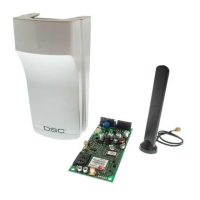
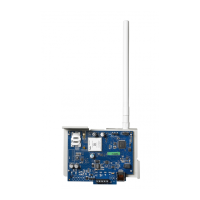
Removing/Connecting the antenna
l To remove the antenna from the 3G4010, place your thumb on the end of the
connector at the modem,then place a screwdriver between the modem and
connector. Gently turn the screwdriver away to ‘pop’ out the connector from the
modem.
l To install the antenna, firmly push the connector into the modem until it ‘snaps’
into place.
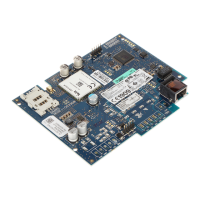
Enrolling a 3G4010
l The 3G4010 can be enrolled by going through the GVRU voice prompt, and
completing the activation of the SIM card, and the initialization of the 3G4010.
l The 3G4010 can also be enrolled using the C24 Communications website
(www.connect24.com) or the C24 Communications mobile site
(m.connect24.com).
SIM card activation period
l A SIM card can take up to 24 hours to be activated by the provider. However, it
typically takes less than an hour for the SIM card to be activated.
Checking SIM status
l Go to www.connect24.com and login. A search can be performed for a specific
account and its current status
l SIM status can also be checked through the GVRU.
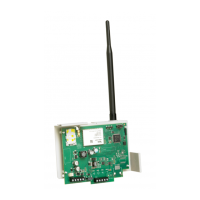
Critical Shutdown on 3G4010 backup
battery (with no DC input applied)
l If the 3G4010 backup battery is used and is below 10.5VDC,the unit will go
into critical shutdown.
l The critical shutdown state will be displayed by the red light flashing followed
by the blue and two green lights flashing.
l The lights will continue to flash in this sequence until the battery is charged
above 12.4VDC.
17