- 20 -
5. Registering cutting dimensions
11.
a
a
Press the SET button. The trailing edge cut (CUT No. 3)
dimension selected will be set. Registration is now
complete.
The display in step 1 will reappear on the screen.
To register more dimensions, repeat the above
procedure.
To run the machine at this point:
¥ If you set only the leading edge cut (CUT No. 1)
dimension, to a value in the range 101.5-170mm, or
only the trailing edge cut (CUT No. 3) dimension, to a
value over 210mm:
The number of cuts will be automatically increased,
for smoother processing of the cut paper. Note also
that the set number of cuts will also increase, and the
number-of-sheets-cut-count will be decreased.
IMPORTANT
8.
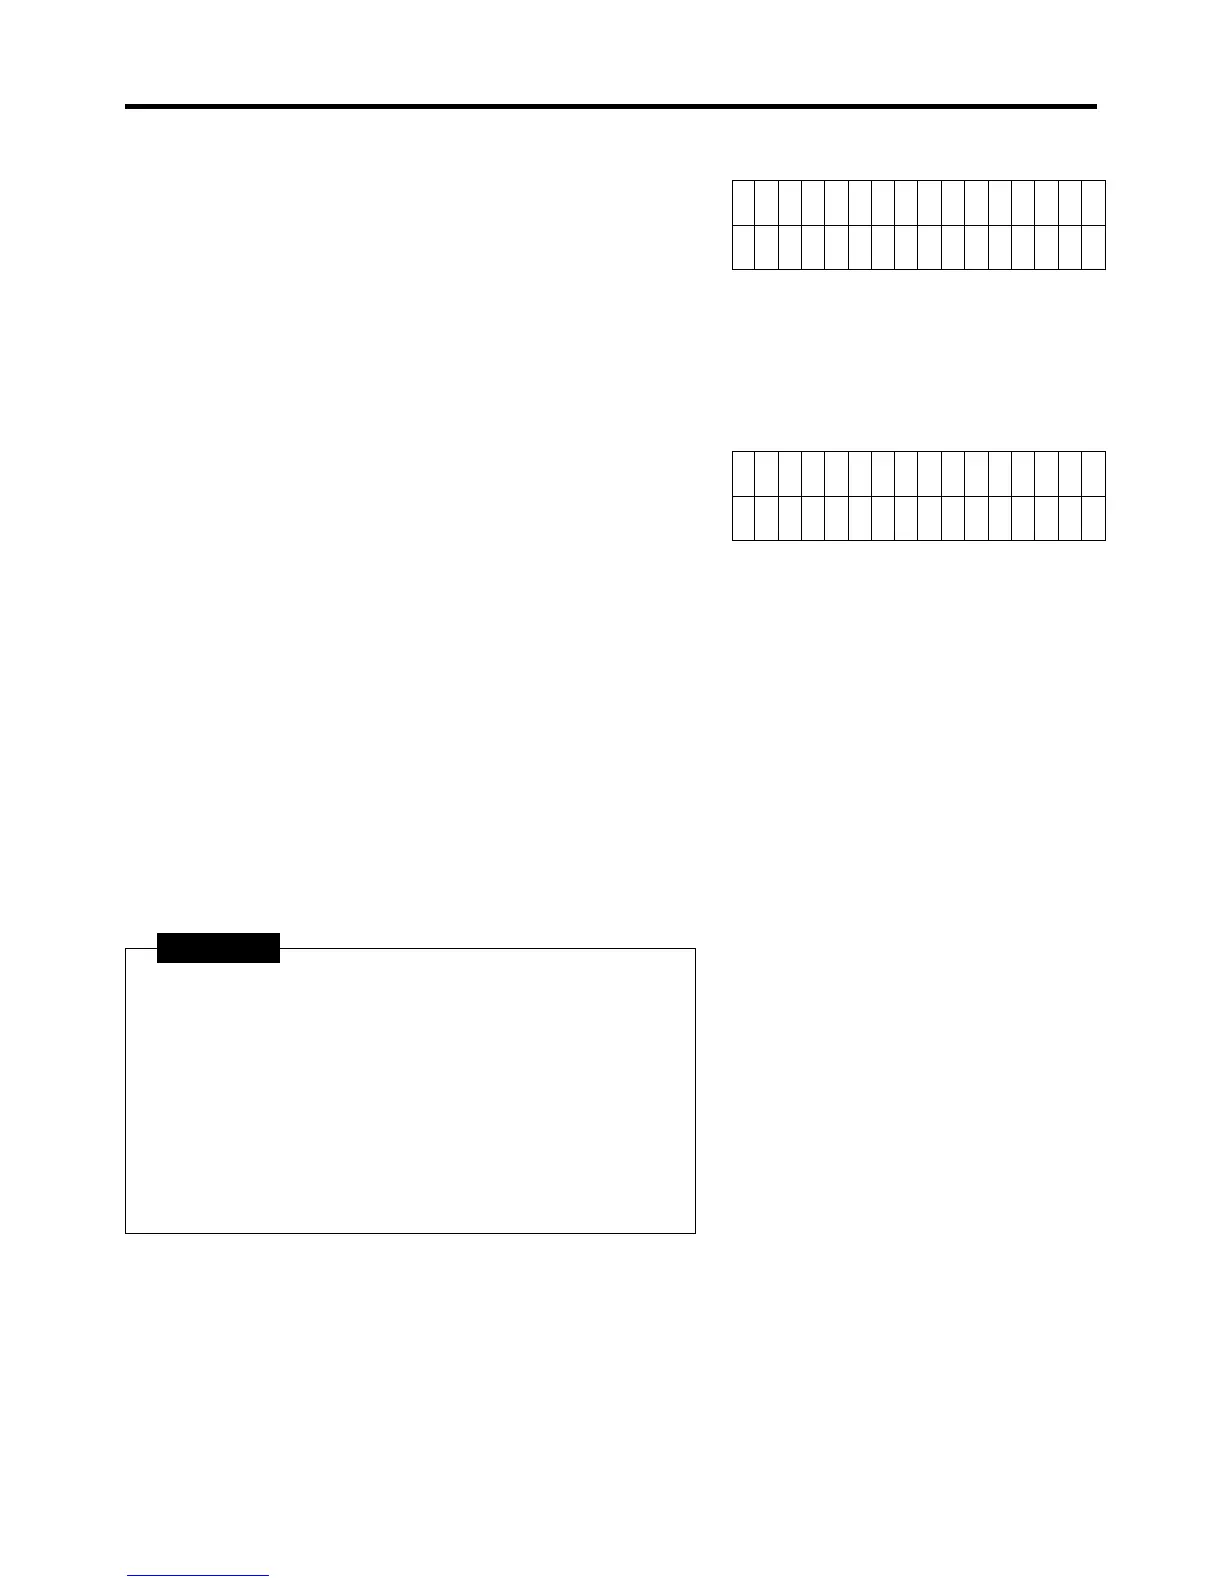
Use the "3" and "4" keys to select the middle cut (CUT
No. 2) dimension.
9. Press the SET button. The middle cut (CUT No. 2)
dimension selected will be set.
10.
Use the "3" and "4" keys to select the trailing edge cut
(CUT No. 3) dimension.
Length? T: 105.0
2:100.0mm
Length? T: 110.0
3: 5.0mm
Press the MODE button as many times as needed to
select the SELECT mode. Then refer to "Selecting the
cutting dimensions" on p.17.
Example : inputting 100mm for CUT No.2
Example : inputting 5mm for CUT No.3
 Loading...