C
Christine WatsonAug 5, 2025
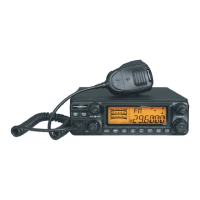
What to do if Dynascan P-72 does not transmit when pressing PTT?
- JJustin EdwardsAug 5, 2025
If your Dynascan Transceiver does not transmit when pressing the PTT button, there might be several reasons: 1. The microphone may not be correctly installed. Turn off the transceiver and ensure the microphone jack is plugged in until you hear a click. 2. The Offset might be out of the transmission operation range band. Try disabling the frequency Offset function. 3. The busy channel lockout function could be enabled. In this case, disable the busy channel lockout.