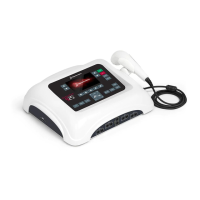
Dynatron® 850plus & 550plus
Service
125
Basic Trouble Shooting Techniques
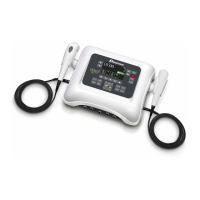
Hands-On Testing Pads and Leads
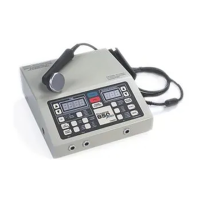
NOTE: The following examples use the Beckman Circuitmate DM78 to show proper DVM
use and safety precautions.
Leads may easily be tested without any special equipment by using the “Lead Test” function
as discussed in the “Electrotherapy Usage Cautions” section of this manual. The DVM can
also be used to see if the pads and leads are in good working condition. Electricity will
always choose the path of least resistance to ground. If it does not have a good path or a
complete circuit, it cannot flow and no stimulation will be felt. This is why good leads and
pads are so important in the operation of the Dynatron electrotherapy device.
Prior to testing the leads, a test jack must be made. Any standard 1/4" stereo jack will work
well. Call the service department at Dynatronics if you are unsure of what is needed. The
test jack is made by shorting the connections for the patient lead together. These connections
are inside of the jack and touch the patient lead as it is inserted into the jack. The connector
that touches the TIP of the patient lead, and the connector that touches the small RING on
the patient lead need to be soldered together (there is no connection to the ground contact).
To measure the continuity of the leads, turn the meter from OFF to the setting shown to
“0000” figure (this is the continuity checker of the meter). Then plug the red and black leads
of the DVM into the matching alligator clips, so that the meter lead fits into the round hole of
the alligator clip.
Plug the lead that is being tested into a test jack. Clip the test leads of the meter, with the
alligator clips, onto the free ends of the patient lead. The meter should beep continuously.
Flex the lead at both ends and at the strain reliefs. Flex the main body of the lead to make
sure that there are no opens or shorts in the lead. If the meter stops beeping at any time
during the flexing, there is an open in the lead, and it should be replaced.
Test Lead and Pads
The carbon pads and poly electrodes can also be checked with the DVM. This is done with
the resistance setting of the meter. Set the meter to “OO.OO.” After removing the alligator
clips from the test leads of the meter, plug one of the test leads into the pin receptacle of the
pad. Touch the other lead to the surface of the pad. If a resistance of more than 100 Ohms is
seen, the pad is beginning to break down and should be replaced.