From lab to production,
providing a window into the process
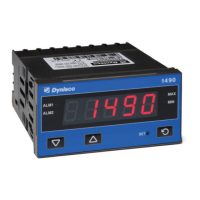
-3-
www.dynisco.com
Rev: n/aP/N: n/a ECO: n/a
Opon Module Connectors
Panel Mounng
Not used
Not used
Opon Slot 2
Connector PL4A
Opon Slot 3
Connector PL4B
Opon Slot 1
Connectors
PL7 & PL8
The mounng panel must be rigid, and may be up to 6.0mm
(0.25inch) thick. Cut-out sizes are:
Cut-Out Dim A = 92mm
Cut-Out Dim B = 45mm
For n mulple instruments mounted side-by-side, cut-out A is 96n-4mm
Tolerance +0.5, -0.0mm
NOTE: For an eecve IP66 seal against dust and moisture, ensure gasket is well
compressed against the panel, with the 4 tongues located in the same ratchet slot.
Mounng Panel
Instrument
Housing
Ratchets
Gasket
1. Insert instrument into the
panel cut-out.
2. Hold front bezel rmly
(without pressing on display
area), and re-t mounng
clamp. Push clamp forward,
using a tool if necessary, unl
gasket is compressed
and instrument held rmly
in posion.