14
Steps for Running a Glucose Control Check
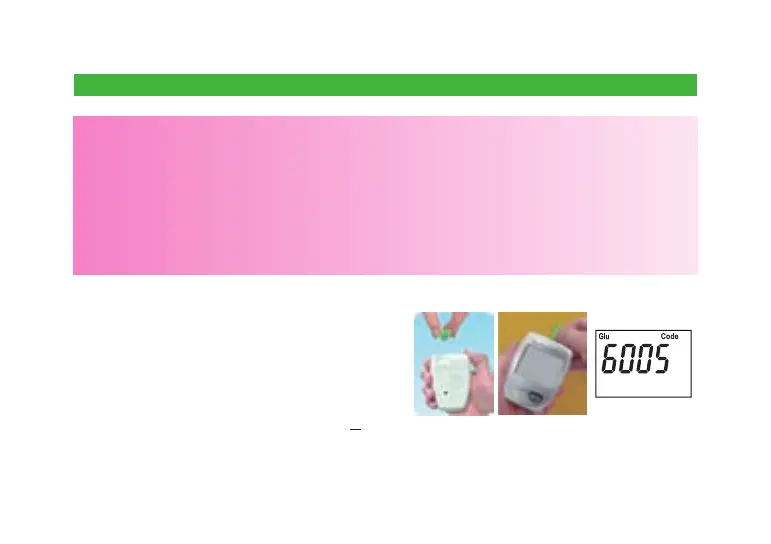
1. Insert the glucose code key into the code
key slot on the back of the meter.
2. Take one strip from the vial. Close the vial
quickly.
3. Insert the test strip into the test strip slot on
the meter. The meter will rst display code
number, and then the blood symbol “
S
”.
CAUTION:
● Always check the glucose code key number to make sure it matches the number
labeled on the test strip vial when you run a glucose control test. Otherwise you may
get incorrect results.
● Always write down the opening date of your glucose control solution vial and test strip
vial. Both of them are good for only 3 months after rst opening or until the expiration
date, whichever comes rst.
● The result will be stored in memory and appear just like a blood glucose result.