5 Installation
5.4 Mounting
38 MICRO PANEL XVS400 10.4"/12.1"/15" 10/2011 MN04802012Z-EN www.eaton.com
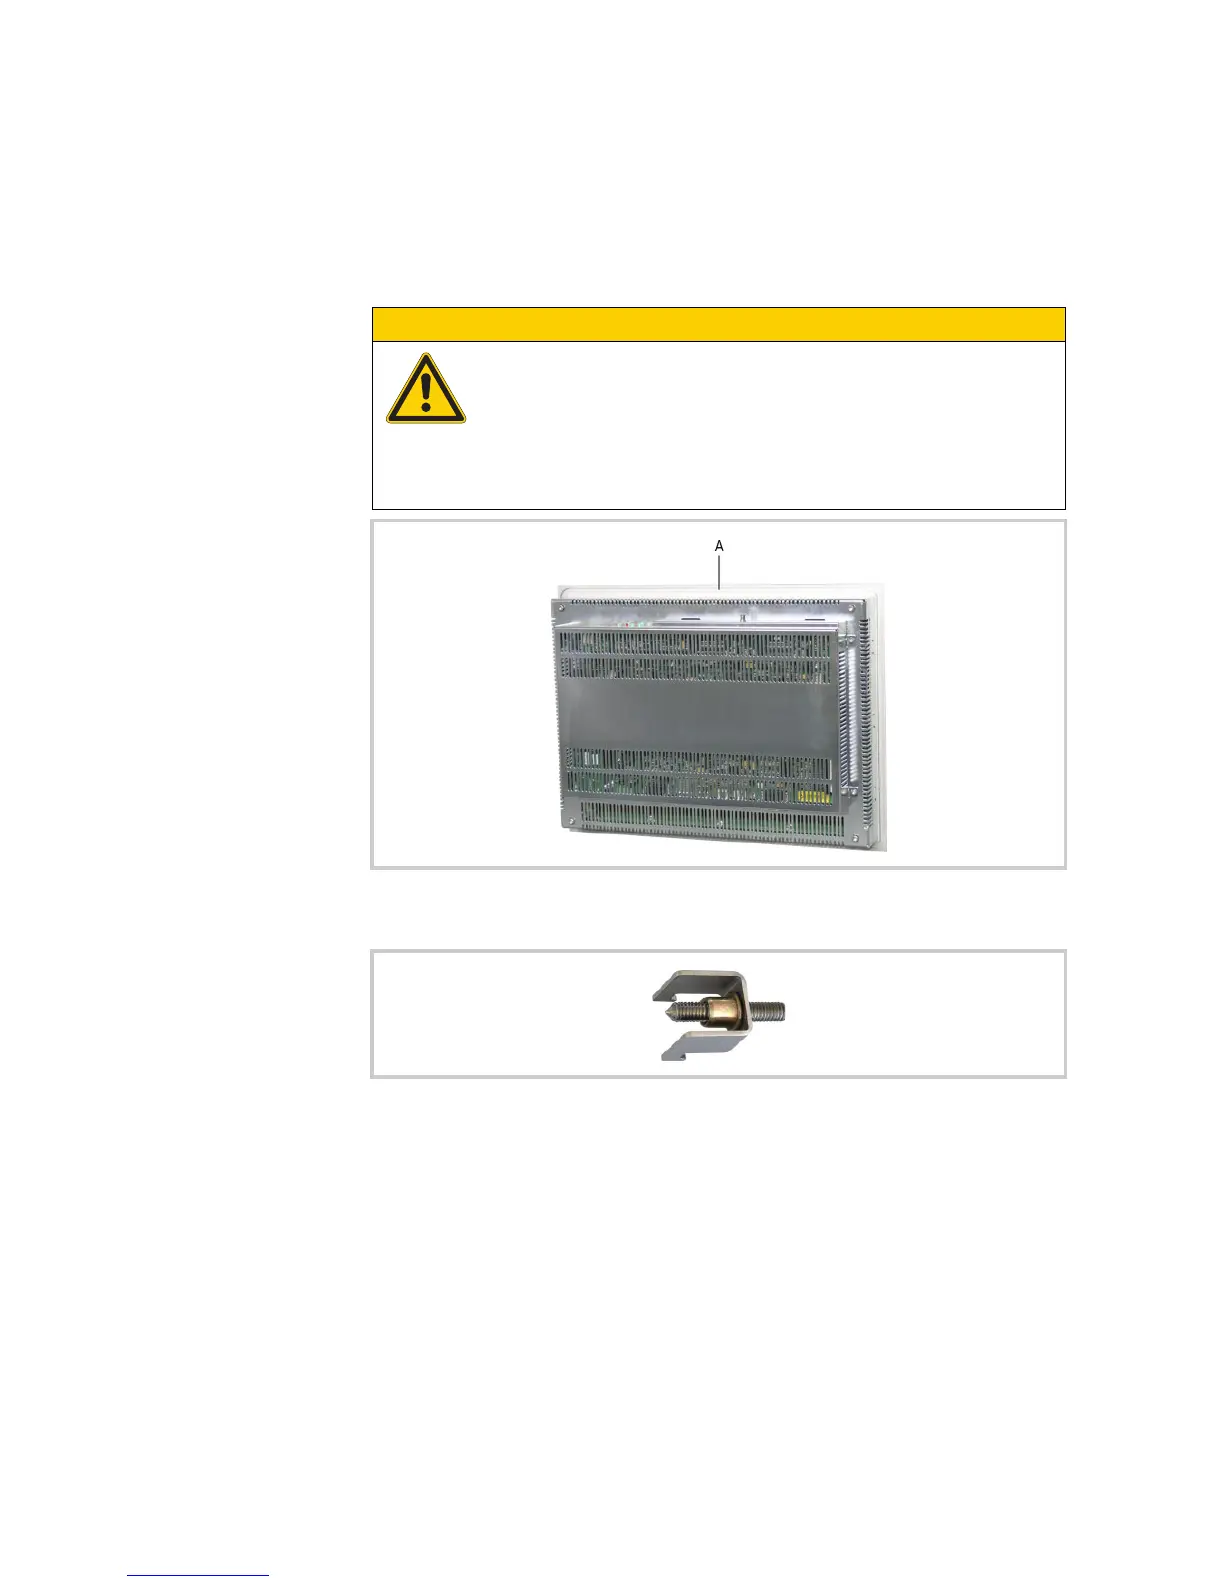
3 Insert the sealing strip supplied in the groove (A) on the rear of the device front plate and cut it so
that the join is tight.
4 Fit the supplied threaded pins in the retaining brackets beforehand.
5 Fit the device from the front into the mounting cutout.
CAUTION
Poor sealing
Poor sealing resulting from the twisting of the sealing strip or due to a gap between
the ends of the sealing strip.
The join of the sealing strip must be positioned on the bottom of the device.
Do not twist the sealing strip when it is inserted.
Cut the sealing strip to a suitable length so that the join is tight.
Fig. 22 Groove for sealing strip (A)
Fig. 23 Threaded pin pre-fitted in a retaining bracket
 Loading...