12
- A -
1
2
3
4
5
6
7
8
M6=15 Nm
M8=18 Nm
M10=50 Nm
Check hardware supplied;
position and secure pump
vertically on a flat rigid surface.
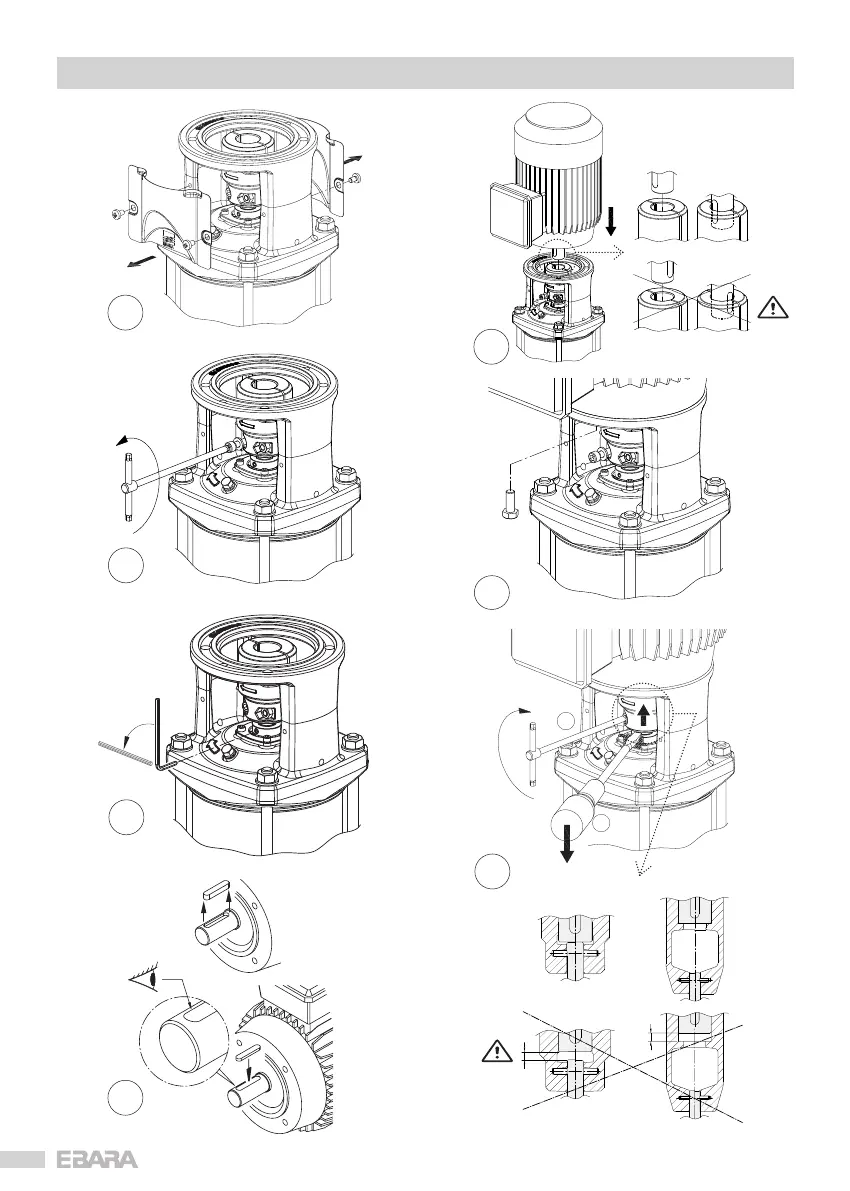
Undo the 4 screws and
remove coupling guard.
Remove protective
packaging.
Set the motor vertically with
its shaft downwards and
position it on the pump.
Loosen off the
coupling bolts.
Insert and evenly tighten the 4
motor bolts.
Check and loosen the
3 drive collar grub
screws if necessary.
Using two screw drivers
lever between the coupling
and motor mount & lift up
so the coupling is snug
against the shaft end;
tighten the coupling bolts
evenly to the specified
torque.
Half key
Bolts
Nuts
(only 5.5 kW & above)
Standard assembly is for the
terminal box to be positioned
over the discharge.
(see bottom of page below)
Assembly & installation should
only be carried out by suitably
experienced & qualified persons.
!
Air bleed
valve.
3/8 Plug
Fill/Prime
(Pressure sensor)
Standard assembly is for the
terminal box to be positioned
over the discharge.
For convenience of power cable
connection, the terminal box can
be positioned at 90° increments.
Refer to Sect 9 - Electrical
Connection - in the O&I Manual
for details.
Fitting of motor & initial start up
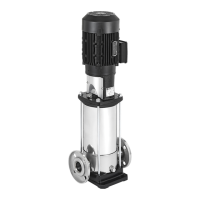
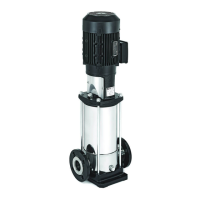
EVMS ()
Vertical Multistage Pumps
Read the Operating & Instruction
Manual supplied with the pump.
!
Extracted from the Operating & Instruction Manual
Page 1/2
DRAFTDRAFTDRAFTDRAFTDRAFTDRAFTDRAFTDRAFTDRAFTDRAFTDRAFTDRAFT
7
DRAFTDRAFTDRAFTDRAFTDRAFTDRAFTDRAFTDRAFTDRAFTDRAFTDRAFTDRAFTDRAFTDRAFTDRAFTDRAFT
Shaft
Cartridge seal
shaft sleeve
Drive collar
Grub
screws
Should be loose on shaft but still
protruding into the corresponding
holes in the shaft sleeve.
loosened
¼
turn
1
2
4
5
6
7
M6=15 Nm
M8=18 Nm
M10=50 Nm
3
1
2
3
5
6
7
8
M6=15 Nm
M8=18 Nm
M10=50 Nm
Check hardware supplied;
position and secure pump
vertically on a flat rigid surface.
Fit the half key into the motor
shaft.
Note: Ensure the half key does
not protrude.
Undo the 4 screws and
remove coupling guard.
Remove protective
packaging.
Set the motor vertically with
its shaft downwards and
position it on the pump.
Loosen off the
coupling bolts.
Insert and evenly tighten the 4
motor bolts.
Using two screw drivers
lever between the coupling
and motor mount & lift up
so the coupling is snug
against the shaft end;
tighten the coupling bolts
evenly to the specified
torque.
Half key
Bolts
Nuts
(only 5.5 kW & above)
Remove motor
shaft key.
Standard assembly is for the
terminal box to be positioned
over the discharge.
(see bottom of page below)
Assembly & installation should
only be carried out by suitably
experienced & qualified persons.
!
Air bleed
valve.
3/8 Plug
Fill/Prime
(Pressure sensor)
Standard assembly is for the
terminal box to be positioned
over the discharge.
For convenience of power cable
connection, the terminal box can
be positioned at 90° increments.
Refer to Sect 9 - Electrical
Connection - in the O&I Manual
for details.
Fitting of motor & initial start up
EVMS ()
Vertical Multistage Pumps
Read the Operating & Instruction
Manual supplied with the pump.
!
Extracted from the Operating & Instruction Manual
Page 1/2
DRAFTDRAFTDRAFTDRAFTDRAFTDRAFTDRAFTDRAFTDRAFTDRAFTDRAFTDRAFT
7
DRAFTDRAFTDRAFTDRAFTDRAFTDRAFTDRAFTDRAFTDRAFTDRAFTDRAFTDRAFTDRAFTDRAFTDRAFTDRAFT
360°
a
b
≤ 4.0 kW
≥ 5.5 kW


 To Next Page
 Loading...