16
ASSEMBLY & CONFIGURATION
Axios is designed to enable quick and easy customization
without the need for tools using any of the available Droplock™
LED modules while the Safety Director module requires only
basic hand tools for installation. Each lightbar is sold pre-
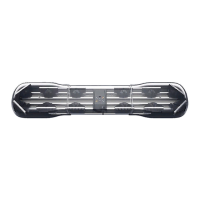
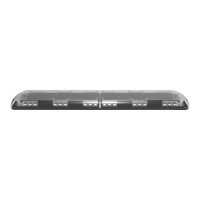
assembled with a minimum of two lighting modules installed.
If reconguration of the existing modules in the lightbar, or
the installation of additional modules is required this can be
achieved in just a few minutes by following the instructions
for each module outlined in this section. Additional modules
can be obtained from Axios Distributors.
Before attempting to recongure or upgrade the lightbar,
ensure power is disconnected and familiarize yourself with
the features and components of the chassis.
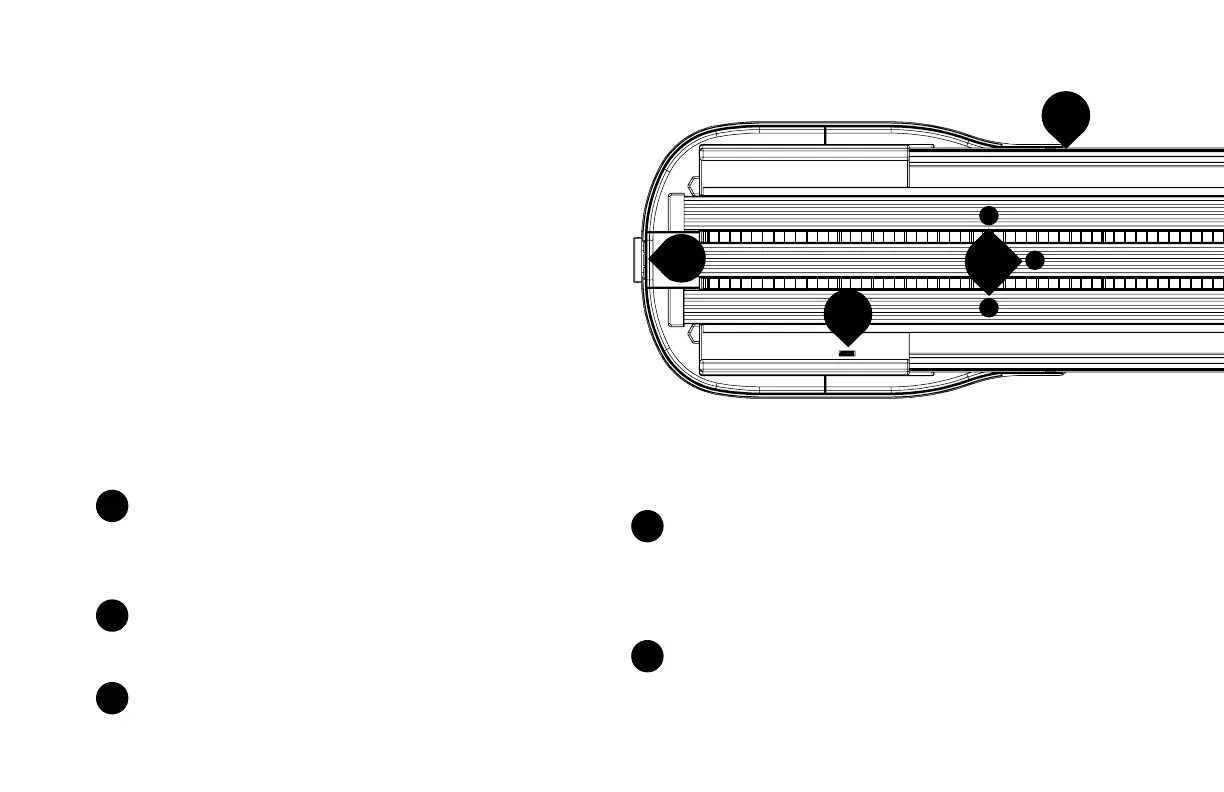
Identify the central control board. The control board
distributes power and control signals to the Droplock™
power rails and Safety Director. The logo illuminates
when power is applied to the lightbar.
Identify the Safety Director data port on the central
control board, this is used to supply power and control
signals to the Safety Director.
Identify the Safety Director grommet blank. This notch
in the lip of the chassis is used to route the Safety
Director cable into the lightbar. When a Safety Director
is installed, the blank grommet is discarded and replaced
with a cable grommet supplied with the Safety Director.
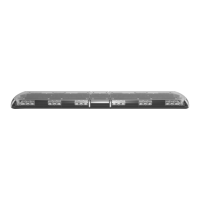
Identify the front and rear of the lightbar. To operate
properly, some LED modules must be positioned in a
specic orientation. The rear of the lightbar is easily
identied as the Safety Director data port on the central
control board faces the rear of the lightbar.
Identify the three DropLock
TM
power rails. The power
rails supply power and control signals to the Droplock™
lighting modules.
1
2
3
4
5
4
FRONT
7
8
5
a
b
a