4-1
Section 4 Component Teardown
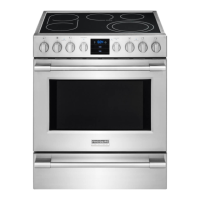
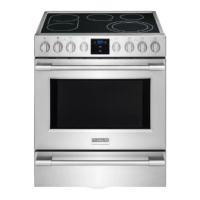
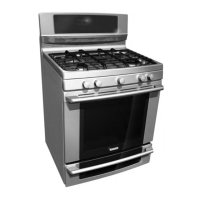
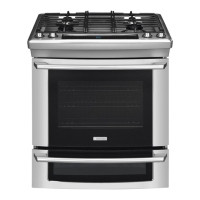
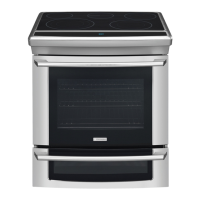
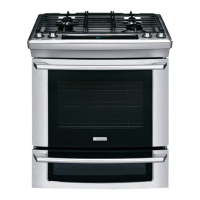
Control Console
Components within the Control Console:
• Electronic Oven Control (EOC)
• Electronic Surface Element Control User Interface
Board (ESEC-UIB)
• Electronic Surface Element Control Rotary Switches
To access the Control Console:
1. Slide the range forward approximately eight (8)
inches.
2. Remove four (4) ¼” hex head screws (two on each
side) securing side trim panels to sides of range (see
Figure 42). Then slide trim panels forward and up to
remove.
3. Remove the Control Console Service Panel by
removing the four (4) screws; one (1) on each side
and two (2) under Control Console. See Figure 43.
4. Pull forward and down on Control Console Service
Panel to remove.
5. Disconnect the four (4) molex connectors under the
Control Console (see Figure 44).
Figure 42
Slide FORWARD then UP to remove
Slide FORWARD then UP to remove
Remove two (2) screws
Figure 43
6. Remove eight (8) screws securing the Control
Console to the range; two (2) on each side, and four
(4) secured to the upper oven trim. See Figure 44 &
Figure 45.
7. Remove the remaining connectors and wires to the
EOC and ESEC-UIB to completely remove the Control
Console.
Electronic Oven
Control (EOC)
ESEC-UIB
Rotary
Switch
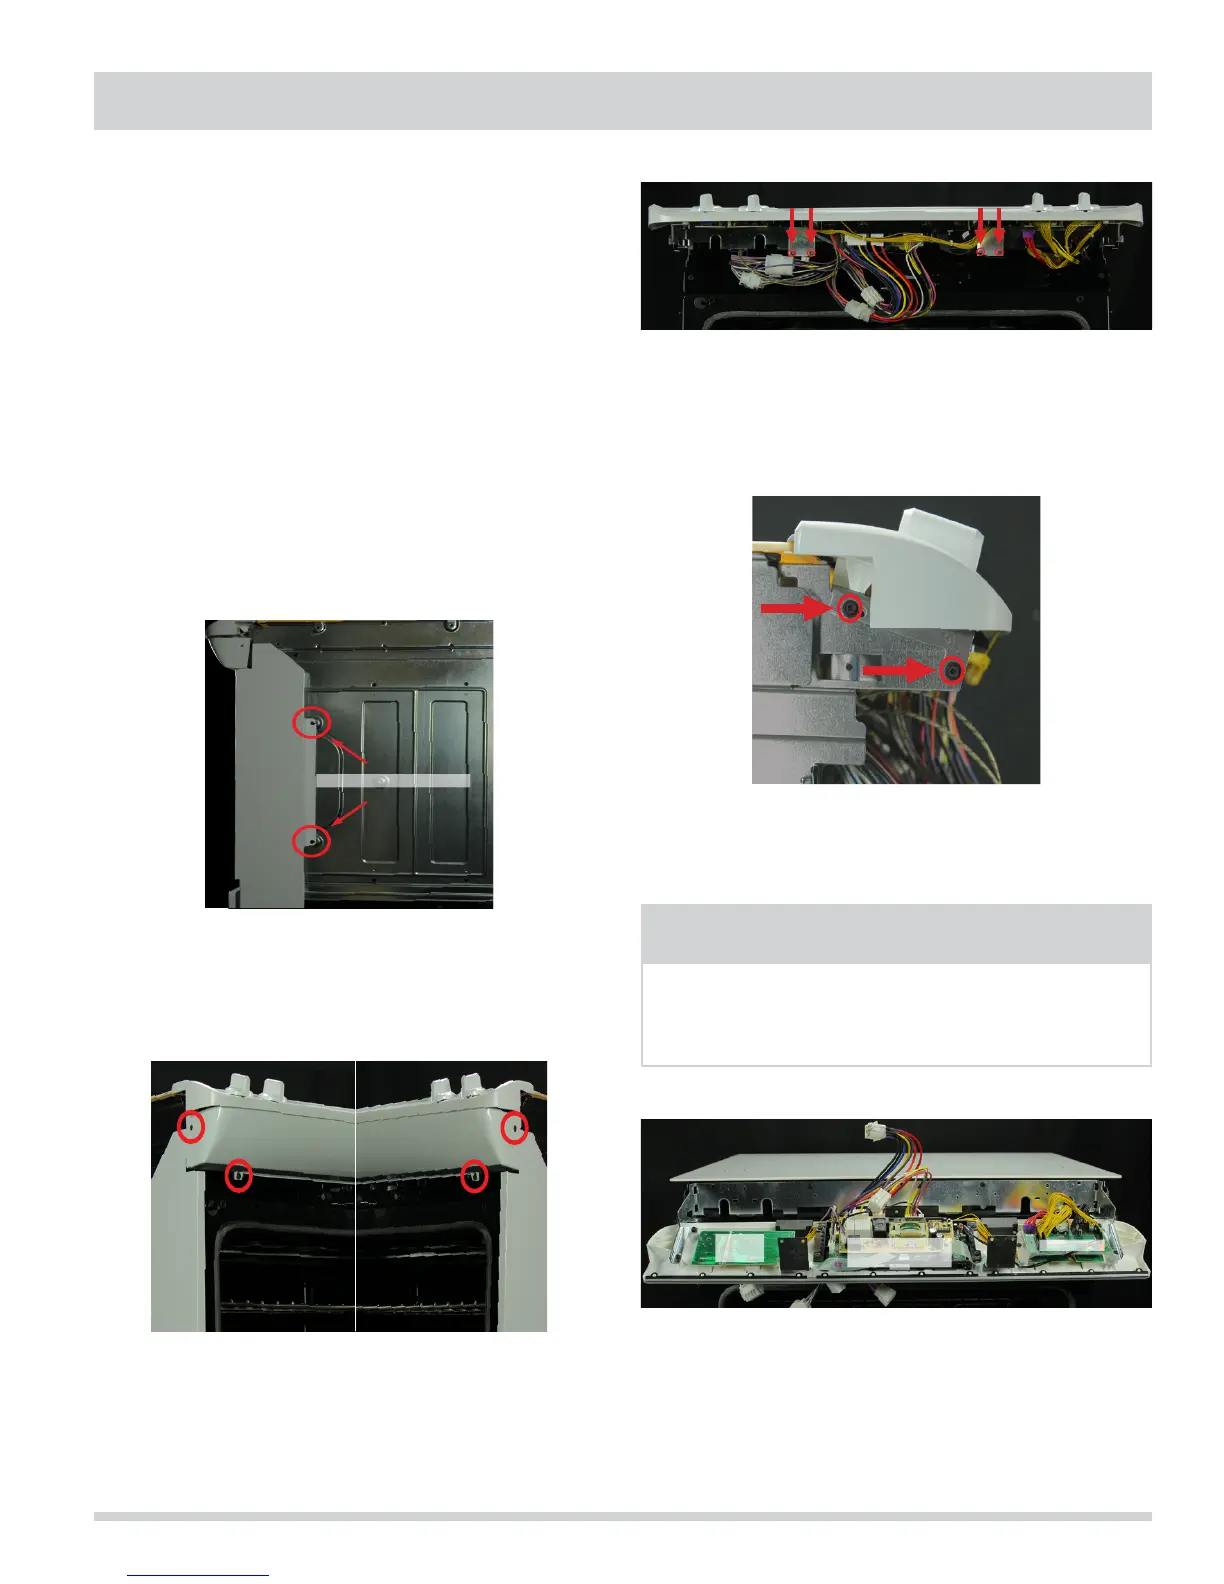
Figure 46
Control Console hinged forward to service/
troubleshoot electronic components.
Figure 44
Figure 45
NOTE
To access EOC, ESEC-UIB, & Electronic Surface Element
Control Rotary Switches for troubleshooting, only
remove screw B on each side and hinge Control
Console UP to reveal components. See Figure 46.
 Loading...