4-3
Section 4 Component Teardown
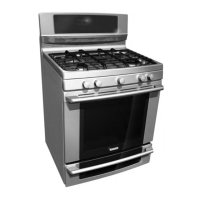
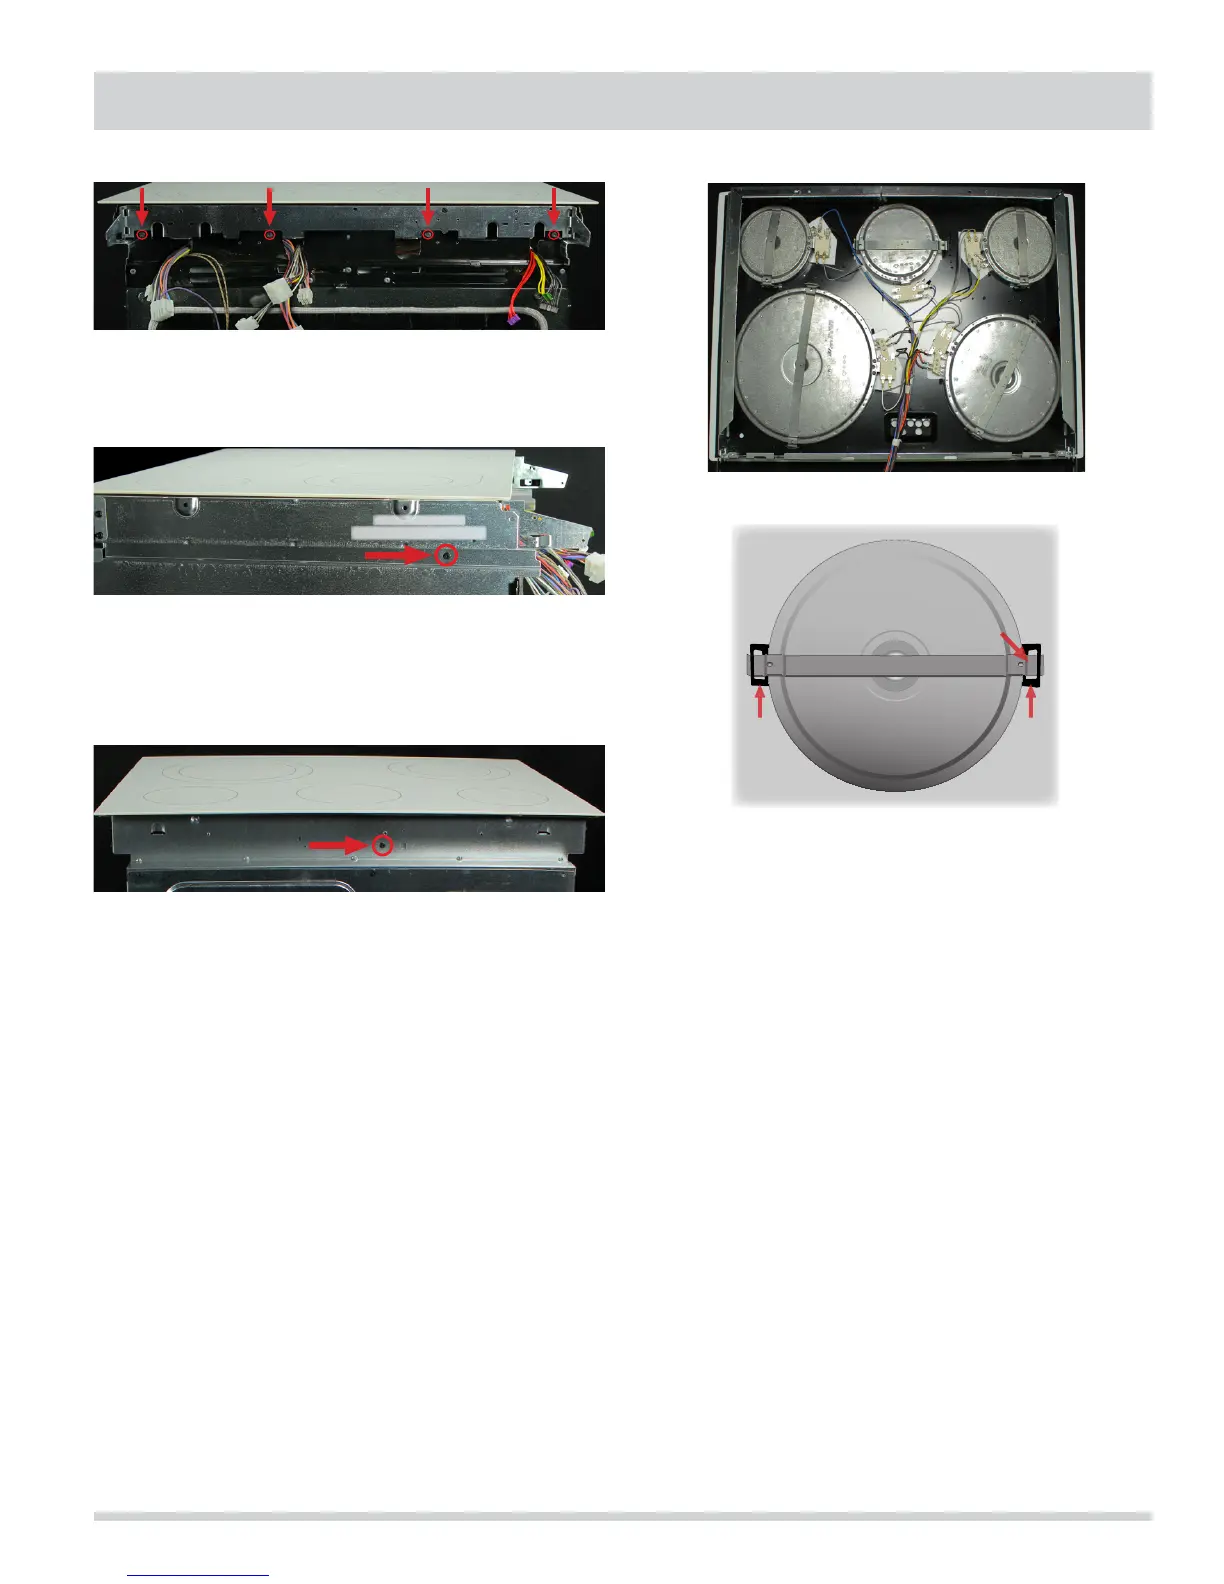
3. Remove two (2) screws securing cooktop to side
panels; one (1) on each side. See Figure 52.
4. Remove one (1) screw securing cooktop to rear
panel. See Figure 53.
5. Slide cooktop assembly forward and up to remove.
6. Reinstall in reverse order.
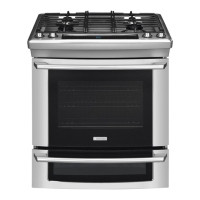
To remove a Surface Element:
1. Remove the Cooktop and Surface Element Assembly
(see “To remove the Cooktop and Surface Element
Assembly“ on page 4-2).
2. Carefully place the Cooktop and Surface Element
Assembly glass down as shown in Figure 54.
3. Disconnect wires from Surface Element.
4. Press DOWN on the mounting bar, then move anchor
away from element. See Figure 55.
5. Reinstall in reverse order.
Cooling Fan and Thermal Fuse (Non-
Resettable)
To access the Cooling Fan and Thermal Fuse:
1. Remove the Control Console (see “To access the
Control Console“ on page 4-1).
2. Remove the Cooktop and Surface Element Assembly
(see “To remove the Cooktop and Surface Element
Assembly“ on page 4-2).
3. To remove the Cooling Fan, remove the two (2)
wires from the Fan Motor and rotate the Cooling Fan
assembly counter-clockwise to release locking tabs.
Lift to remove. See Figure 57.
4. To remove the Thermal Fuse, remove two (2) wires
and two (2) screws securing the Thermal Fuse to the
Cooling Fan housing. See Figure 57.
5. Reinstall in reverse order.
Figure 54
Bottom of Radiant Element
Anchor
Mounting Bar
Anchor
Press DOWN on
Mounting Bar ,
then move Anchor
away from element
Press DOWN on
Mounting Bar ,
then move Anchor
away from element
Figure 55
Figure 51
Figure 53
Figure 52
Remove screw
(One (1) on each side)
 Loading...