7
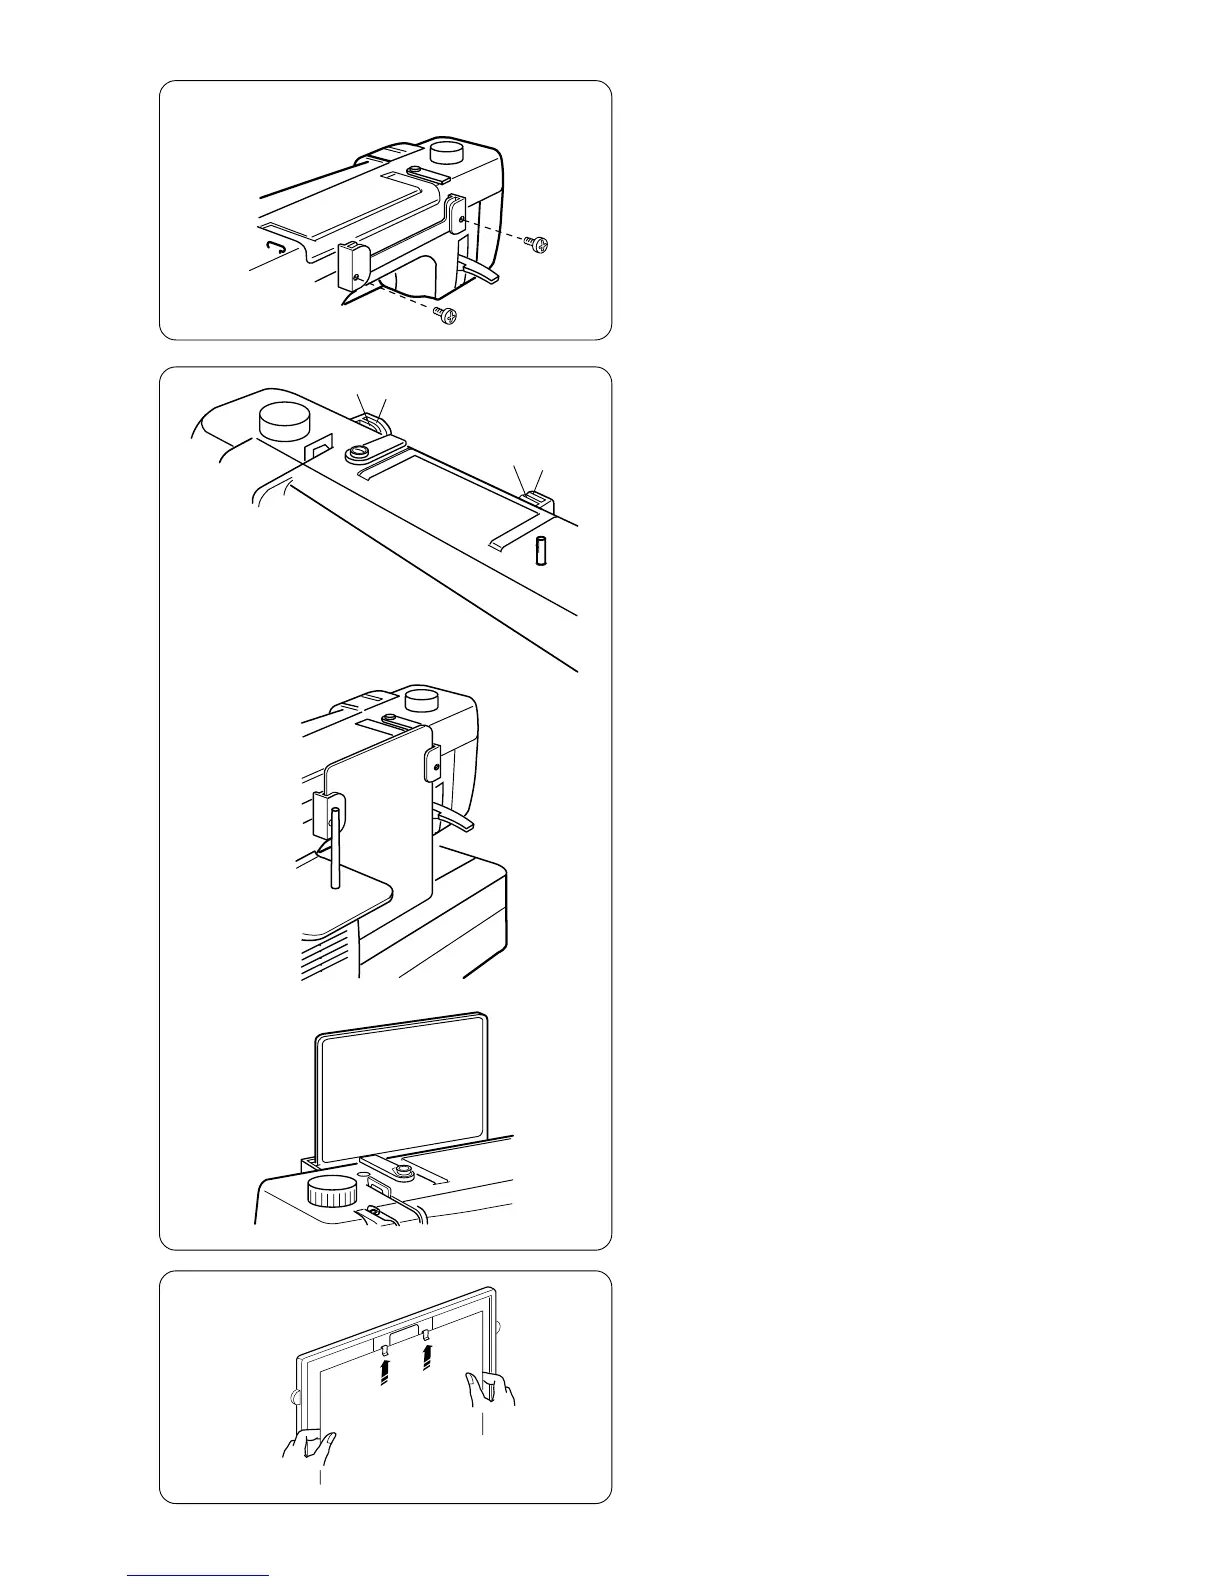
How to Attach Stitch Chart Brackets
Align the screws with the holes on the backside of
the machine. Firmly tighten screws with
screwdriver.
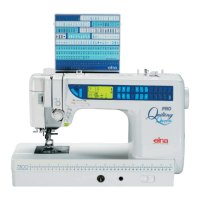
Stitch Chart
The stitch chart can be placed in two positions on
the chart bracket, store or view.
Store Position
The back slots q on the bracket are for store
position e. Slide stitch chart down between the
back slots until the stitch chart rests against
machine bed.
q
w
q
w
View Position
The front slots w on the brackets are for view
position r. Pull up and out the stitch chart from
back slots. Slide stitch chart down between the
front slots.
e
r
Write ‘n Clip Board
Need a handy place for posting information? Flip
over the stitch chart to write messages and then clip
paper or sewing instructions, notes, etc., to board.
NOTES:Do not clip multiple layers of paper or
cardboard. Slide paper under clips; do not
raise clips.