29
SECTION III
Basic Sewing
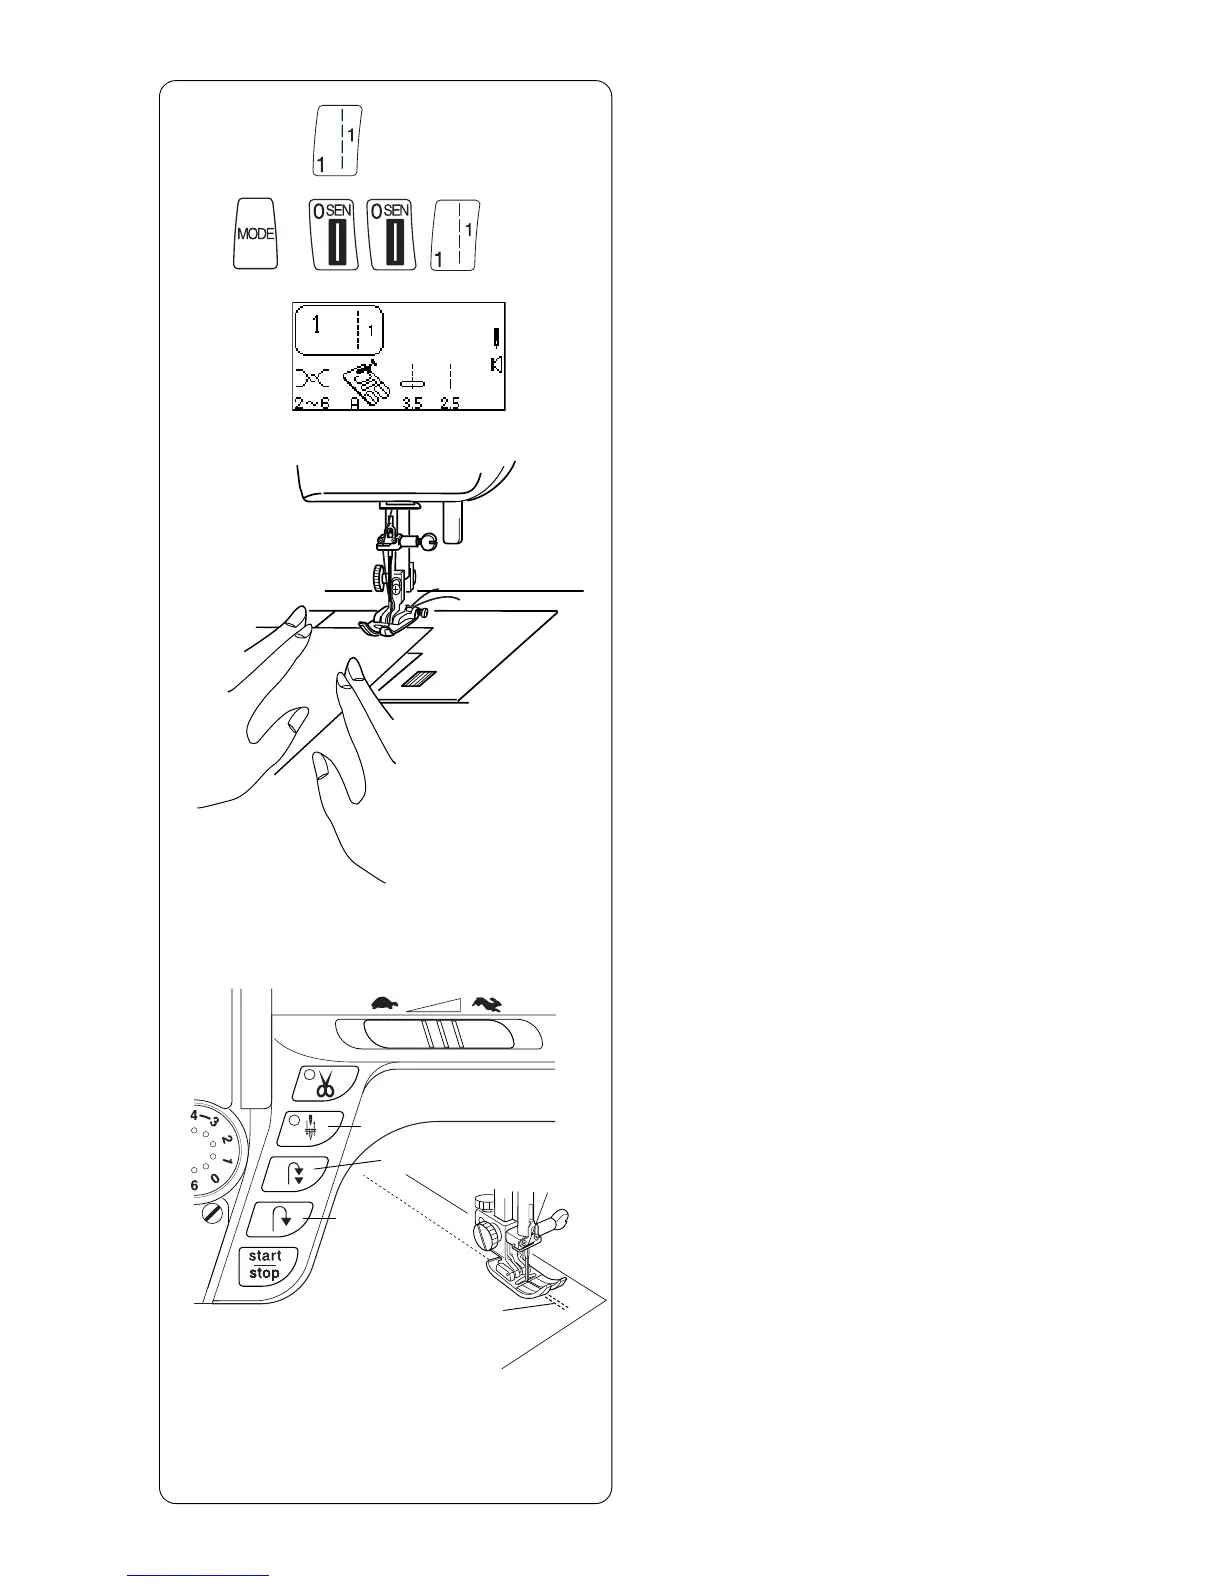
How to Select a Stitch
z Select stitches 1 – 0 in Direct Select Mode by
touching the corresponding key.
x Select stitches in the 3 Digit Mode by pressing
“MODE” key and then the 3 corresponding
keys.
Set-up your machine according to the LCD screen.
See page 13.
Straight Stitch
When the machine is turned on, it is automatically
set to sew a straight stitch in the center needle
position (Exception: Quick Resumption Mode. See
page 14).
The straight stitch is used to sew a seam in woven
fabrics. The straight stitch can also be used for
gathering, basting, sewing in a zipper, pintucks,
rolled hems and twin needle hems.
NOTE: Test sew a swatch of fabric and check
thread tension. Adjust tension dial if necessary.
See page 18.
e
w
q
w
z
x
Starting To Sew
Raise the presser foot and position the fabric next
to a seam allowance line on the needle plate. Pull
the threads under the foot towards the back and
lower the presser foot. Press the “Up/Down Needle”
key q (LED signal turns on) to lower the needle.
Press the foot control or “START/STOP” key.
Gently guide the fabric along the seam allowance
line letting the fabric feed naturally.
Press the “START/STOP” key or remove foot from
foot control to stop sewing.
.
Finishing Off a Seam
To fasten the threads at the beginning or end of a
seam, press and hold the “Reverse” key w.
OR
To lockstitch threads at the beginning or end of a
seam, press the “Auto-Lock” key e before sewing
begins or when reaching end of sewing.