17
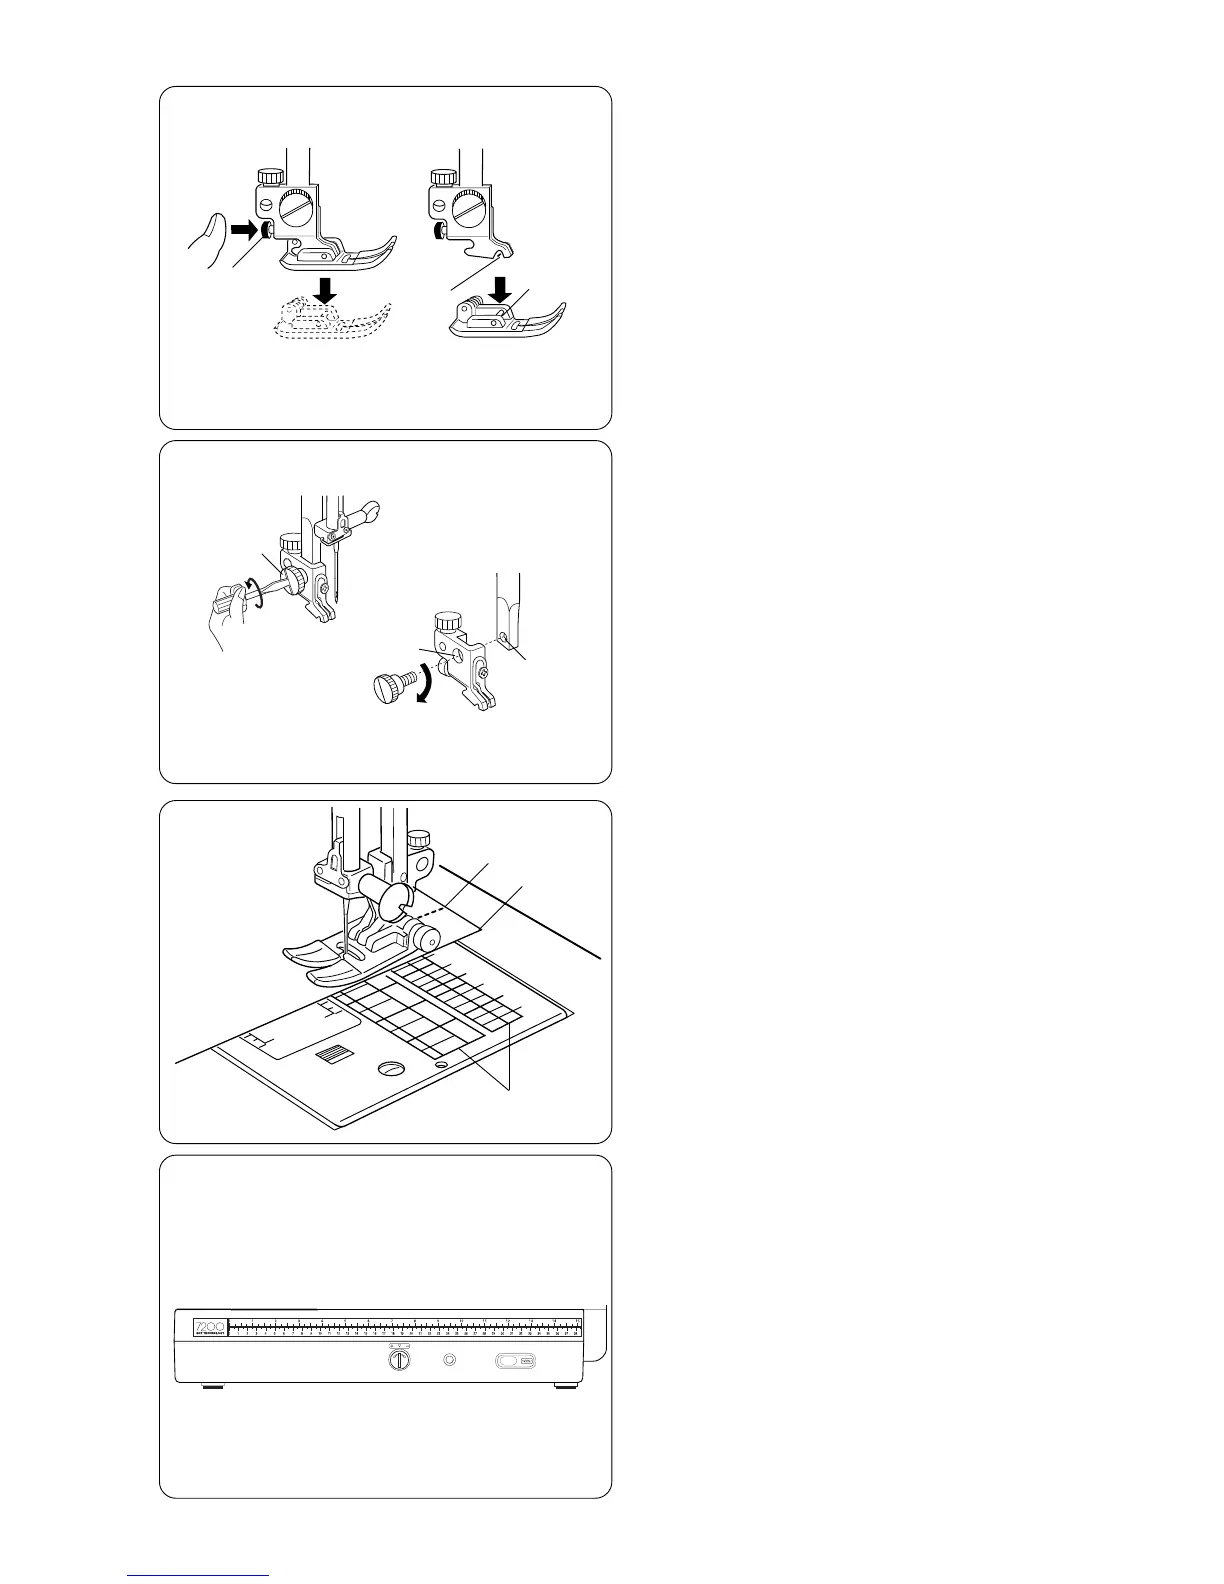
Attaching and Removing Presser Feet
Press the “Up/Down Needle” key until the needle
is in the raised position.
Turn OFF the power switch. Raise the presser foot
and press the red button q on back of the shank.
The presser foot will drop off.
Place the selected presser foot so the pin e on
the foot lies just under the groove w of the shank.
Lower the presser bar and attach the foot.
Attaching and Removing Shank
Turn OFF the power switch. Raise the presser
bar.
Turn the thumbscrew q counterclockwise with the
screwdriver to remove the shank.
To attach, match the hole in the shank w with the
hole in the presser bar e. Put thumbscrew in hole
and turn clockwise to tighten.
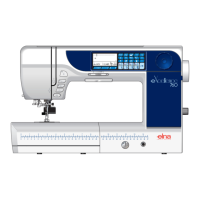
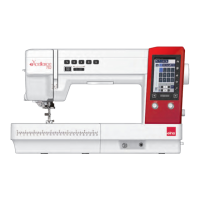
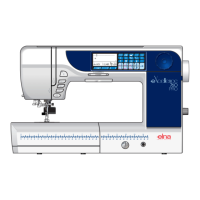
Seam Allowance Lines
The lines on the needle plate and bobbin cover plate
help you measure seam width.
The numbers indicate the distance (in millimeters
and inches) between the center needle position 3.5
q and the seam allowance line w. Use the seam
allowance line as a guide for the fabric edge e.
Centimeter/Inch Quick Measurements
Use this handy tool located on the machine base
for quick measurements.
q
w
e
q
w
e
q
e
w