10
4. Adjustment of needle position Centering Dial
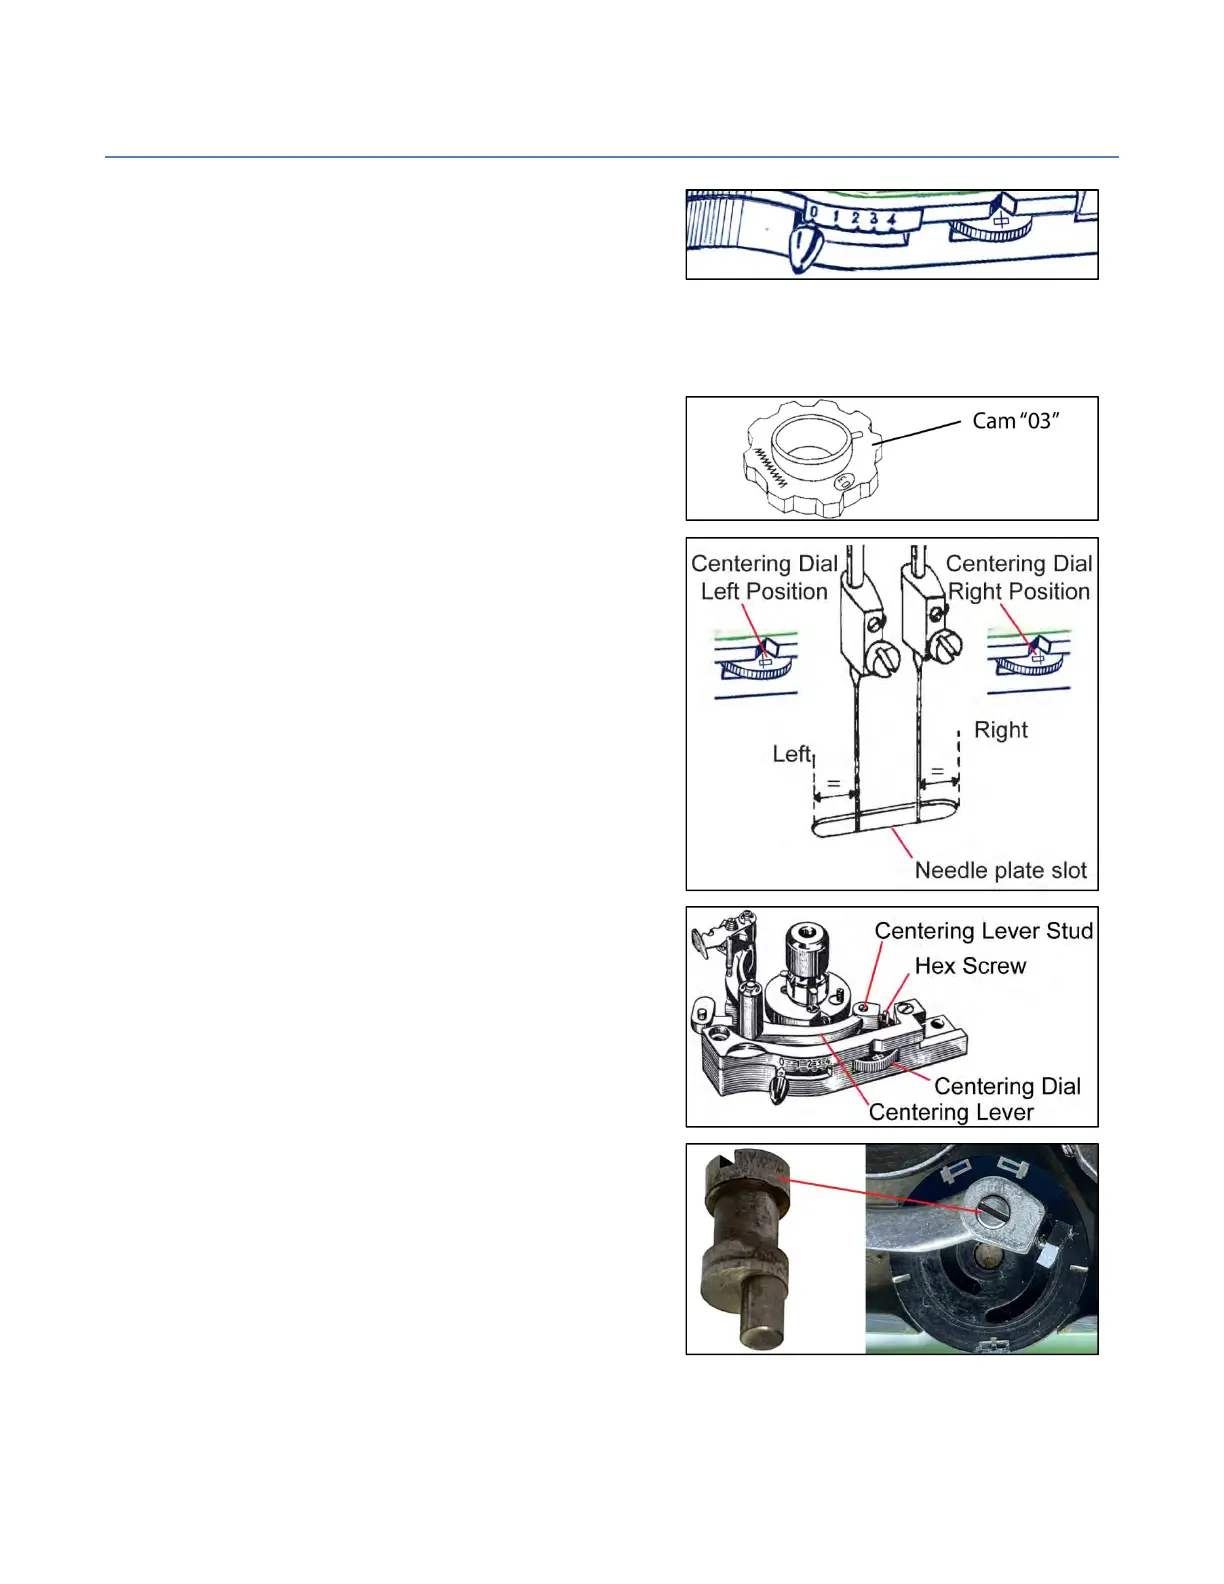
WiththeCenteringDialsetatthecenterpositionandthe
stitchwidthknobsetat"0"theneedleshouldbeinthe
middleoftheneedleplateslot(whenlookedatfromfront).
Ifthisrequirementisnotmet,proceedasfollows:
Removethepresserfoot.
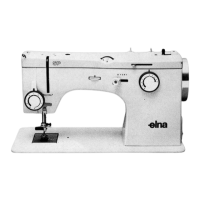
InstallCam"03"(Zigzag)inELNAGRAPH.
Installasize110/18needle.(Mustbestraight!)
Setthestitchwidthknobat"0."
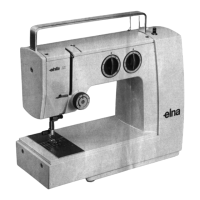
TurntheCenteringDialtothefullLeftPosition.
Turnflywheeltowardsyouuntiltheneedlereachesitslowest
positionattheLeft.
Checkdistancebetweenneedleandtheleftendoftheslot.
TurntheCenteringDialtothefullRightPosition.
Turnflywheeltowardsyouuntiltheneedlereachesitslowest
positionattheRight.
Checkdistancebetweenneedleandtherightendoftheslot.
Comparebothoftheabovemeasurements.Theyshouldbe
equal.Ifthisisnotthecase,proceedasfollows:
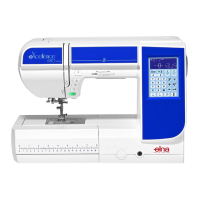
Usinga6mmwrench,loosentheHexScrewintheCentering
LeverjustenoughtoallowtheCenteringLeverStudtoturn
butleavingenoughfrictiontoholditinplaceduring
adjustment.
TheCenteringLeverStudfitsinathroughholeinthe
CenteringLever.Theeccentricstudonthebottomofthe
CenteringLeverStudridesinaspiralgrooveinthetopofthe
CenteringDial.ItisheldinplacebytheHexScrew.
TurntheCenteringLeverStuduntiltheLeftandRightneedle
positionsareequal.
TightentheHexScrewafteradjustment.