- 13 -
AUTOEXEC.OLD. If you already have Elo driver commands in your
AUTOEXEC.BAT file, they will be commented out.
When INSTALL is finished, it leaves a file called GO.BAT in the subdirectory you
specified. GO loads the touchscreen driver, runs the calibration program
ELOCALIB, and gives you some final instructions.
If you are using Windows 3.1, you will also calibrate the touchscreen within Windows
3.1 with the Touchscreen Control Panel.
OPERATION
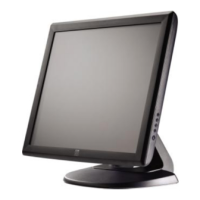
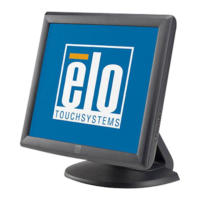
1.About Touchmonitor Adjustments
By design, your Elo Entuitive touchmonitor should not require any adjustments.
The factory settings will give you optimum video results with most standard PC video
display adapters.
However, after connecting your touchmonitor you can further optimize the settings to
meet your requirements by following the directions in this chapter.
All adjustments you make to the controls are automatically memorized, so you do not
need to reset your choices every time you unplug your touchmonitor or power it off
and on. If there is a power failure your touchmonitor settings will not default to the
factory specifications.
IMPORTANT: Do not insert conductive metal objects into the monitor's circuitry. The
monitor uses high voltages and the metal edges can be sharp.
Disassembly or realignment of the monitor circuitry voids the warranty.
2.Touchmonitor Controls
You can adjust the screen display by using the plastic knob labeled OSD located on
the right-hand side of the touch controller bracket.
2.1 Using the On Screen Display (OSD)
2.1.1 Push the OSD knob to access the OSD.
2.1.2 Turn the OSD knob to choose the item you want to adjust. The selected item
is highlighted. See figure 1 for OSD menu options.
2.1.3 Push the OSD knob to adjust the highlighted item.
The display unit automatically saves the new settings in about 45 seconds
after your last adjustments. The menu will automatically disappear or you can
push the OSD knob to make the menu disappear.
Figure 1 OSD Menu
EXIT
RGB
R
OSD