00809-0100-4835 Rev BE
The transmitter terminal block and ground screw terminals are
designed to accommodate wire sizes from 24 AWG to 14
AWG. The screw terminals are also compatible with stud size
#6 (M3.5) or #8 (M4) crimp terminals. Crimped connections
shall be performed in accordance with manufacturers’
recommendations with proper tooling.
PROCEDURES
Installation consists of mounting the transmitter and
conduit/connector and making electrical and process
connections. The procedures for each operation follow.
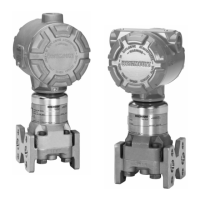
Improper assembly of mounting bracket to transmitter
traditional process flange can damage sensor module.
For safe assembly of bracket to traditional flange, bolts must
break back plane of flange web (i.e. bolt hole), but must not
contact module housing. Use only the approved bolts
supplied with the bracket.
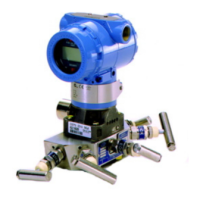
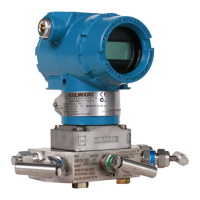
1. Attach the mounting bracket to the mounting location
as follows:
Panel Mount
Mount the bracket to a panel or other flat surface
(for illustration see Figure 2-5). Please note that
the bolts required for this step are customer
supplied hardware. Based on qualification tests
performed by Rosemount, the bolts listed in Table
2-1 are recommended for the bracket-to-customer
interface. Torque each bolt to the value shown in
Table 5-2 in Section 5: Maintenance and
Troubleshooting
Pipe Mount
Assemble the bracket kit to a 2-inch pipe (for
illustration see Figure 2-5). Torque each bolt to
the value shown in Table 5-2 in Section 5:
Maintenance and Troubleshooting.
2. Attach the transmitter to the mounting bracket (for
illustration see Figure 2-5). Use the four 7/16-20 x
3/4-inch bolts with washers supplied with the
transmitter. Torque each bolt to the value shown in
Table 5-2 in Section 5: Maintenance and