- 130 -
6 장 접속 관련
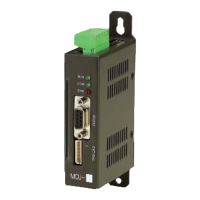
3) MCU-E
Ext. I/O *
24V GND
24V
TxD+
RxD+
TxD-
RxD-
FS+
FS-
CS1+
CS1-
CS2+
CS2-
RESET+
RESET-
CLK+
CLK-
MCU-Mx
MCU-E
1
2
*1)
1
2
3
4
5
6
7
8
9
10
11
12
13
14
15
16
EXT-IO
Power
*2)
DC 24V
Power
IO1
ON
1
2
3
4
S.G
5V
INPUT0
INPUT1
INPUT2
INPUT3
INPUT4
INPUT5
INPUT6
INPUT7
INPUT8
INPUT9
Input COM.0
Input COM.1
INPUT10
INPUT11
INPUT12
INPUT13
INPUT14
INPUT15
INPUT16
INPUT17
INPUT18
INPUT19
OUTPUT0
2
3
1
20
21
22
4
5
23
24
25
26
27
28
29
30
31
32
33
34
35
36
37
6
7
8
9
10
11
12
13
14
15
16
17
18
19
OUTPUT1
OUTPUT2
OUTPUT3
OUTPUT4
OUTPUT5
OUTPUT6
OUTPUT7
OUTPUT8
OUTPUT9
OUTPUT10
OUTPUT11
OUTPUT12
OUTPUT13
Output COM.
24V GND COM.
24V GND COM.
24V COM
Note)
*1) Set an ID as follows before inputting power.
Extended I/O 1: 1 & 2 ON, 3 & 4 OFF
Extended I/O 2: 1 & 2 OFF, 3 & 4 ON
Be careful because there may happen an I/O malfunction when setting other ID than above.
Do not set an ID after inputting power.
*2) All input ports can be inputted with NPN or PNP configuration. Therefore, 24V or 24V GND
can be connected to the input pin(COM).