eMKW-TD0054-21- Page 52
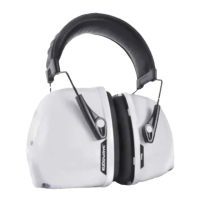
A green light indicates that the specific side of the device is connected and ready
A red light indicates that the specific side of the device is not connected. Unplug and reconnect
this side. A test cannot be conducted until the green light is on.
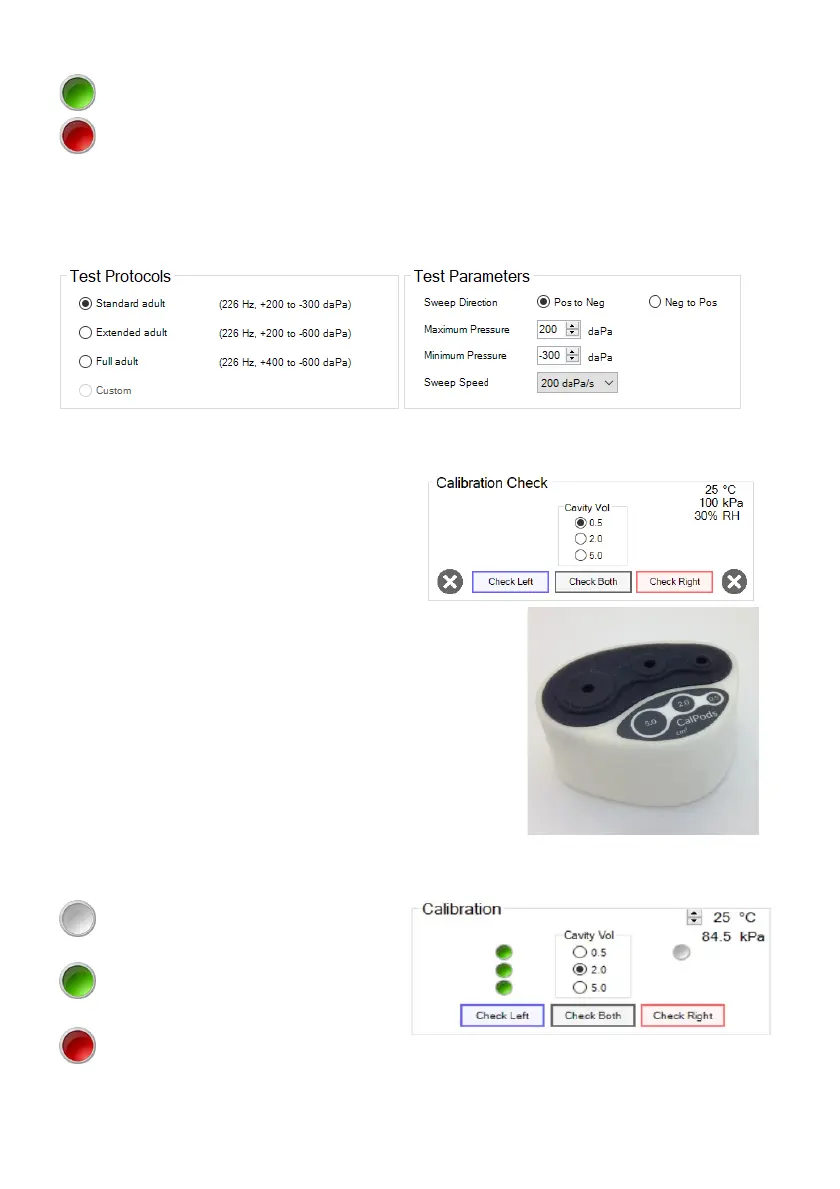
Select Test Protocols and Parameters
Under Test Protocols, select one of the pre-set protocols. Alternatively adjust the test parameters
manually in the Test Parameters box.
Perform a Calibration Check with the Calpod
The calibration check allows for the calibration of
the device to be tested at the current ambient
temperature and barometric pressure. This is
important for the accuracy of the device. The
device has an environmental sensor which
measures the temperature, barometric pressure
and relative humidity.
Select the first cavity volume to be checked (make sure the probe
is inserted into the same cavity volume in the calpod). All three
cavity volumes must be processed for the check to pass and to
conduct a test. Insert the probe (without an ear-tip) into the
respective cavity volume indicated on the calpod. Press it hard to
make sure it’s securely inserted.
Click on the Check Left / Check Right button for the respective
side you are testing. Repeat this process for each cavity volume
and on the other side. If two calpods are being used, both sides
may be checked at the same time, just click on Check Both.
As the check is being done, lights appear next to the respective cavity volumes on the respective side:
A white light indicates that the specific
cavity has been processed
A green light indicates that all cavities
have been processed and the specific
cavity passed the calibration check
A red light indicates that all cavities
have been processed but the specific
cavity failed the calibration check