You may check your meter and test strips using
the Bravo™ Control Solution (control A and/
or B). The Bravo™ Control Solution contains a
known amount of glucose and is used to check
that the meter and the test strips are working
properly.
The test strip vials have Bravo™ Control Solution
ranges printed on their labels. Compare the
result displayed on the meter to the Bravo™
Control Solution range printed on the test strip
vial. Before using a new meter or a new vial of
test strips, you may conduct a control solution
test following the procedure on pages 18 ~ 19.
Notes:
Bravo™ Control Solution.
first open a control solution bottle, record the discard date
(date opened plus 3 months) in the space provided on the
label.
at room temperature before testing. Control solution tests
must be done at room temperature (20 ~ 25°C, 68 ~ 77°F).
the first few drops and wipe the tip clean.
temperature of 8 ~ 30°C (46 ~ 86°F).
You may do a control solution test:
control solution instead of blood,
Note
At any stage, if the
S
button is pressed for 3
seconds, setting mode will finish and the meter
will be turned off. Press and hold to scroll
through numbers quickly.
Setting the ‘Test Result Reset’
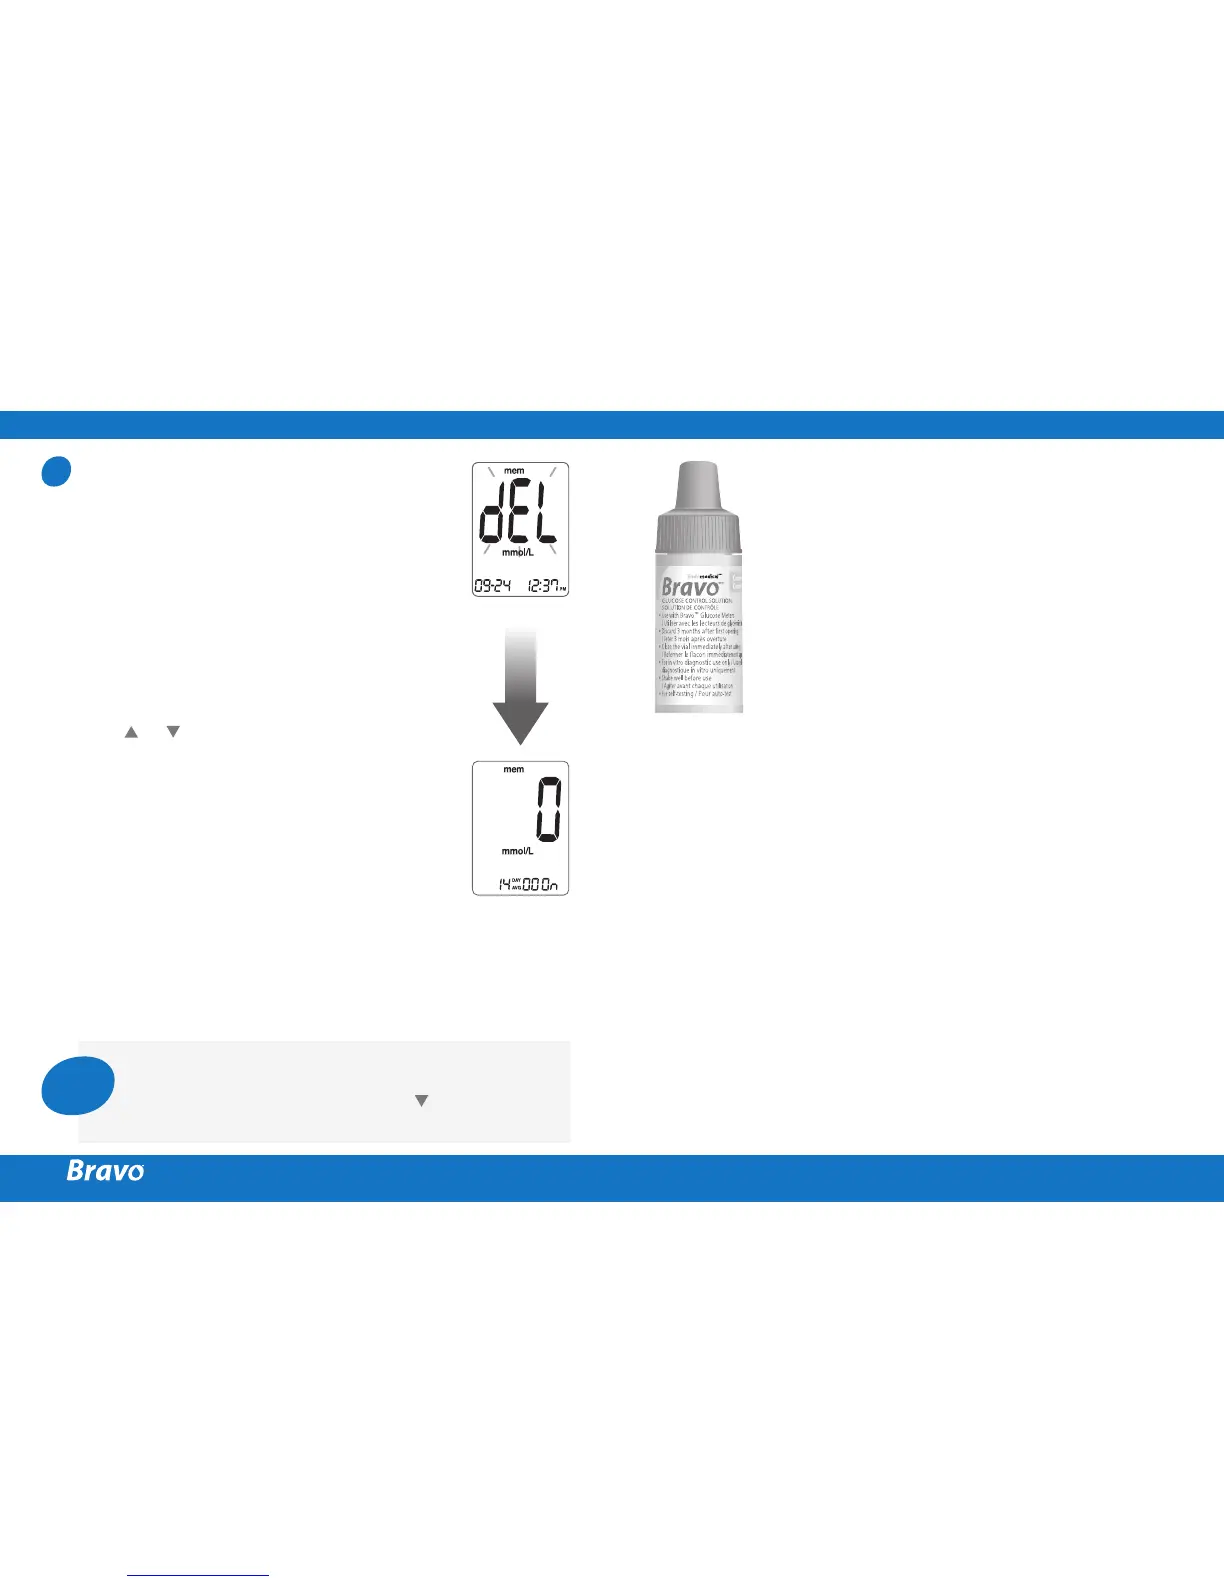
(Deleting all the saved test results)
In this mode all the test results stored in
the meter can be deleted. Please note that
if you select YES, all the stored test results
will be deleted and cannot be restored.
After the beeper mode is set, press the
S
button to enter the ‘Test Result Reset’
mode. The ‘dEL’ character will blink on the
screen.
Press or to alternate between ‘YES’ or
‘no’.
To delete all the stored test results, press
the
S
button while the screen displays
‘YES’. Then, all the test results stored in the
meter will be deleted and the screen will
be similar to the picture on the right.
If you do not want to delete the results,
press the
S
button while the screen displays
‘no’. Then, the screen will return to step 2.
See page 12.
9