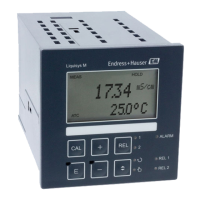
Calibration (Calibration menu) CM14
28 Endress+Hauser
7 Calibration (Calibration menu)
7.1 General
Determining the relationship between the measured or expected value of the output variable
and the corresponding true or correct value of the measured variable (input variable) for a
measuring device under specified conditions.
During calibration, there is no intervention that changes the measuring instrument.
7.2 Device functions for calibration
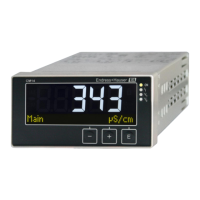
Press the 'E' button during operation to call up the main menu. Use the '+'- and '-' buttons to
navigate through the available menus. When the desired menu is displayed, press the 'E' key
to open the menu. Select the "x Back" option at the end of each menu/submenu to navigate
one level higher in the menu structure.
Parameter Configuration options Description
Conductivity Calibrate the conductivity measurement.
C calib. start Read only
k Read only Current cell constant
C cal. Numerical value
0 mS/cm
k Read only Newly calculated cell constant
Save calib data? Yes, No Save or discard calibration data?
Temperature Calibrate the temperature measurement.
T cal. start Read only
T cal. Numerical value
Save calib data? Yes, No Save or discard calibration data?
7.2.1 Calibrate cell constant
A conductivity measurement system is always calibrated such that the exact cell constant is
determined/verified using suitable calibration solutions. This method is described, for
example, in the EN 7888 and ASTM D 1125 standards, each of which details the manufacture
of a few calibration solutions. Another option is to obtain international calibration standards
from government metrology authorities. This is particularly important in the pharmaceutical
industry, where traceability of the calibration to internationally recognized standards is
mandatory. To calibrate its test equipment, Endress+Hauser uses the SRM (Special Reference
Material) of the US government agency NIST (National Institute of Standards and
Technology).

 Loading...
