4 Installation
4.3. Attaching the machine coupler
1. Check the tipping load limits. Take the product's weight
and the increased reach into account. Installation may
make it necessary to reduce the capacity of the tool.
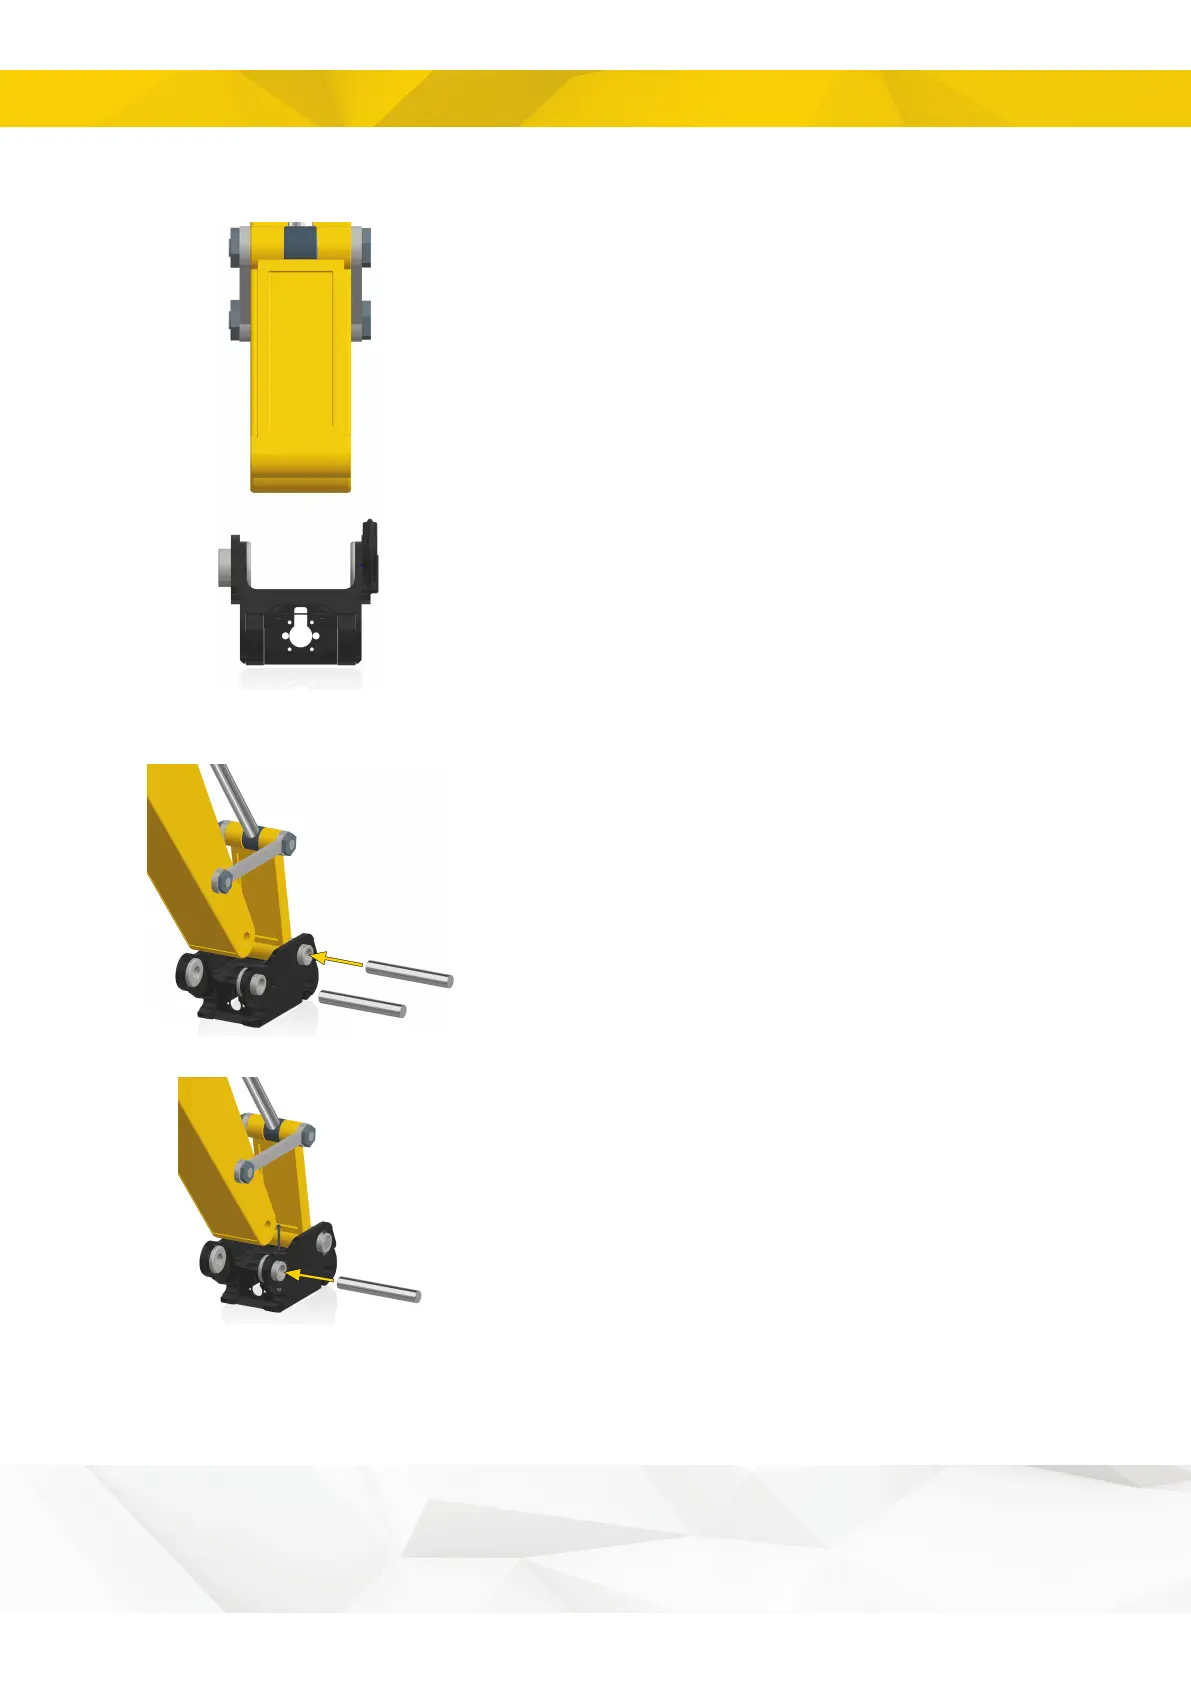
2. Position the base machine and machine coupler on a
flat, non-slip surface. Make sure the product is upright and
in line with the stick and the dog bone linkage.
1. Fit any O-rings if such must be used.
2. Position the dog bone linkage to align with the
appropriate holes in the machine coupler.
3. Shim the width if necessary.
4. Insert the intended shaft journal.
5. Fit the shaft journal lock and make sure it locks correctly.
6. Position the stick so that it is aligned with the designated
holes in the machine bracket.
7. Lower the stick carefully; make sure that no shear forces
occur.
8. Shim the width if necessary.
9. Insert the intended shaft journal.
20