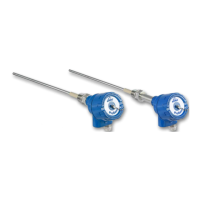
6
Fig. 3b: Square cross-section
2.2 Sensor installation - Standard
The R 1” internal threaded socket is rst welded onto the pipe wall in the chosen installation location
and fully drilled to the inside diameter of the socket. The sensor is then screwed in tightly.
Check the connection for tightness.
Important:
• Use the correct tool (wrench size = S37) and place it on the G 1" screw connection.
Do not screw the sensor in by hand since the screw connector could come loose and this can
damage the electronics.
• Incorrect installation will void the warranty!
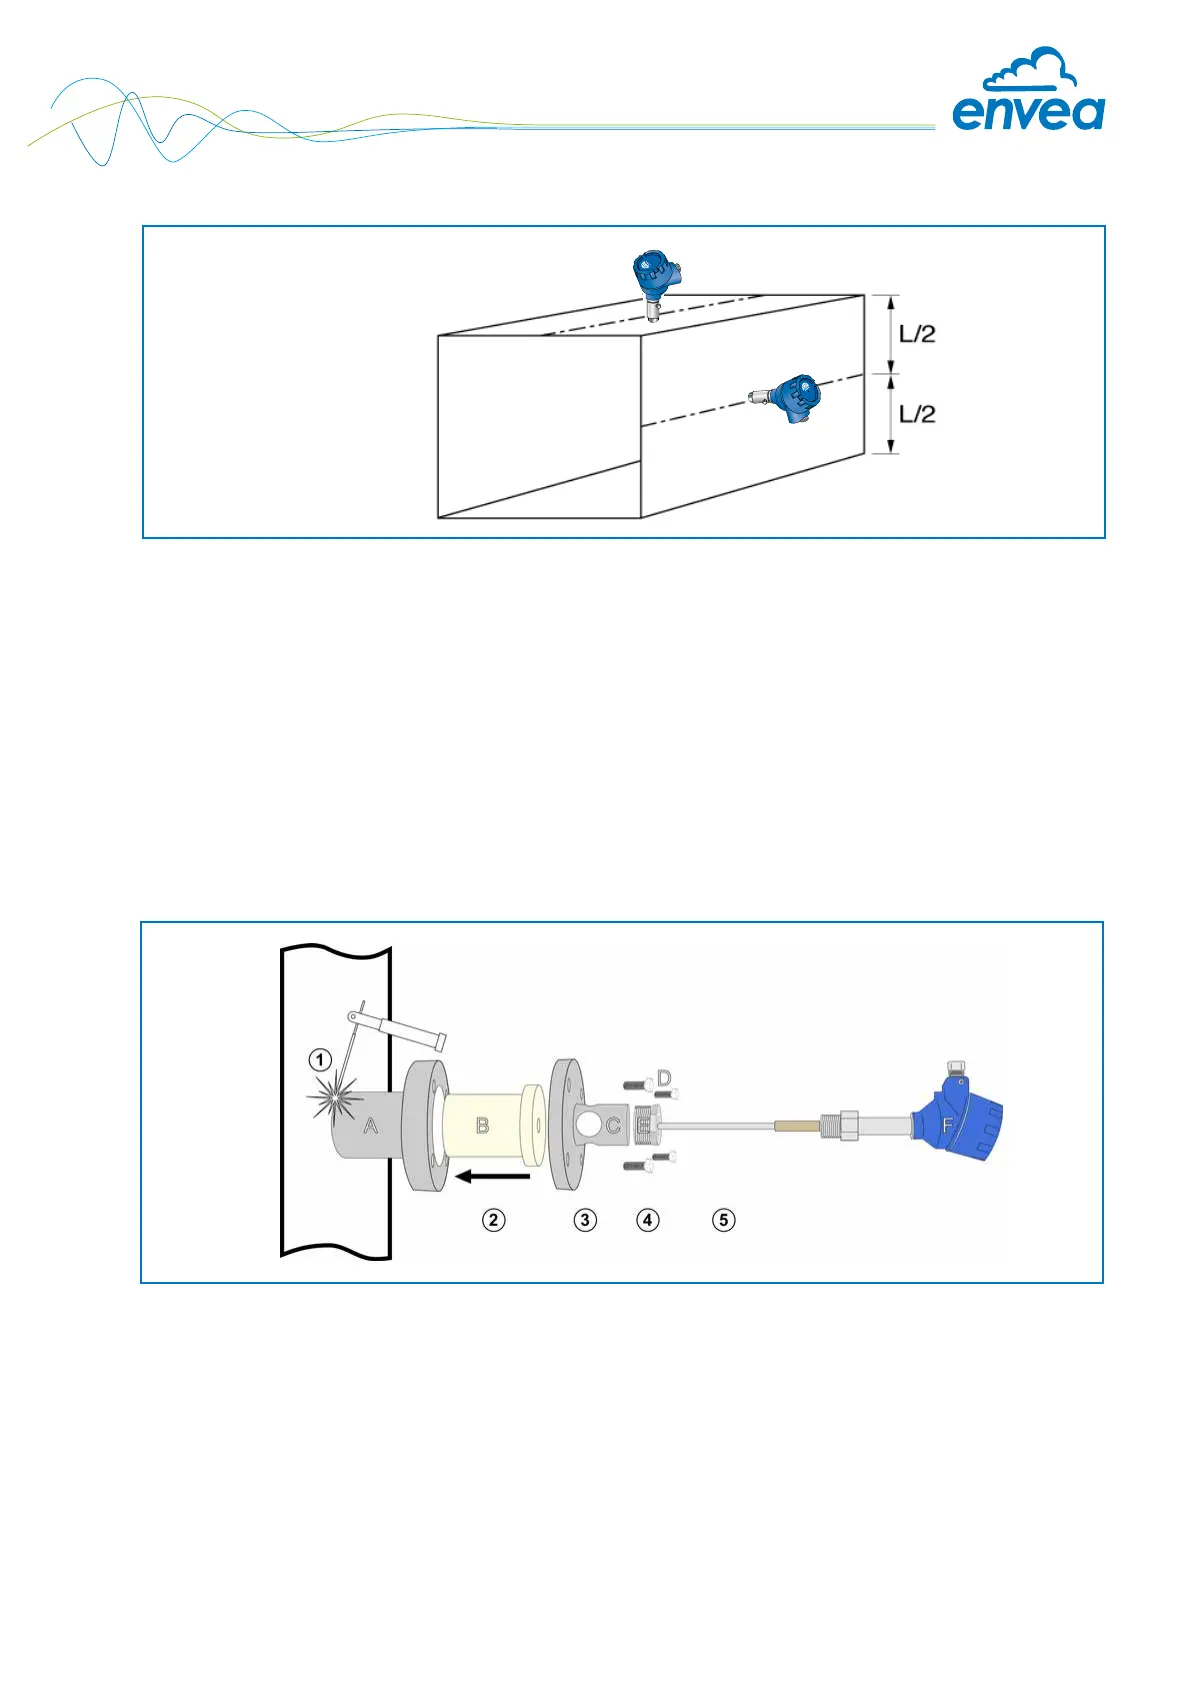
2.3 Sensor installation - High temperature socket
1 Weld the main socket (A) onto the pipe in the chosen installation location and fully drilled to the
inside diameter of the socket.
2 Carefully insert the ceramic cartridge (B) into the socket.
3 Position the ange (C) and mount it with the 4 bolts (D). Use the proper tool (Wrench size 27).
4 Install the G 1 ½” – 1” adapter (E). Use the proper tool.
5 Install the ProSens sensor into the assembled socket fallowing instruction in 2.1.
ProSens in the
centre
on the pipe or side.
Fig. 3c: Square cross-section