EasyManuals Logo

Epever MPPT User Manual

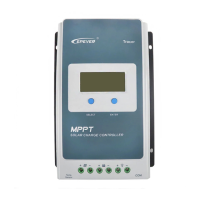
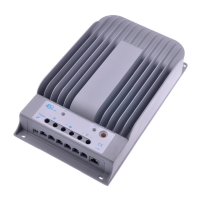
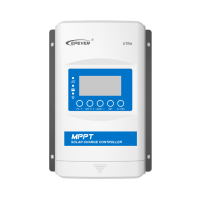
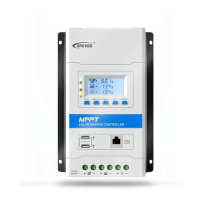
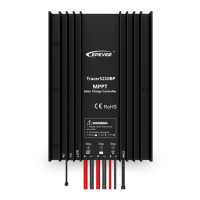
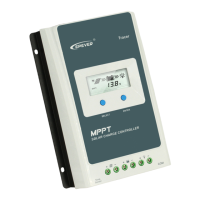
Epever MPPT
40 pages
To Next Page IconTo Next Page
To Previous Page IconTo Previous Page
Page #31 background imageLoading...
Page #31 background image
28
Make sure no block on airflow around the controller. Clear up any dirt and
fragments on the radiator.
Check all the naked wires to make sure insulation is not damaged for sun
exposure, frictional wear, dryness, insects or rats, etc. Repair or replace some
wires if necessary.
Verify the indicator display is consistent with the actual operation. Pay attention
to any troubleshooting or error indication. Take corrective action if necessary.
Confirm that all terminals have no corrosion, insulation damaged, high
temperature or burnt/discolored sign, tighten terminal screws to the suggested
torque.
Clear up dirt, nesting insects, and corrosion in time.
Replace a new surge arrester in time to avoid damaging the controller and even
other equipment.
WARNINGRisk of electric shock! Make sure that all the power is turned off
before the above operations, and then follow the corresponding inspections
and operations.

Other manuals for Epever MPPT

Questions and Answers:

Question and Answer IconNeed help?

Do you have a question about the Epever MPPT and is the answer not in the manual?

Epever MPPT Specifications

General IconGeneral
DisplayLCD
TypeSolar Charge Controller
Nominal System Voltage12V/24V Auto (depending on the model)
Max Charging Current10A to 40A (depending on the model e.g., 10A for Tracer1210AN)
CommunicationRS485
Rated Battery Voltage12V/24V Auto
Protection FeaturesOver Voltage, Reverse Polarity, Over Discharge, Over Heating, Over Load
EfficiencyUp to 98%
DimensionsVaries with model.
ModelTracer AN series (e.g., Tracer1210AN, Tracer2210AN, Tracer3210AN, Tracer4210AN, Tracer1215AN, Tracer2215AN, Tracer3215AN, Tracer4215AN)

Related product manuals