You will need to use the two tightening pins that are provided with the chuck in
order to clamp the cylinder tightly into place.
3-Jaw Chuck Focus
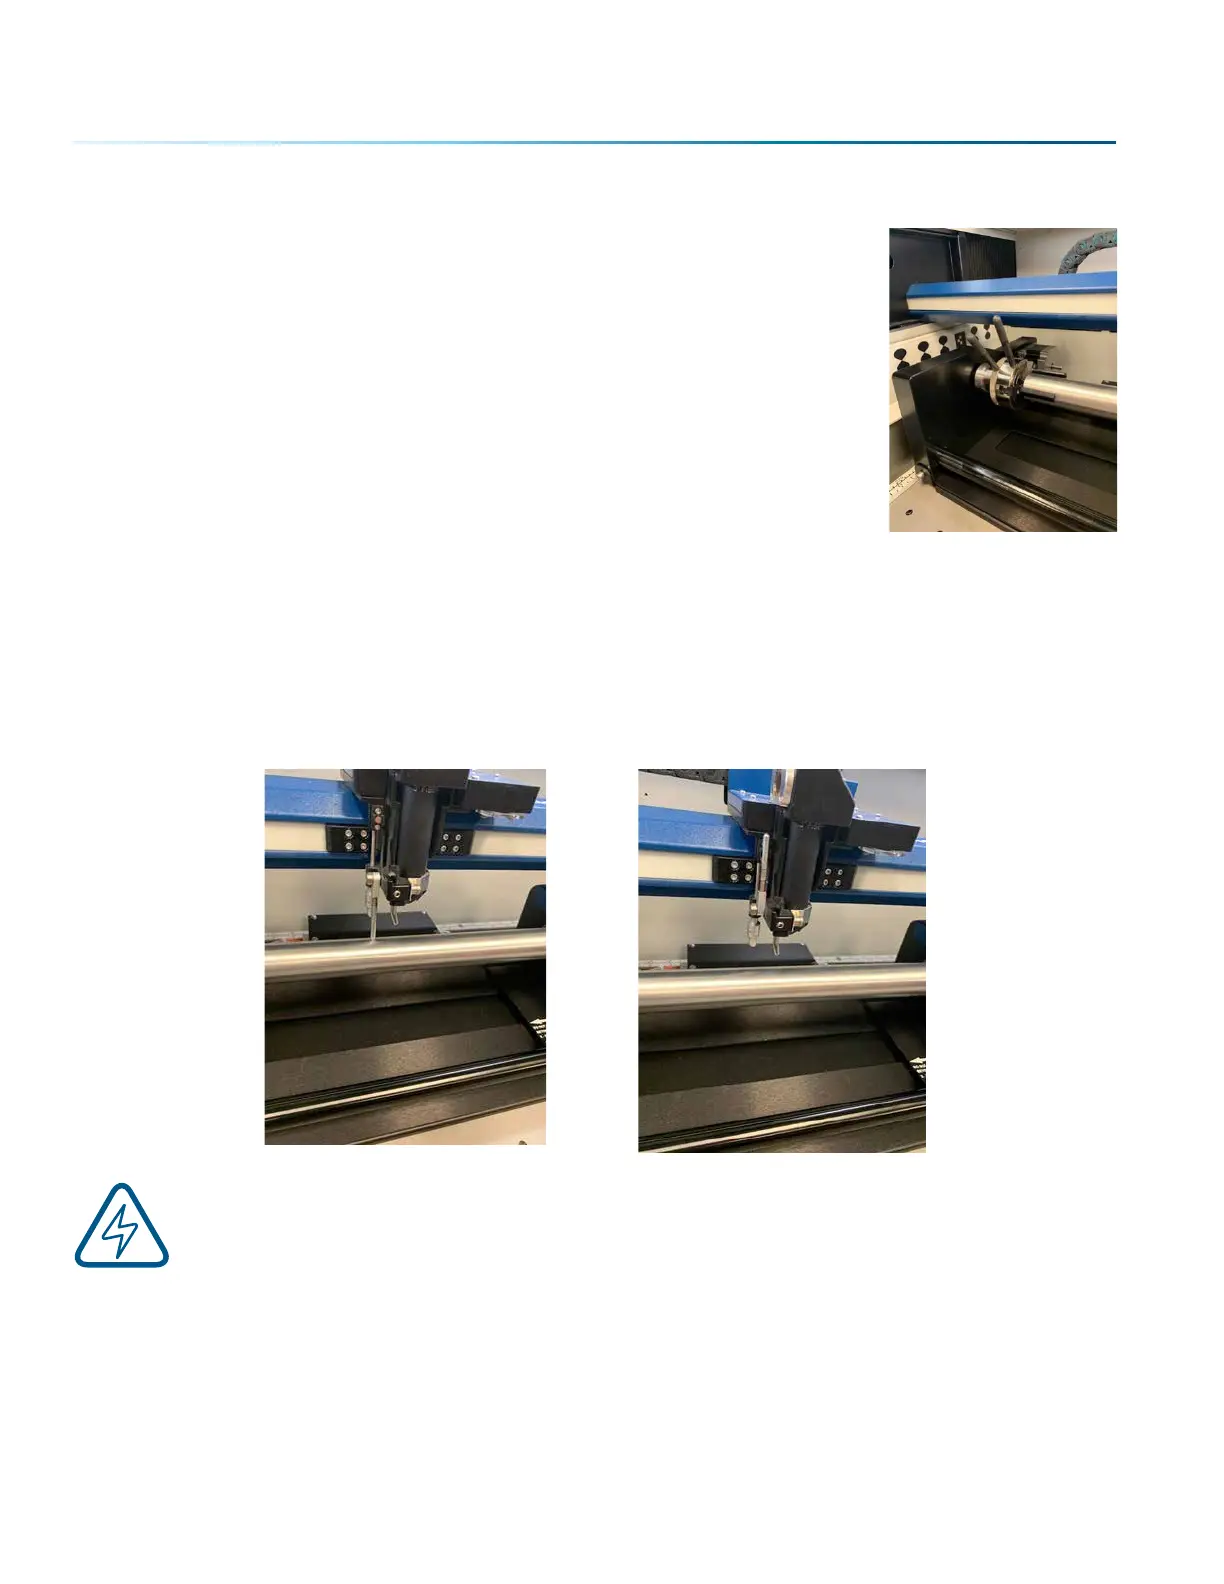
With your cylinder in place on the Rotary Attachment, drop the Manual Focus Gauge down. Select the
Jog Menu at the control panel and use the joystick to move the carriage to your point of engraving. Then
select the Focus Menu and use the joystick to raise/lower the table until the Manual Focus Gauge touches
the cylinder. The picture below on the le shows the focus gauge in the down position. The picture on the
right shows the focus gauge in the up position.
Note: The 3-Jaw Chuck Rotary is designed to use manual focusing only. Auto focus cannot
be used with the 3-Jaw Chuck Rotary.
- 138 -
SECTION 9: OPTIONAL FEATURES
 Loading...


