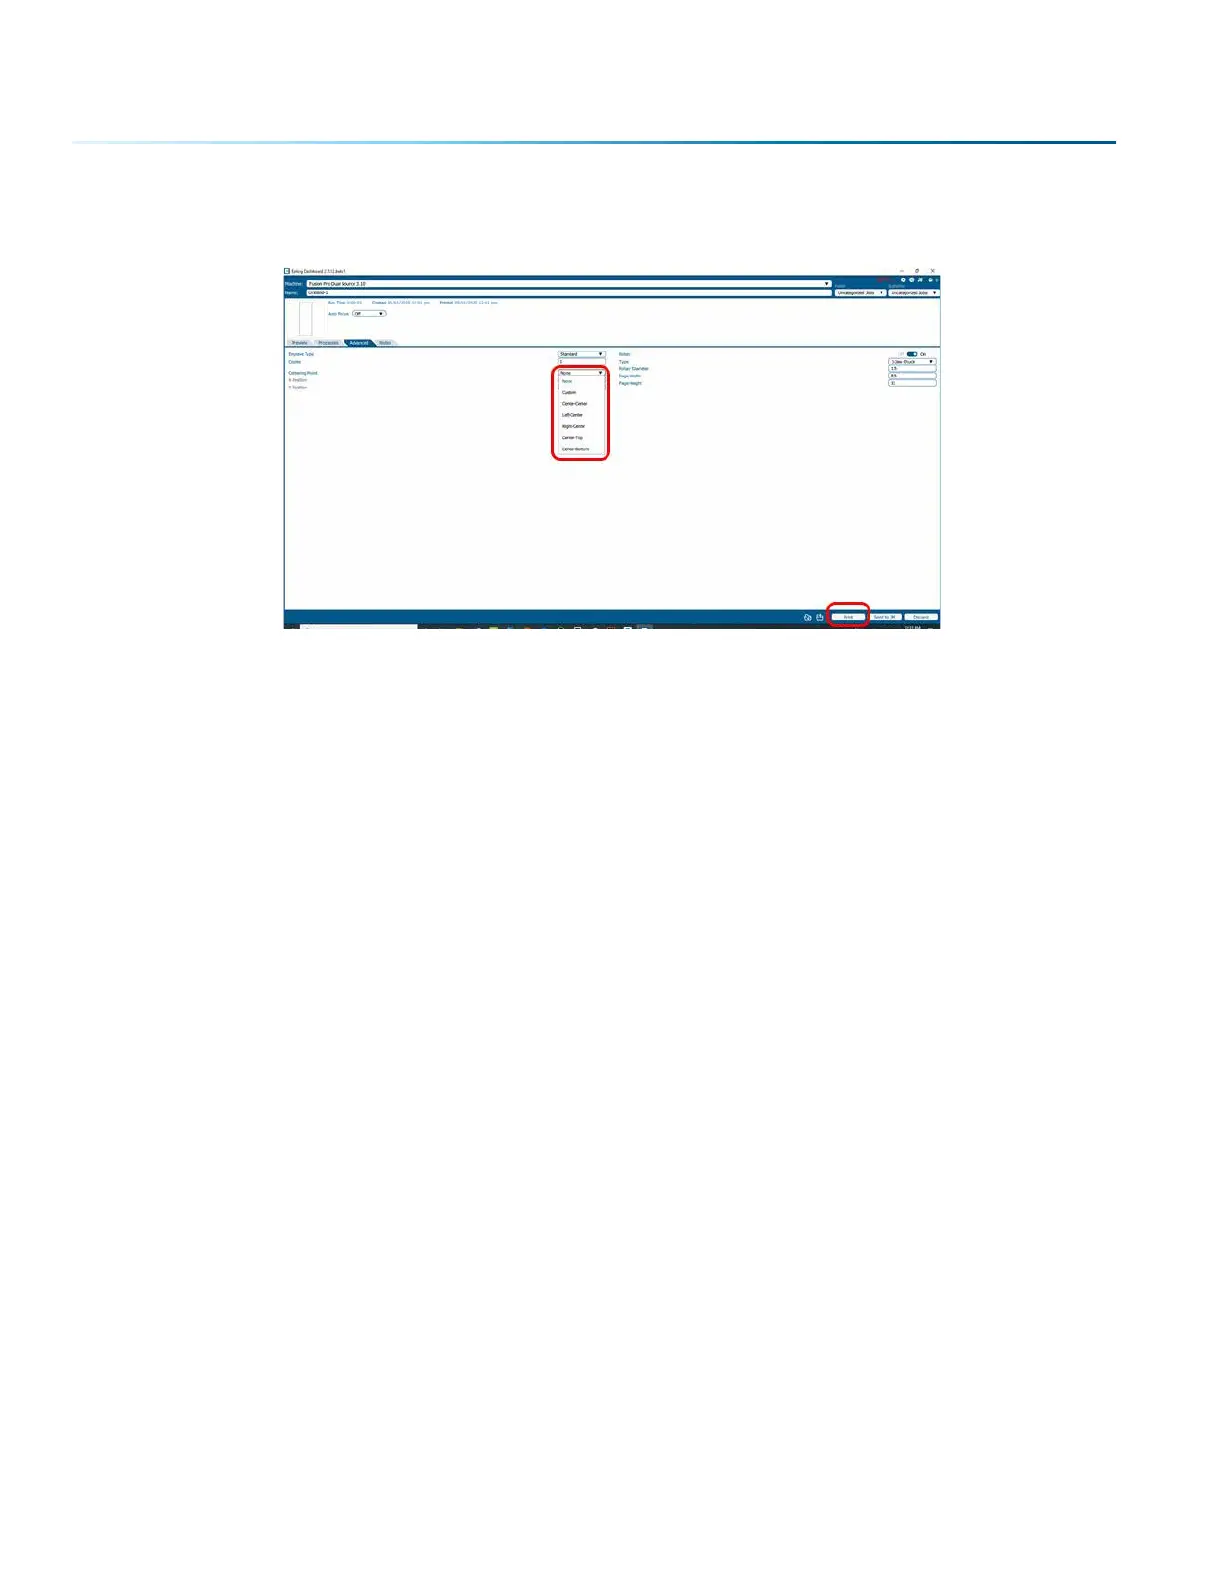
4. In the Advanced tab, set the Centering Point to the desired Centering function and print your job to
the laser.
Rotary Removal
1. Turn o the power to the laser.
2. Open the front drop down door.
3. Depress the release tab on the connector and unplug the connector.
4. Remove the Rotary Attachment.
Using the Fixture Plates and Additional Rotary Components
The 3-Jaw Chuck Rotary comes with additional attachments that make it easy to hold dierent sized
and shaped cylinders. The photos on the next page show dierent configurations that can be used to
hold a wide variety of cylinders. The components can be mixed and matched. There is no single, correct
method of holding a cylinder.
- 142 -
SECTION 9: OPTIONAL FEATURES

 Loading...


