Attaching the Fixture Plate to the Chuck
1. Secure the fixture plate to the spindle using one of the plate thumb
screws.
2. The fixture plate will look like the photo when the spindle is
assembled.
3. Slide the spindle into the chuck. Make sure the spindle is fully inserted
into the chuck, then secure it using the chuck tightening pins.
4. Be sure to check that your home position is where you need it once
the fixture plate has been installed.
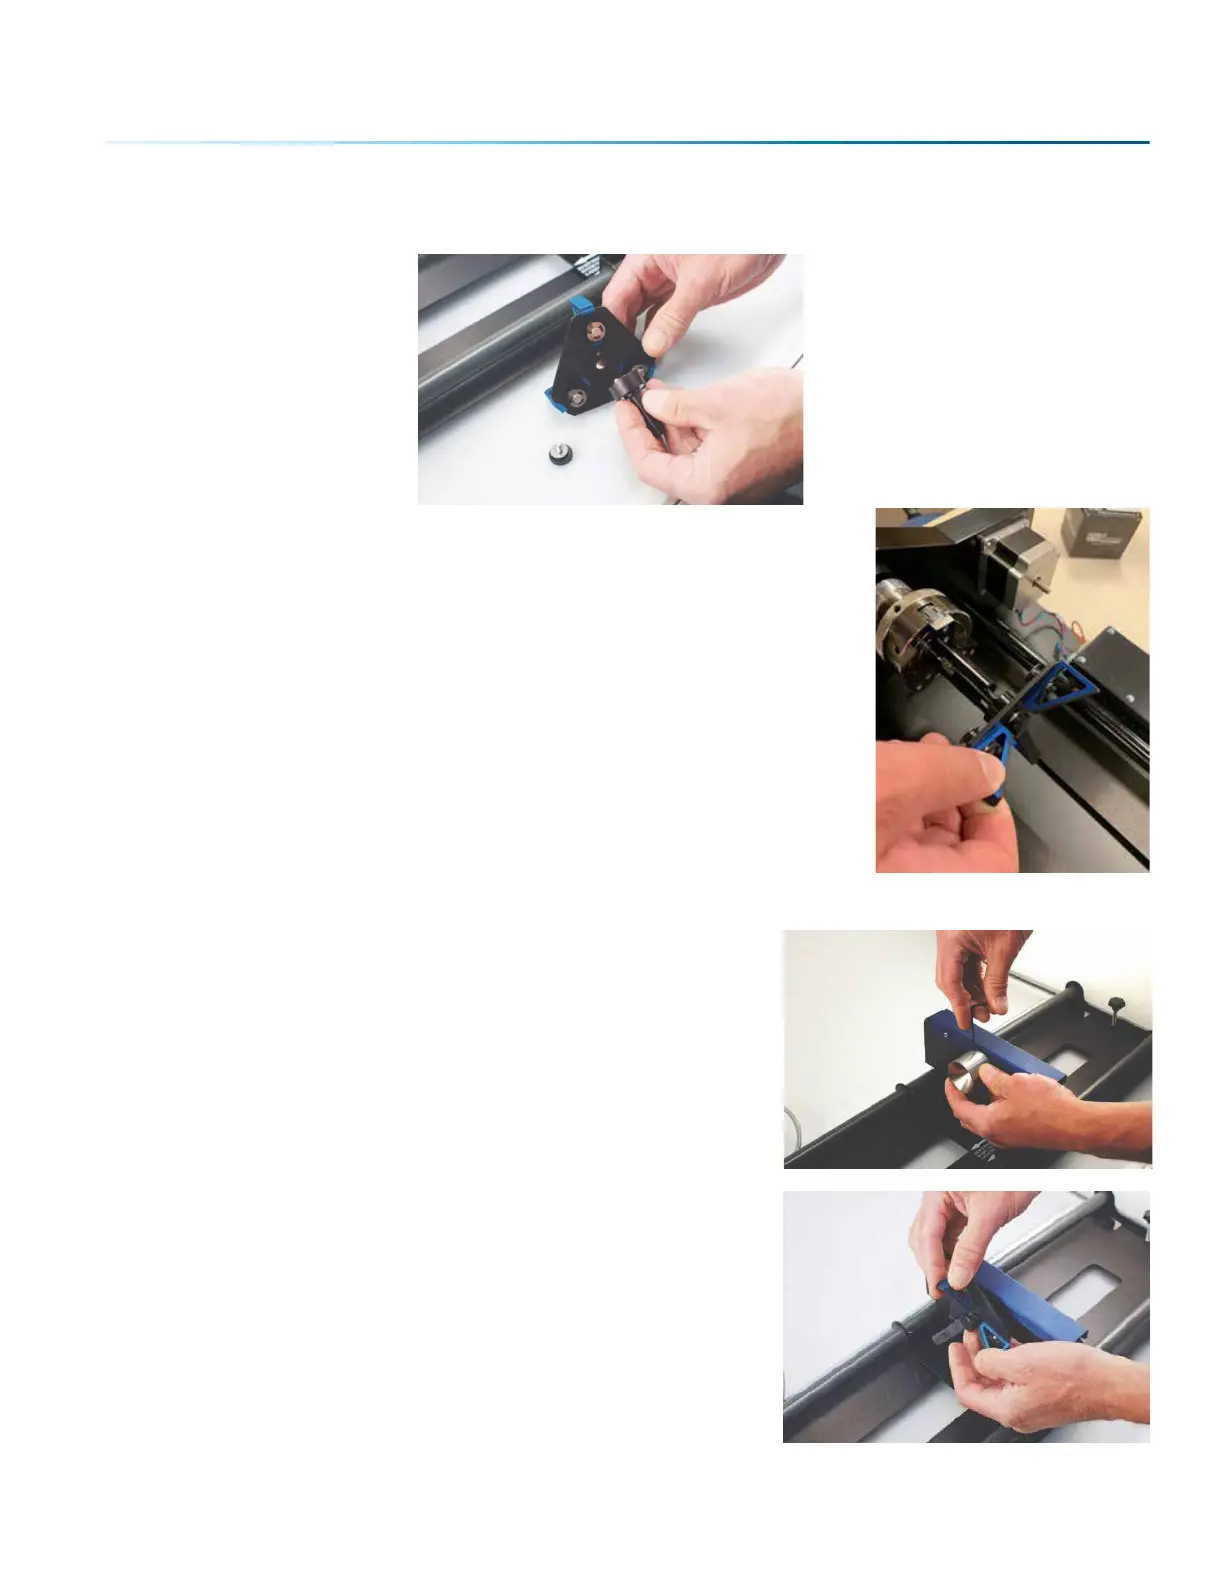
Attaching the Idle-Side Centering Fixture
The idle-side centering fixture is used to hold small diameter
cylinders in place. It can be removed if the fixture plates are
required for larger diameter cylinders. Remove or install it using
the supplied hex wrench.
Attaching the Idle-Side Fixture Plates
The fixture plates can be used on both the chuck side of the rotary
as well as the idle-side. Attach the plate by placing it on the idle-
side spindle and securing with a thumb screw.
- 143 -
SECTION 9: OPTIONAL FEATURES

 Loading...


