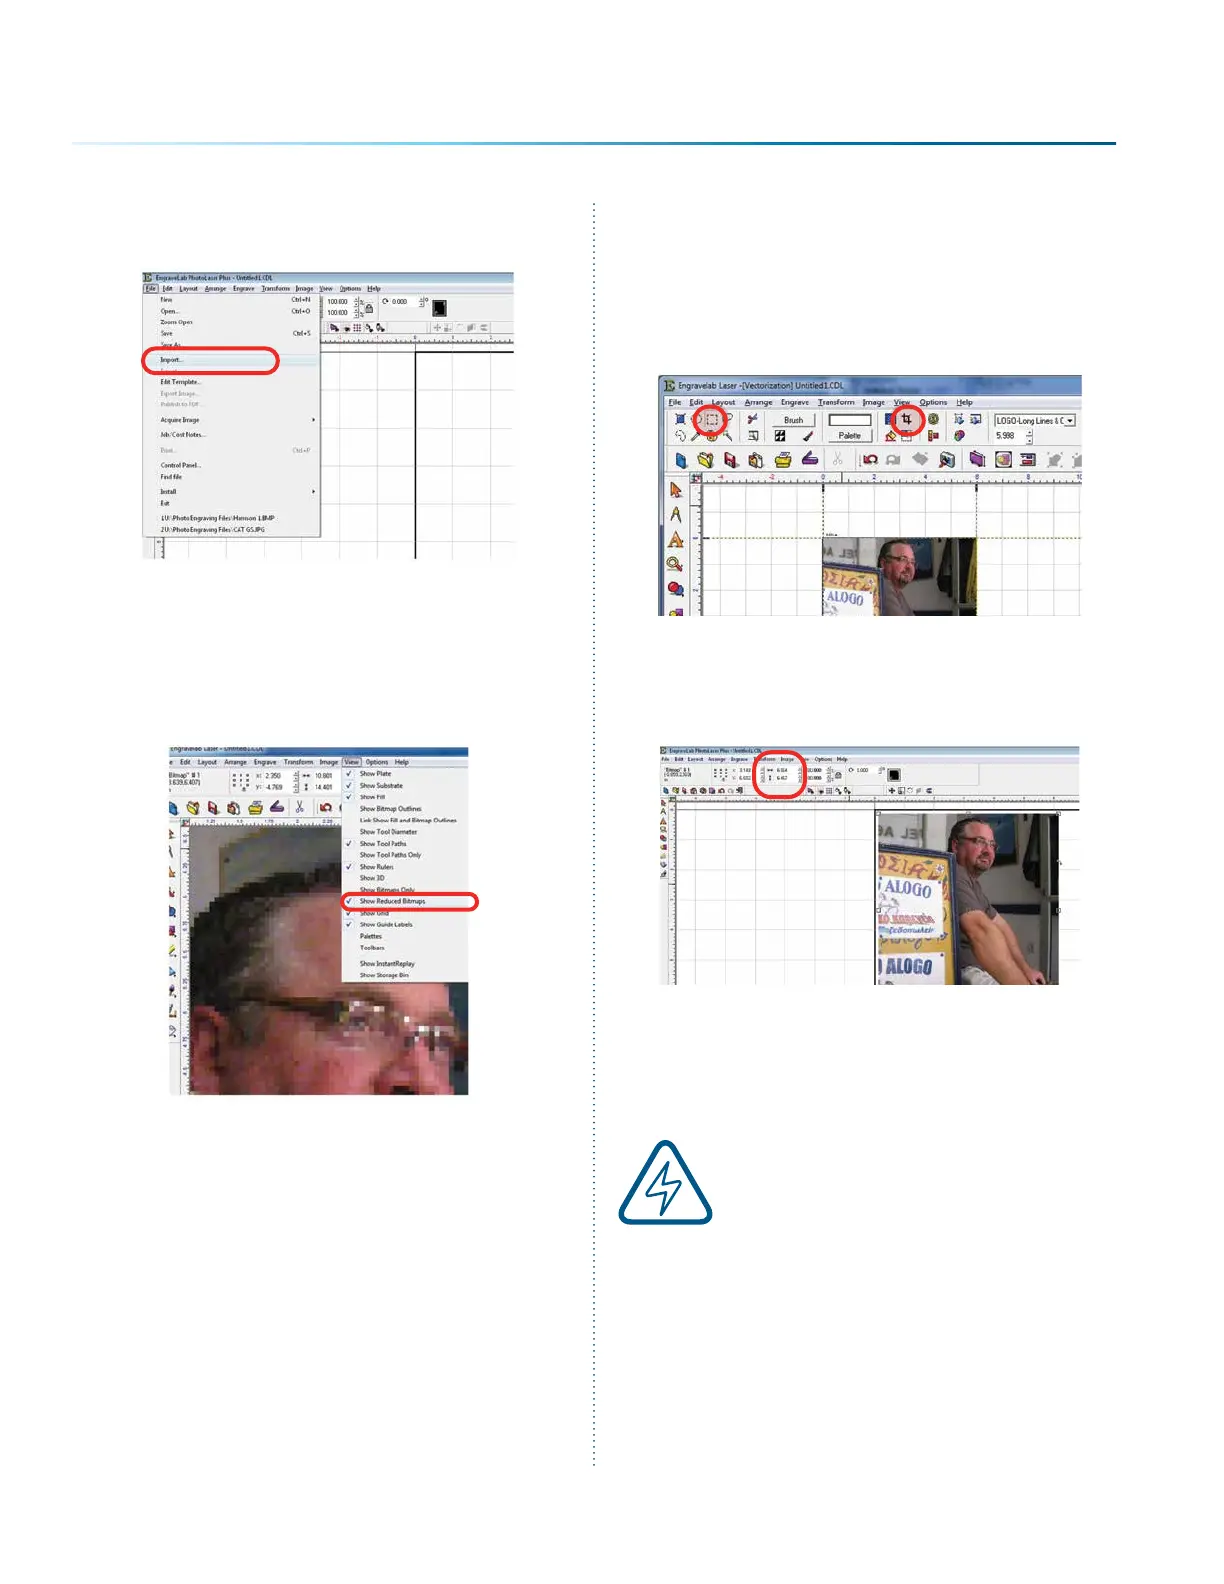
Import your photo to be transformed. Select File
then Import.
If the file looks bitmapped aer the import, select
View then Show Reduced Bitmaps to see the
higher resolution version of the image.
9. Crop the Photo: If you do not want to
engrave the entire photo, double click on the
photo to open the bitmap tools at the top of
the page. Select the Rectangle or Ellipse tool
to frame the area you want to crop. With the
proper area framed, press the Crop key to
finalize the crop.
10. Resize the Photo: You must now resize the
photo to the size you want to engrave. With
the photo selected, type in the X and Y
dimensions of the photo.
11. Set the Resolution: This number must match
the resolution at which you will be engraving
the photo. Select Image then Image Size
from the menu. Type in the resolution and
select Apply.
Make sure you have selected
Apply or the new resolution will
not be saved with the image.
- 150 -
SECTION 9: OPTIONAL FEATURES

 Loading...


