Calibrating Dual Source Focus
Note: These steps will walk you through
calibrating the auto focus of a Fusion
Pro with a fiber or Dual Source laser
only. If you only have a fiber laser,
follow steps 1-8, and then follow the steps to
“Calibrating the Auto Focus Plunger” on page
226.
1. Run a test job with a piece of anodized
aluminum. Set up a small solid square as
your artwork and run the job as a Fiber
process with high speed and low power
settings. With a lower power setting it will be
easier to find the correct focus.
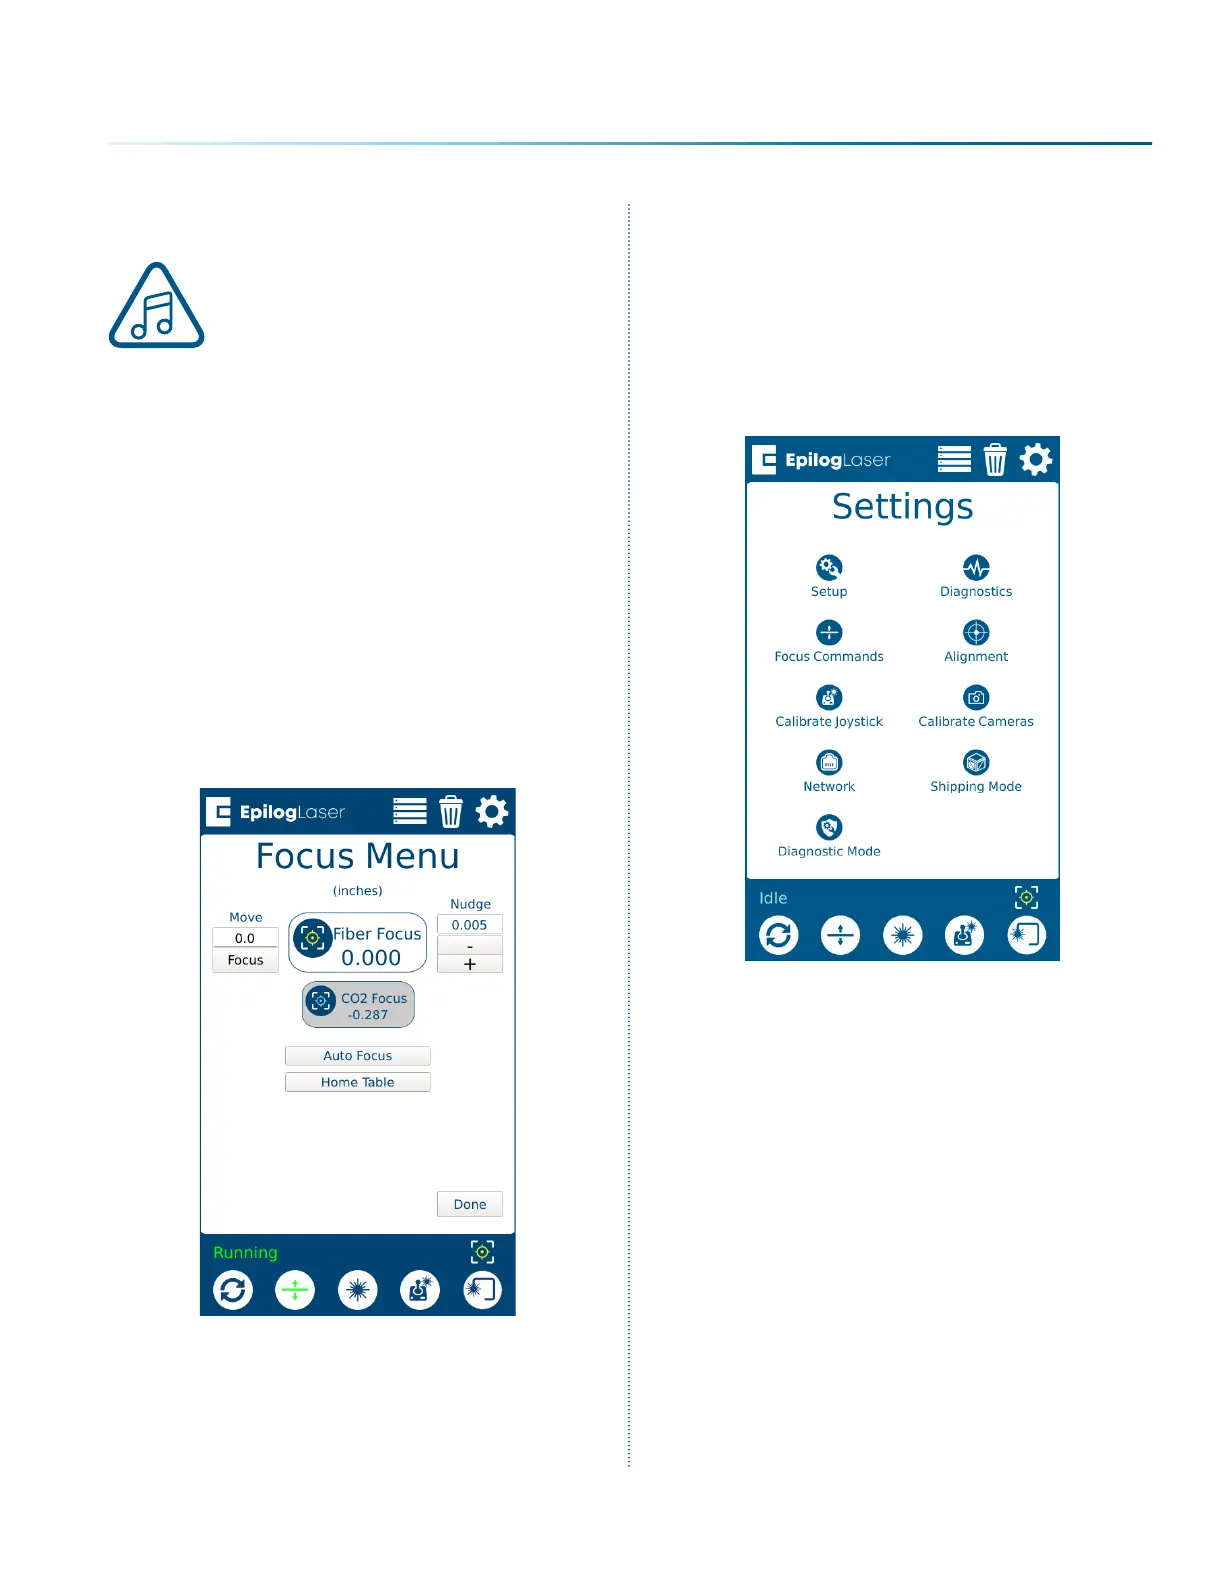
2. Once the job is running, press the Focus
Menu button on the touch screen, and
slightly raise and lower the table with the
joystick while keeping an eye on the spark
coming from the laser hitting the anodized
aluminum.
3. While raising the table up and down, find
the height where the spark appears the
brightest. If it’s diicult to tell, turn o any
overhead lights in the room.
4. Once you’ve found the brightest spark, let go
of the joystick and press the reset button to
stop the job.
5. Remove the material from the engraving
bed.
6. Press the Settings button, and then long-
press the “Settings” text until the Advanced
Settings menu appears.
- 223 -
APPENDIX C: SYSTEM CALIBRATION

 Loading...


