Installing Options
29
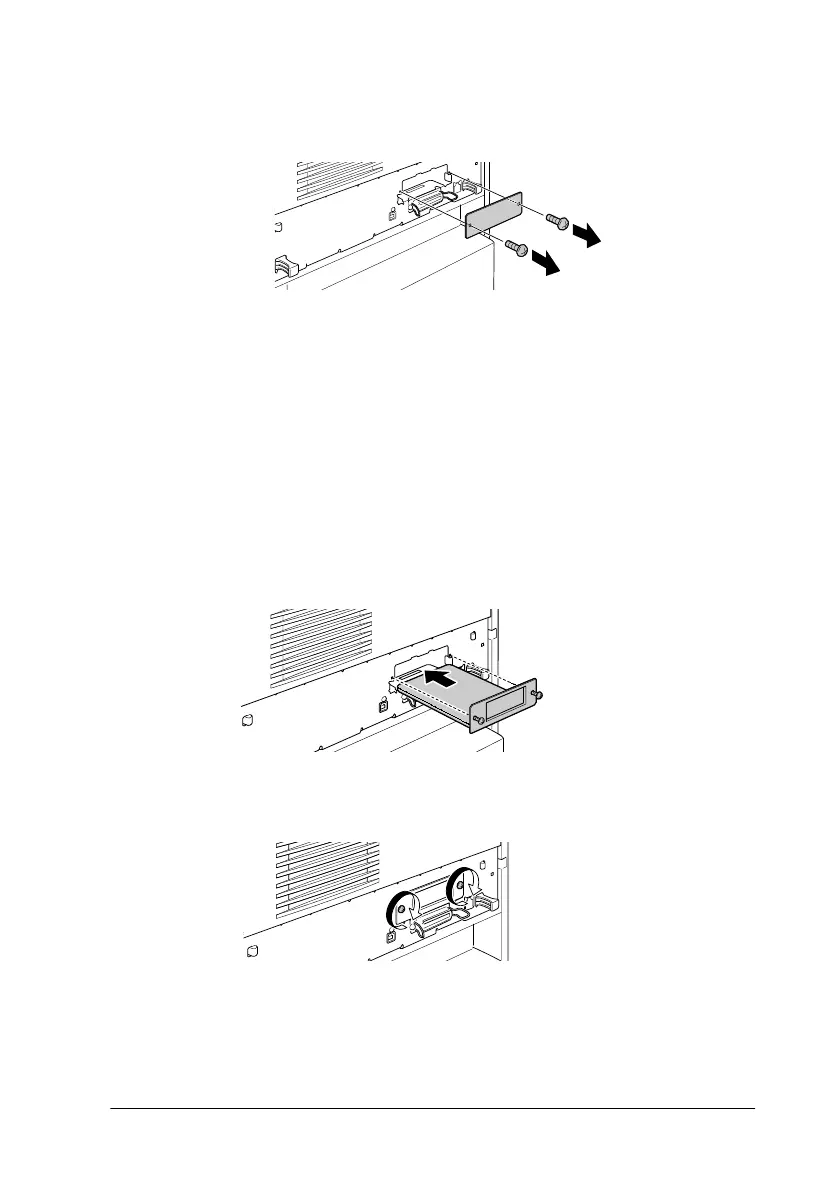
3. Remove the screws and the interface slot cover from the back
of the printer.
Note:
Keep the slot cover in a safe place. You will need to reattach it if you
remove the interface card later.
w
Warning:
Removing other screws and covers will expose high voltage
areas.
4. Slide and push the interface card into the slot firmly, making
sure that the connector at the back of the interface card is fully
inserted into the printer’s internal socket.
5. Secure the interface card by fastening the retaining screws.
To confirm that the interface card is installed correctly, print a
status sheet. For instructions on how to print a status sheet, see
“Printing a status sheet” on page 32.

 Loading...


