Testing and Connecting the Printer
35
4. On the color registration sheet, find the line segments that are
most closely aligned, then use the Up or Down
button to display the number that corresponds to that pattern.
Press the Enter button to complete the adjustment.
5. If necessary, print the Color Registration Sheet for
confirmation.
Connecting to the Computer
To connect your computer to the printer’s built-in parallel
interface, you need a shielded, twisted-pair parallel interface
cable that is IEEE-1284 compatible.
Note:
If you want to connect the printer to your computer through an installed
optional interface card, you need a different type of cable. See the optional
interface card’s manual.
1. Make sure that both the printer and the computer are turned
off.
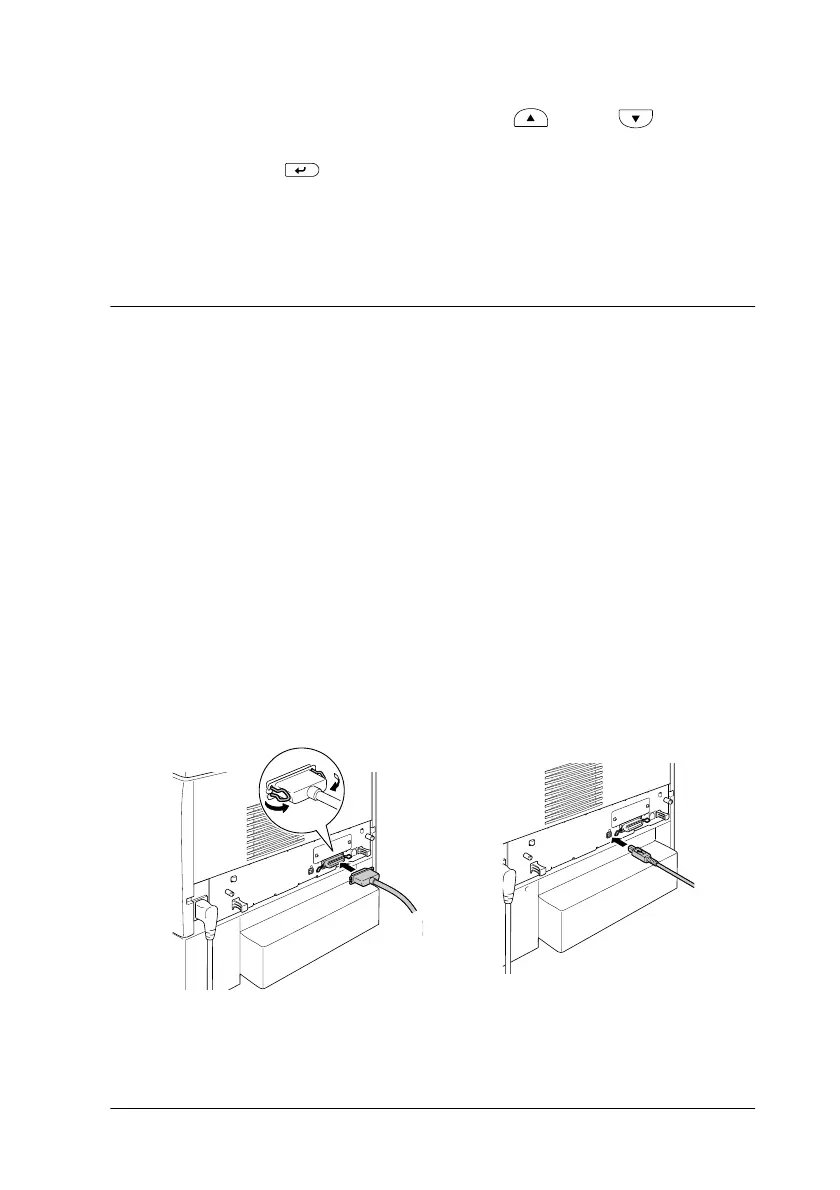
2. Attach the parallel or USB interface cable to the printer as
shown.
3. Plug the other end of the cable into the computer’s parallel or
USB interface connector.
USB
parallel

 Loading...


