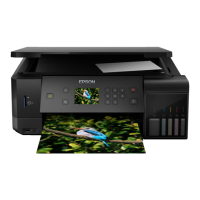
Printing from a Digital Camera
Note:
❏ You can print photos directly from a PictBridge-compatible digital camera. For more details on making operations on
your camera, see the documentation provided with your camera.
❏ Usually digital camera settings are given priority; however, in the following situations, the printer settings are given
priority.
❏ When the camera's print setting is set to "use printer settings"
❏ When the Sepia or B&W option is selected in the printer's print settings.
❏ When combining the print settings of the camera and the printer produces settings that are not available on
the printer.
❏ You can print photos with DPOF settings directly from a camera.
Printing from a Digital Camera Connected by USB Cable
You can print photos directly from a digital camera connected by USB cable.
1. Remove a memory card from the printer.
2. Load paper in the printer.
3. Enter Settings from the home screen using the
l
or
r
button, and then press the OK button. Select External
Device Setup using the
u
or
d
button, and then press the OK button.
4. Select Print Settings or Photo Adjustments, press the OK button, and then change the settings if necessary.
Select the setting items using the
u
or
d
button and change settings using the
l
or
r
button.
5. Turn on the digital camera, and then connect to the printer using a USB cable.
Note:
Use a USB cable that is shorter than two meters.
6. Select the photos you want to print from the digital camera, make settings such as the number of copies, and
then start printing.
User's Guide
Printing
94

 Loading...