D
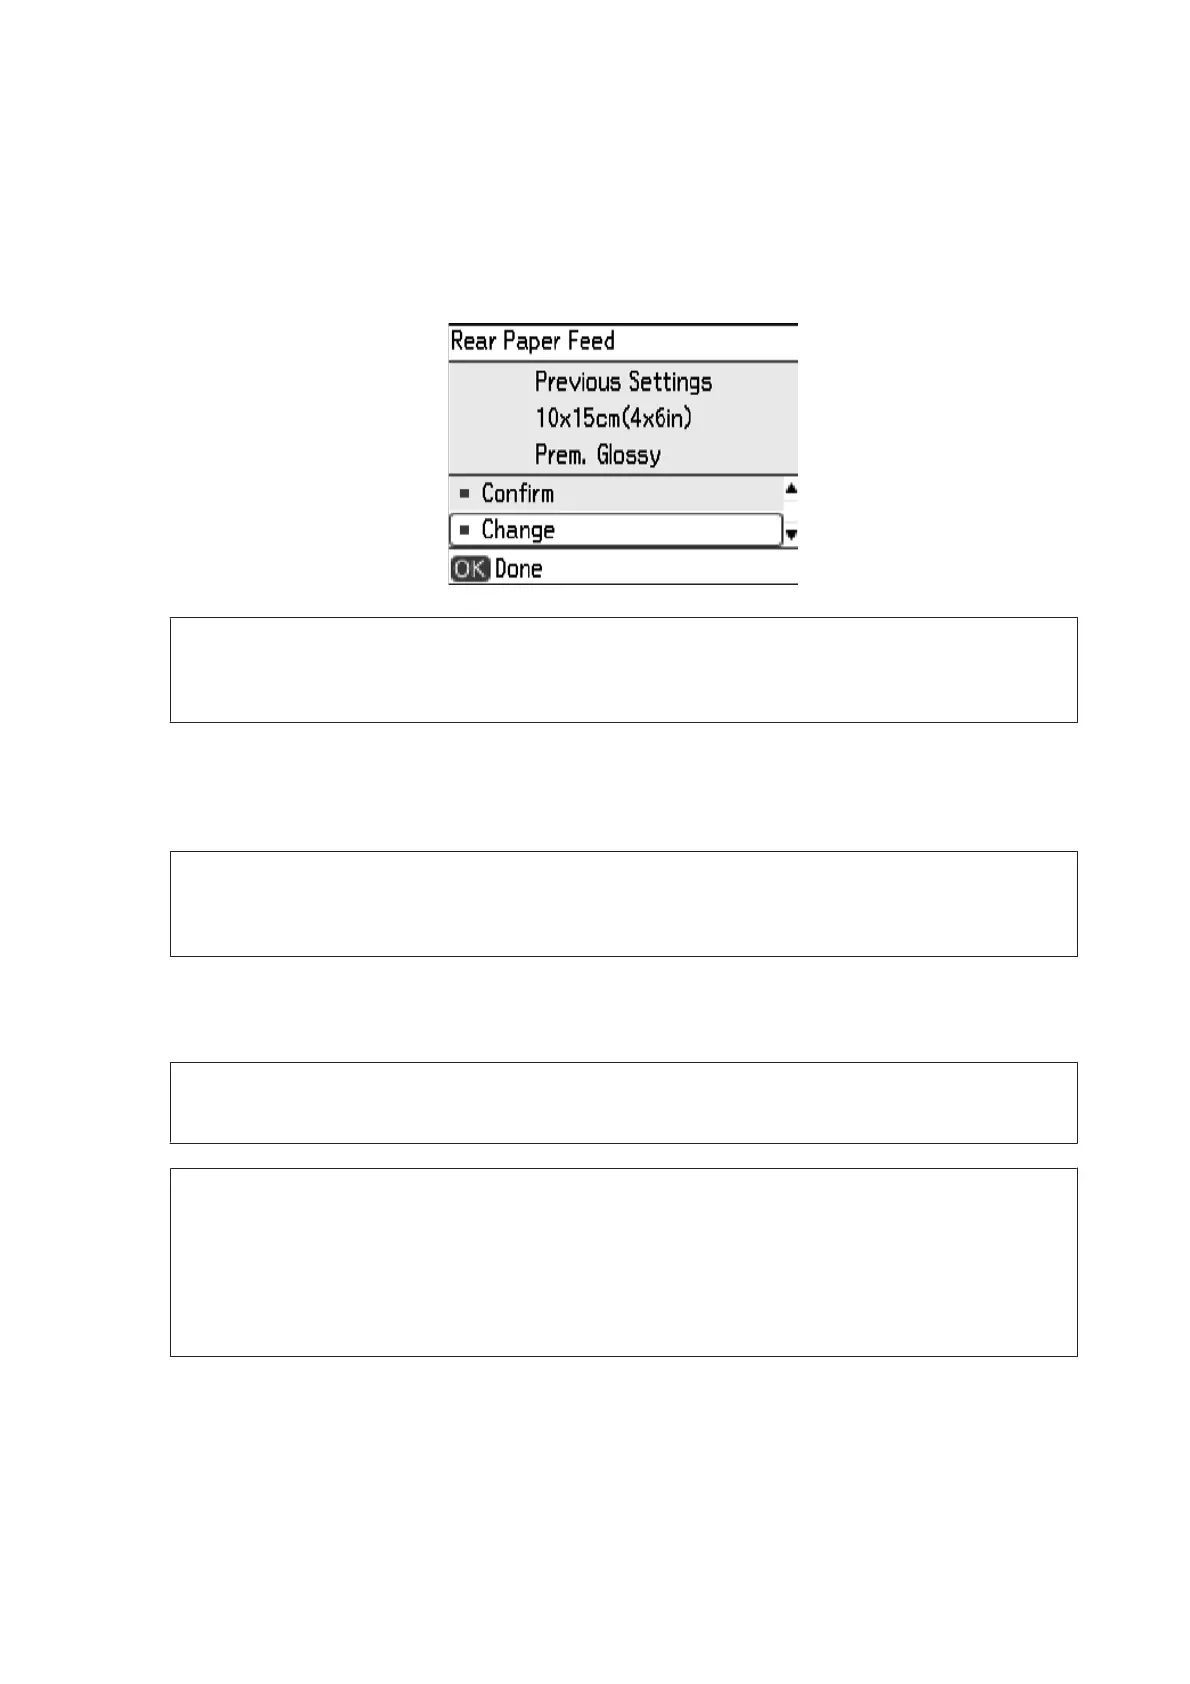
Check the current paper size and paper type settings on the LCD screen.
If you do not want to change the settings, select Confirm using the u or d button, and then press the OK button
to go to step 6. If you want to change the settings, select Change, and then press the OK button to go to the next
step.
Note:
If you disable Setup > Printer Setup > Paper Source Setting > Paper Configuration, the setting screen is not
displayed. Go to step 6.
E
On the paper size settings screen, select the paper size using the u or d button, and then press the OK button.
Make your selection in the same way on the paper type settings screen, and then press the OK button. Check the
settings, and then press the OK button.
Note:
You can also display the paper size and paper type settings screen by selecting Setup > Printer Setup > Paper Source
Setting > Paper Setup.
F
Insert a memory card into the printer.
& “Inserting and Removing a Memory Card” on page 26
c
Important:
Do not remove the memory card until you have finished printing.
Note:
❏ Remove the memory card when printing from an external storage device such as a hard disk or USB flash
memory.
❏ If you have 1000 or mor e photos on your memory card, photos are automatically divided into groups containing
a maximum of 999 photos and the Select Group screen is displayed. Select a group containing the photos you
want to print.
G
Enter Print Photos from the home screen using the l or r button, and then press the OK button.
H
Select View and Print Photos using the u or d button, and then press the OK button.
PM-520 Operation Guide
Printing
28