Making Settings in Windows
A
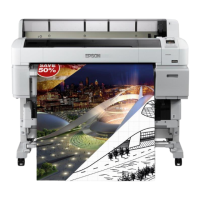
Display the printer driver's Printer Settings tab
and click the Custom Paper Size.
U “Basic Printing Methods(Windows)” on
page 56
c
Important:
Custom Paper Size is not available when
Front - Poster Board is selected for Source.
B
Enter the desired size in the User Defined Paper
Size dialog and click Save.
❏ You can enter up to 24 single-byte characters
for the Paper Size Name.
❏ To view Paper Width and Paper Height
values for a standard size close to the desired
custom size, select the appropriate option for
Base Paper Size.
❏ If you specify the desired Fix Aspect Ratio
and select Landscape or Portrait for Base,
you need only enter either the Paper Width
or Paper Height.
Note:
❏ To change the paper size you saved, select the
paper size name from the list on the left.
❏ To delete the user-defined size you saved, select
the paper size name from the list on the left,
and then click Delete.
❏ You can save up to 100 paper sizes.
C
Click OK.
The saved sizes are now available in the Paper
Size menu of the Printer Settings tab.
You can now print as normal.
Making Settings for Mac OS X
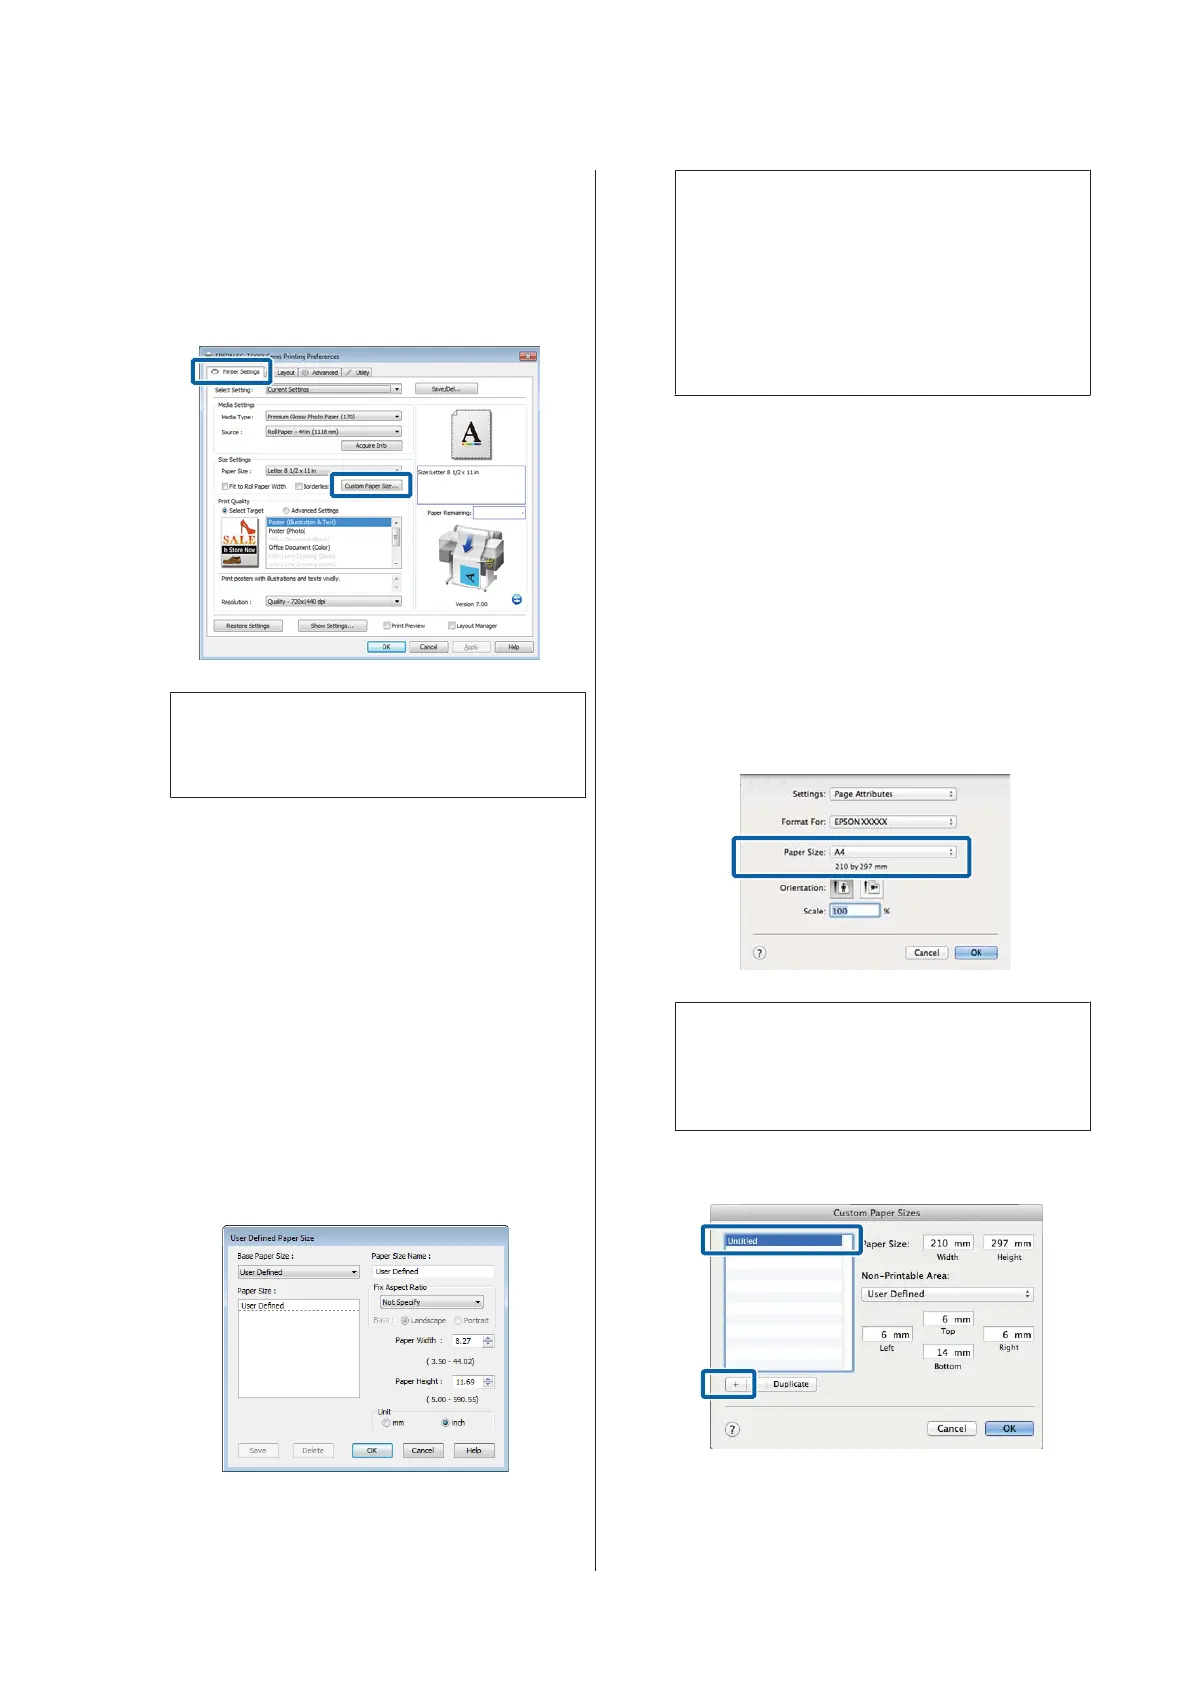
A
When the Print screen is displayed, select
Manage Custom Sizes from the Paper Size list.
U “Basic Printing Methods(Mac OS X)” on
page 60
Note:
If page setting options are not available in the
application's print dialog, display the page settings
dialog.
B
Click +, and then enter the paper size name.
SC-T7200 Series/SC-T5200 Series/SC-T3200 Series/SC-T7200D Series/SC-T5200D Series User's Guide
More Ways to Print
88
 Loading...