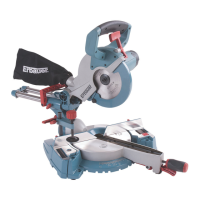
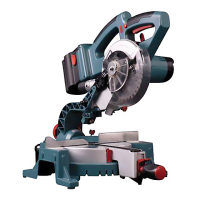
ERBAUER 254MM (10”) SINGLE BEVEL SLIDING MITRE SAW
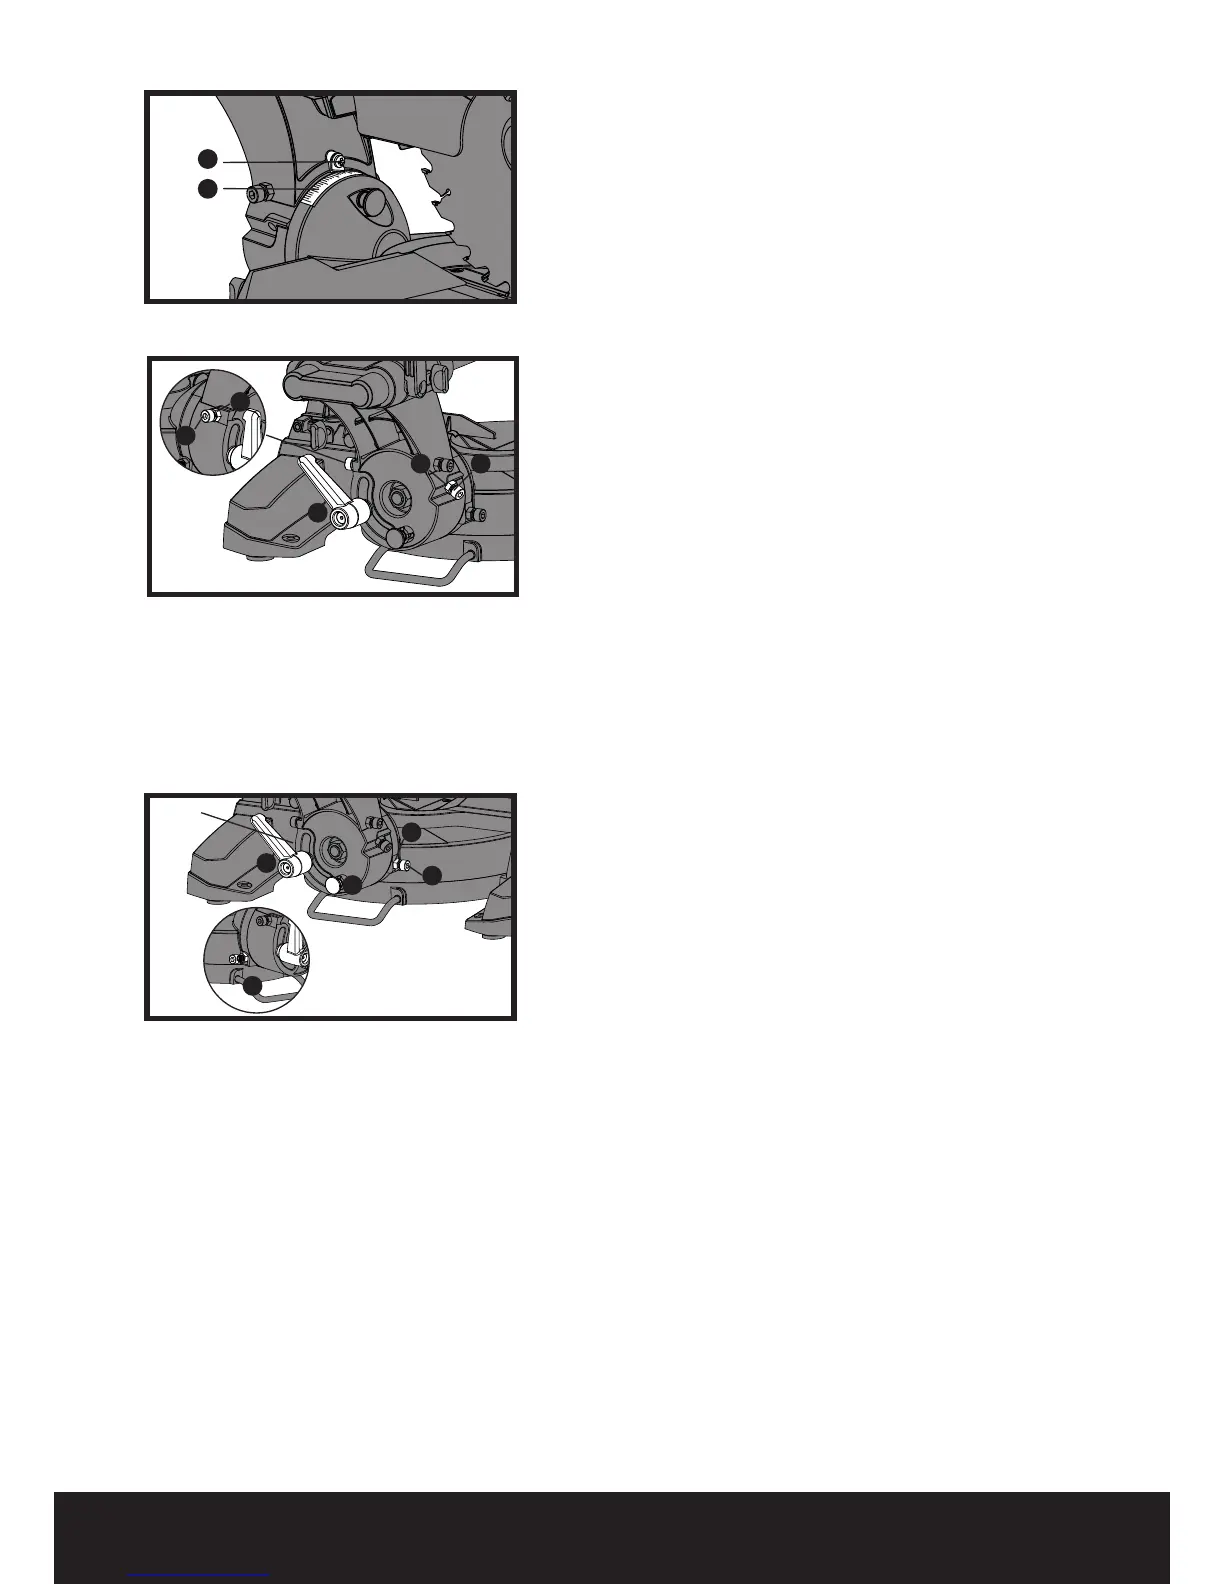
3. Bevel pointer adjustment
°°) to the
table, loosen the bevel indicator screw (1) using
a # 2 Phillips screwdriver.
°” mark on
the bevel scale and retighten the screw.
(See
4. Bevel adjustment 45°
1) Loosen the bevel lock handle (1) and tilt the
cutting head completely to the left.
the blade angle is 45° to the table.
3) If the blade is not at 45° to the mitre table,
tilt the cutting arm to the right, loosen the
(3) depth in or out to increase or decrease the
bevel angle.
4) Tilt the cutting arm to the left to 45° bevel
and recheck for alignment.
5) Repeat steps 1 through 4 until the blade is at
6) Tighten bevel lock handle (1) and locknut (2)
when alignment is achieved
.
5. Bevel Setting for Crown Moulding
°
for
cutting crown mouldings.
1) Twist and deploy sprung-loaded crown
moulding pin (2).
2) Loosen the bevel lock handle
(1) and rotate
Fig 21
Fig 22
1
2
1
2
3
2
3
1
2
3
4
3