www.escene.cn/en/ Escene Communication
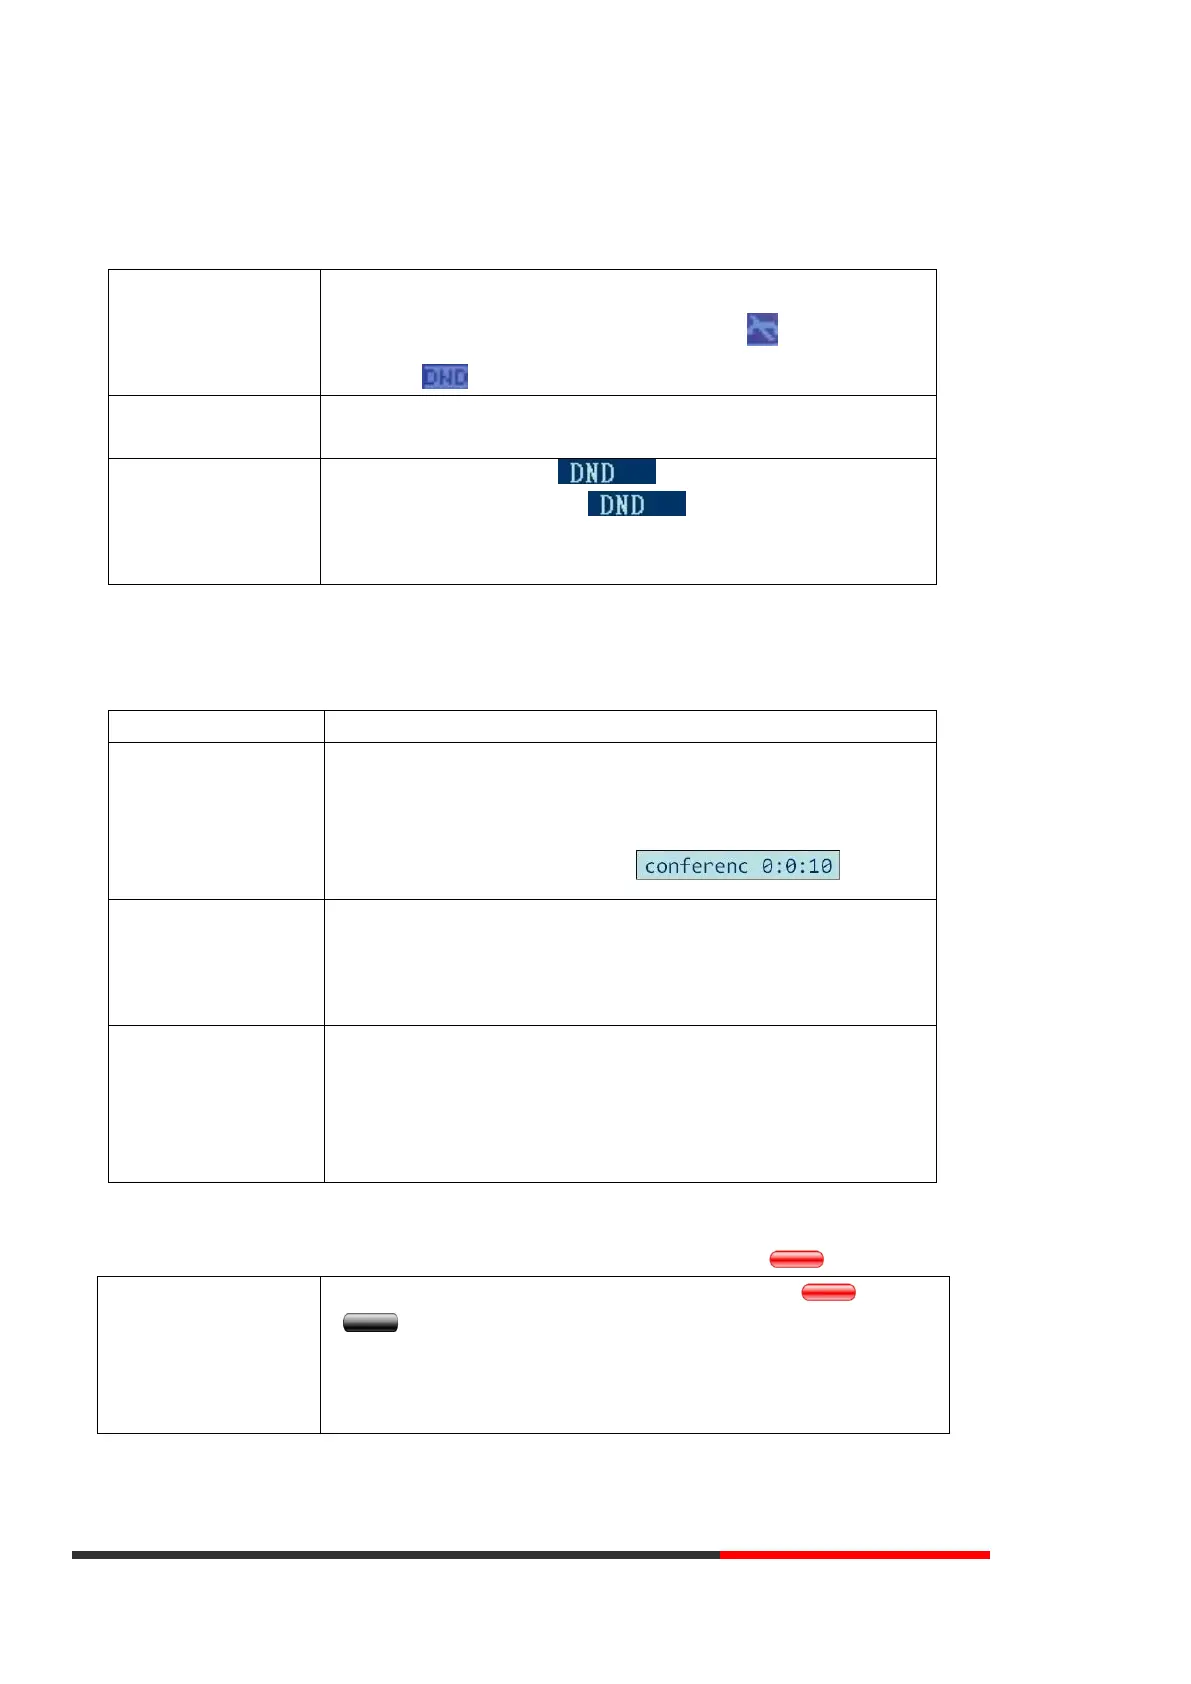
3.5.12 Do Not Disturb
You can use the Do Not Disturb (DND) feature to block incoming calls on your phone with a busy tone(Can also be set to
their voice mail or other extension numbers, etc.).
1) Press DND.
2) All enabled line on the phone would changes to status. and the
icon is .
Enable DND on a single
line
Press MENU or OK button > Function setting > DND > (select line) Enable
Global DND enabled, press to disable global DND.
Line DND enabled, press twice ,
-or press MENU or OK button > Function setting > DND > (select line)
Disable
3.5.13 3-way Conference
You can enable a three-party conference, during the conversation three phone parties can communicate with every
party.
Invite the transfer
recipient into a
conference in a
transferring
1) When the transfer recipient answers the call, press CONFERCENCE
button or CONF on your phone.
2) Then the held one, transfer recipient and you will be into a
conference, and the LCD will display status.
Invite the third party
into a conference in an
active call
1) Press CONFERENCE button or CONF in an active call.
2) Enter the third-party number.
3) After connected the third party, press CONFERENCE button or CONF
again
establish a conference
withheld line
1) when one phone line is holding on and the other line is busy.
2) Press CONFERENCE button,
-or Press CONF Soft key
3) Press the held line's programmable button, the 3-way Conference is
enabling.
3.5.14 Voice Mail
When the Phone get a voice mail from server. it will light up the voice mail button .
1)Press the Voice Mail button (There has Voice Mail icon ,without
is )
2)Enter the User Password
3)It will login into the voice mail server. You need to follow the IVR to do
it.