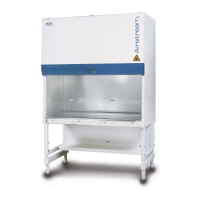
Class II Biological Safety Cabinets
5.4.3. Fluorescent Lamp(s) Replacement Procedure
1. Disconnect the electrical connections.
2. Remove the screws from the bottom of blue panel and then lift up the front panel.
Caution: Use the cylindrical struts to carefully hold open the front panel. Continue to work only after the front
panel is secured.
3. The fluorescent lamp(s) is located behind the blue panel. Disconnect the old one(s) and replace with
the new one(s).
5.4.4. UV Lamp Replacement Procedure
1. Carry out necessary surface decontamination in the work zone prior to working on the UV lamp.
2. Disconnect the electrical connections.
3. Remove the old UV lamp by rotating it 90
o
counter clockwise and pull downward.
4. Install the new UV lamp by pushing it upward and rotating it 90
o
clockwise to secure the lamp in its
socket.

 Loading...