19
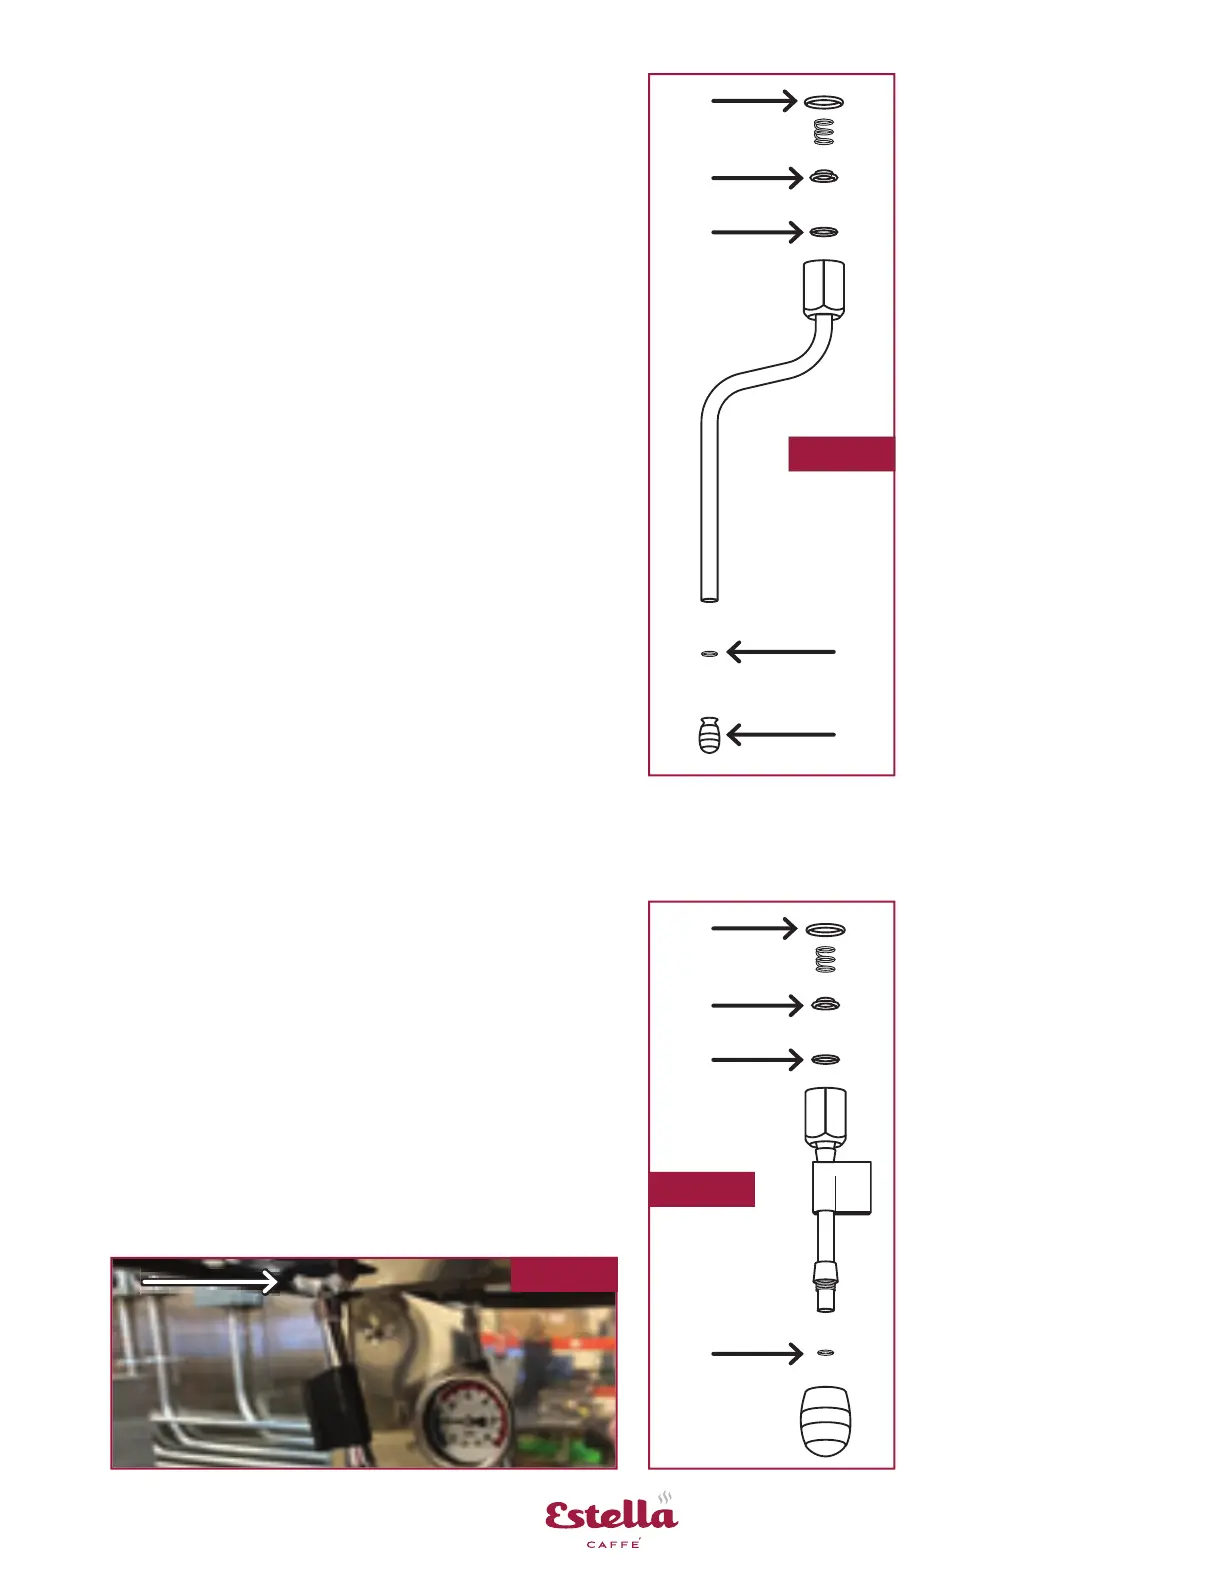
1. Follow pre-maintenance steps from page 10
2. Remove steam wand hex nut with 24mm
wrench
3. Do not lose the spring, spring gasket,
or steam gasket
4. Replace faulty part (Fig. 49)
5. Reassemble by reversing steps
1. Follow pre-maintenance steps from page 10
2. Remove hot water nozzle hex nut (Fig. 50)
with 24mm wrench
3. Do not lose the spring, spring gasket,
or steam gasket
4. Replace faulty part (Fig. 51)
5. Reassemble by reversing steps
A. Gasket
#236PECEM32
B. Spring Gasket
#236PECEM31
C. O-Ring
#236PECEM30
(Push top hex nut
onto steam wand
tube to remove
o-ring)
D. Sprayer O-Ring
#236PECEM28
E. Sprayer
#236PECEM35
Turn sprayer
counter-clockwise
to remove
A. Gasket
#236PECEM32
B. Spring Gasket
#236PECEM31
C. O-Ring
#236PECEM30
(Push top hex nut
onto steam wand
tube to remove
o-ring)
D. Sprayer O-Ring
#236PECEM27
Fig. 50
Fig. 51
Fig. 49
A
A
B
B
C
C
D
D
E
Steam Wand
Time Estimate: Approximately 10 min.
Hot Water Nozzle
Time Estimate: Approximately 10 min.
Clearing Clogs
• Soak wand sprayer in detergent as needed
• Clean sprayer holes by poking through them
Clearing Clogs
• Unscrew hot water nozzle sprayer and
clean the screen inside
 Loading...
