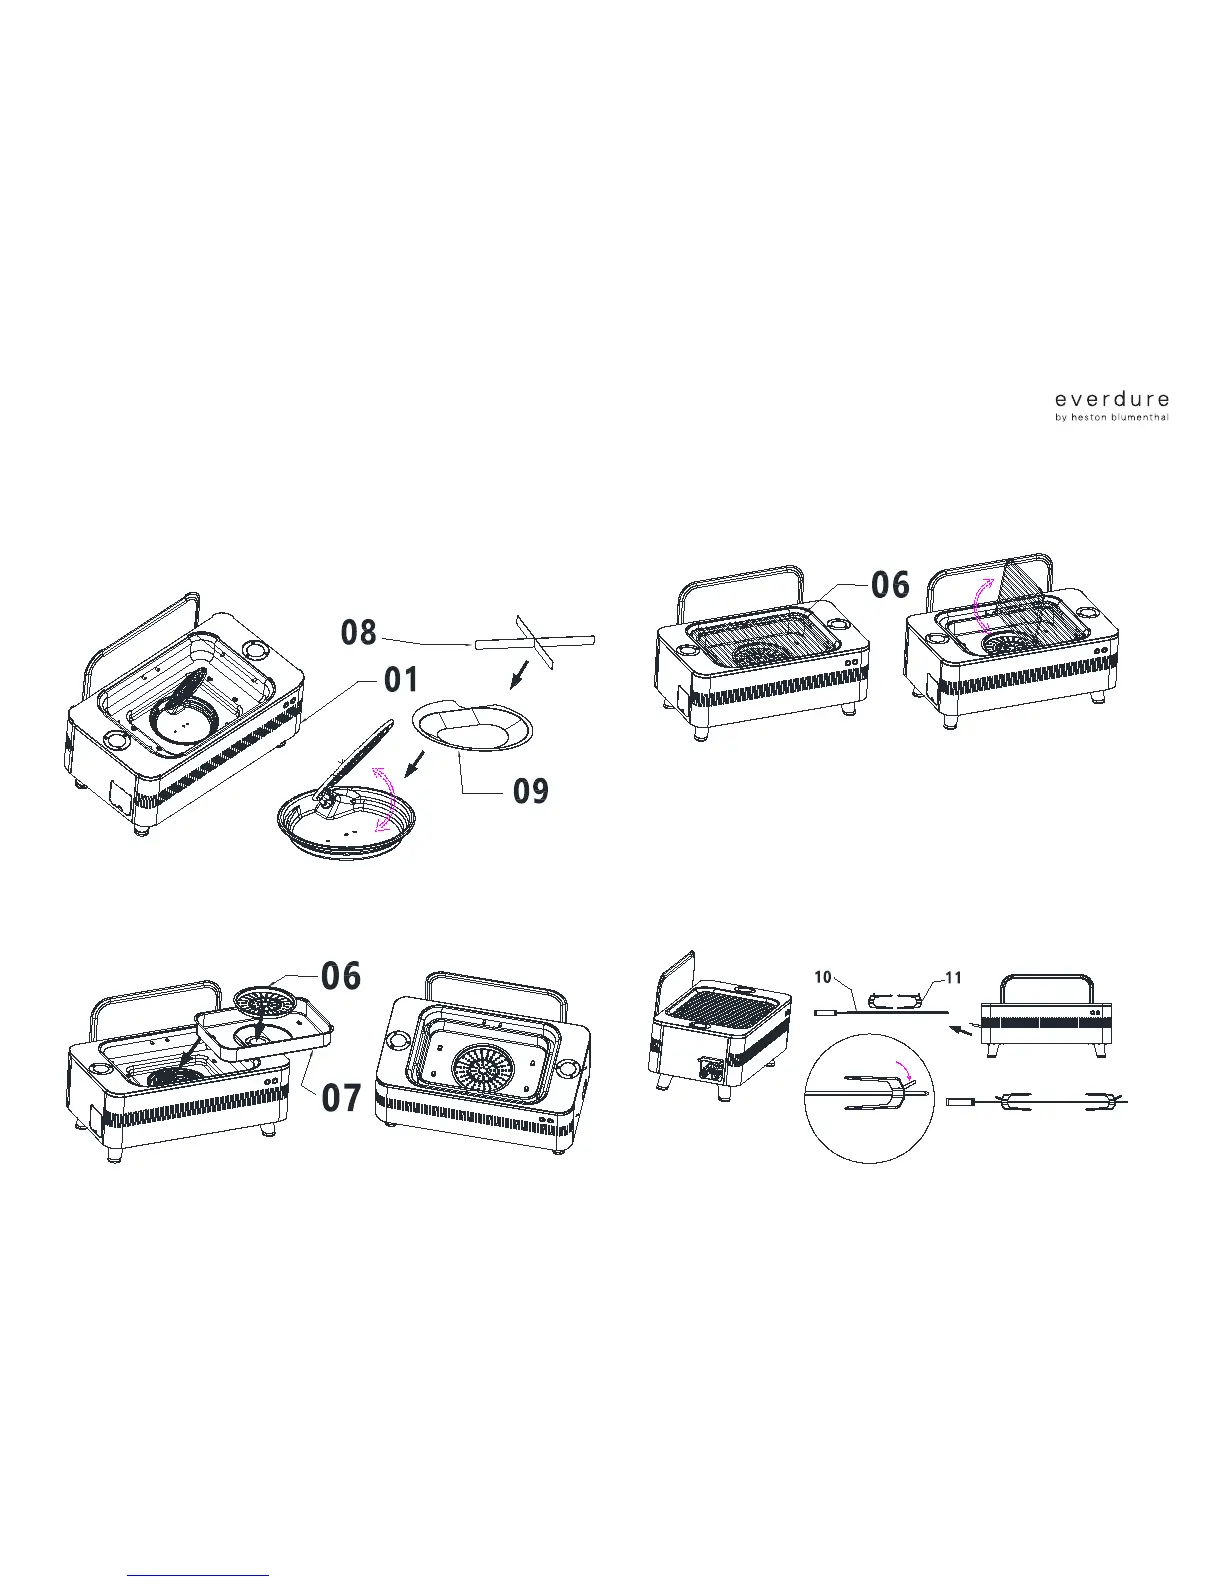
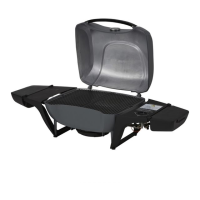
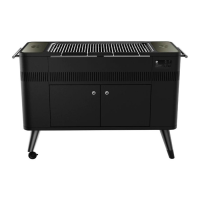
STEP 02
/ If not already assembled, lever up the element and place the heat shield (09) inside the bowl.
Take the two element supports (08), t them together and place them centrally on the heat
shield. Lever the element back down onto the element supports.*
STEP 03
/ Place the charcoal chamber (07) centrally within the barbeque (it will allocate on four tabs) and
place the charcoal grid (06) in the centre hole above the element.
STEP 04
/ Place the grill (hinges down) on the eight pins inside the chassis, above the charcoal chamber.
STEP 05
/ The rotisserie rod and Cliplock Forks
TM
are stored in the compartment at the front of the
left hand side panel. Lift the storage door up, remove the Cliplock Forks™ (11) (take care
of the sharp points of the fork ngers) and pull the rotisserie rod (10) out from the storage
compartment. Note: If the barbeque has been in operation, the rotisserie parts may be hot –
remove before cooking or use heat proof gloves. The handle of the rotisserie rod must rst be
extended by rotating the handle anti-clockwise until the thread releases, extending the handle
fully and tightening in place by rotating anti-clockwise again. The Cliplock Forks™ slide on the
rod and are locked in place by pressing down on the fork levers.