14
www.evolutionpowertools.com
(7.4)
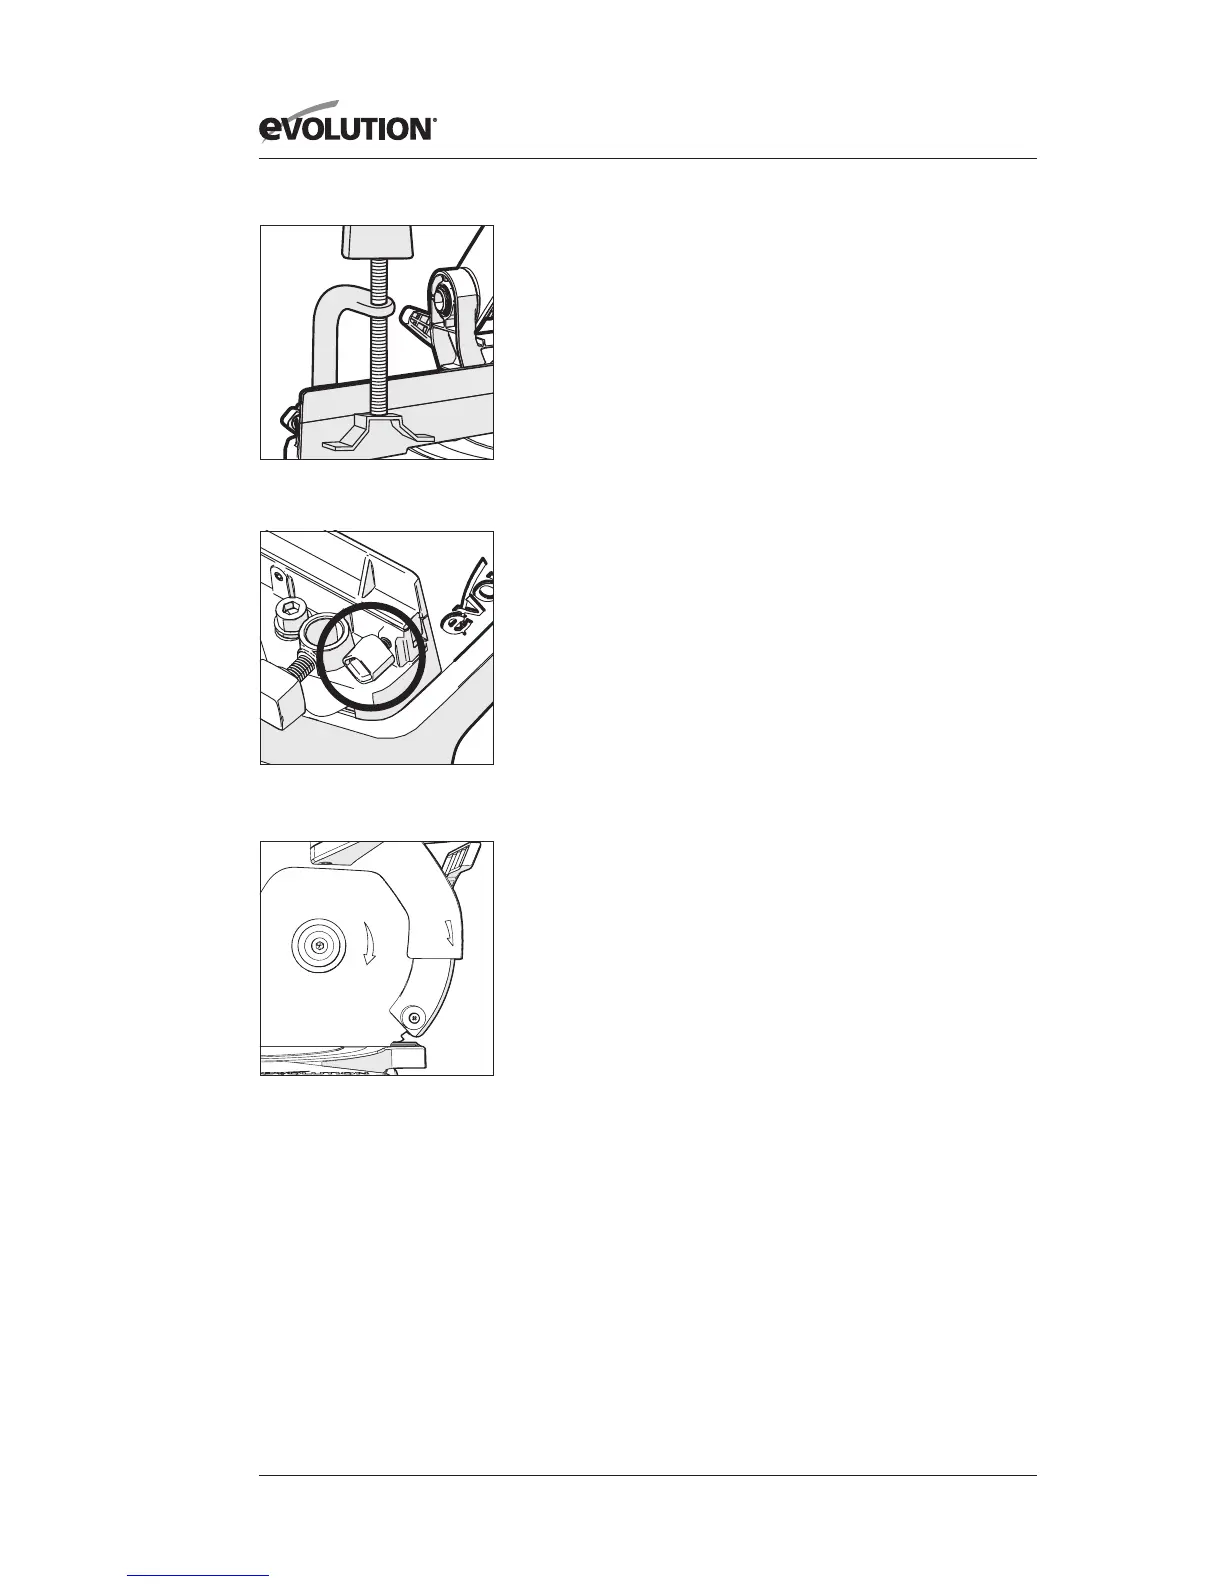
HOLD DOWN CLAMP (Fig. 4)
Two sockets (one either side) are incorporated into the rear
of the machines fence. These sockets are for positioning the
top hold down clamp.
• Fittheclamptotheretainingsocketthatbestsuitsthe
cutting application, ensuring that it is fully pushed down.
• Placetheworkpiecetobecutontothesawrotarytable,
against the fence and in the desired position.
• Adjusttheclampusinghand-wheelsothatitsecurelyholds
the workpiece to the saw table.
Conduct a ‘dry run’ with the power disconnected. Ensure that
the top hold down clamp does not interfere with the path of
the blade, or with the path of any other part of the cutting
head as it is lowered.
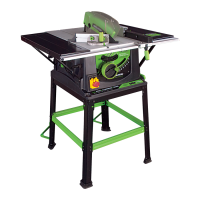
THE SLIDING UPPER FENCE SECTION
Note: The left hand side of the fence has an adjustable upper
section. When some acute mitre or bevel angles are selected
it may be necessary to slide the upper portion of the fence to
the left. This should normally create the clearance necessary to
allow the cutting head and blade to be lowered without
them fouling any other parts of the machine.
To adjust the fence:
• Loosenthethumbscrew(Fig. 5).
• Slidetheuppersectionofthefencelefttotherequired
position and tighten the thumbscrew.
• Conducta‘dryrun’withthemachinedisconnectedfrom
the power supply to conrm that there is no interference
between machine parts as the cutting head is lowered.
(8.1)
OPERATING INSTRUCTIONS
Caution: The mitre saw should be inspected (particularly for
the correct functioning of the safety guards) before each use.
Do not connect the saw to the power supply until a safety
inspection has been carried out.
Ensure that the operator is adequately trained in the use,
adjustment and maintenance of the machine, before
connecting to the power supply and operating the saw.
(8.2)
WARNING: To reduce the risk of injury, always unplug the
saw before changing or adjusting any of the machines parts.
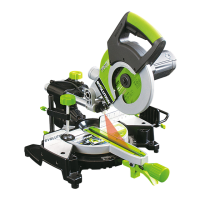
Compare the direction of the rotation arrow on the guard
to the direction arrow on the blade. The blade teeth should
always point downward at the front of the saw (Fig.6). Check
the tightness of the arbor screw.
Fig. 4
Fig. 5
Fig. 6
A B