13
www.evolutionpowertools.com
EN
(7.1)
ASSEMBLY AND PREPARATION
WARNING: Always disconnect the saw from the power
source before making any adjustments.
(7. 2)
PERMANENTLY MOUNTING THE MITRE SAW
To reduce the risk of injury from unexpected saw movement,
place the saw in the desired location either on a workbench
or other suitable machine stand. The base of the saw has four
mounting holes through which suitable bolts (not supplied)
can be placed to secure the mitre saw. If the saw is to be used
in one location, permanently fasten it to the workbench using
appropriate fastenings (not supplied). Use locking washers and
nuts on the underside of the workbench (Fig. 1).
• Toavoidinjuryfromyingdebris,positionthesawsothat
other people or bystanders cannot stand too close (or
behind) it.
• Locatethesawonarm,levelsurfacewherethereisplenty
of room for handling and properly supporting the
workpiece.
• Supportthesawsothemachinetableislevelandthesaw
does not rock.
Bolt or clamp the saw securely to its support stand or workbench.
(7. 3)
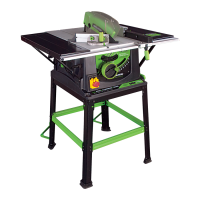
FOR PORTABLE USE
• Mountthesawona18mmthickpieceofplywoodor
MDF (800mm x 500mm min size recommended)
using appropriate fastenings (not supplied).
• Itmaybenecessarytocountersinkthewashers,nuts,etc.
to the underside of the plywood or MDF mounting board
to avoid an uneven work surface.
• UseG-clampstoattachthemountingboardtothe
work surface (Fig. 2).
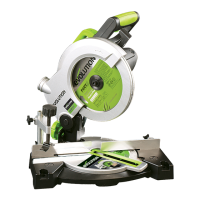
Note: Some machines are tted with a rear stabilizing arm
found just below the bevel pivot.
If so tted, this arm should be deployed/withdrawn from the
base, particularly if the machine is to be used free standing on
a work bench (Fig. 3).
This arm will provide extra stability to prevent the machine from
tumbling in the event of sudden release of the cutting head.
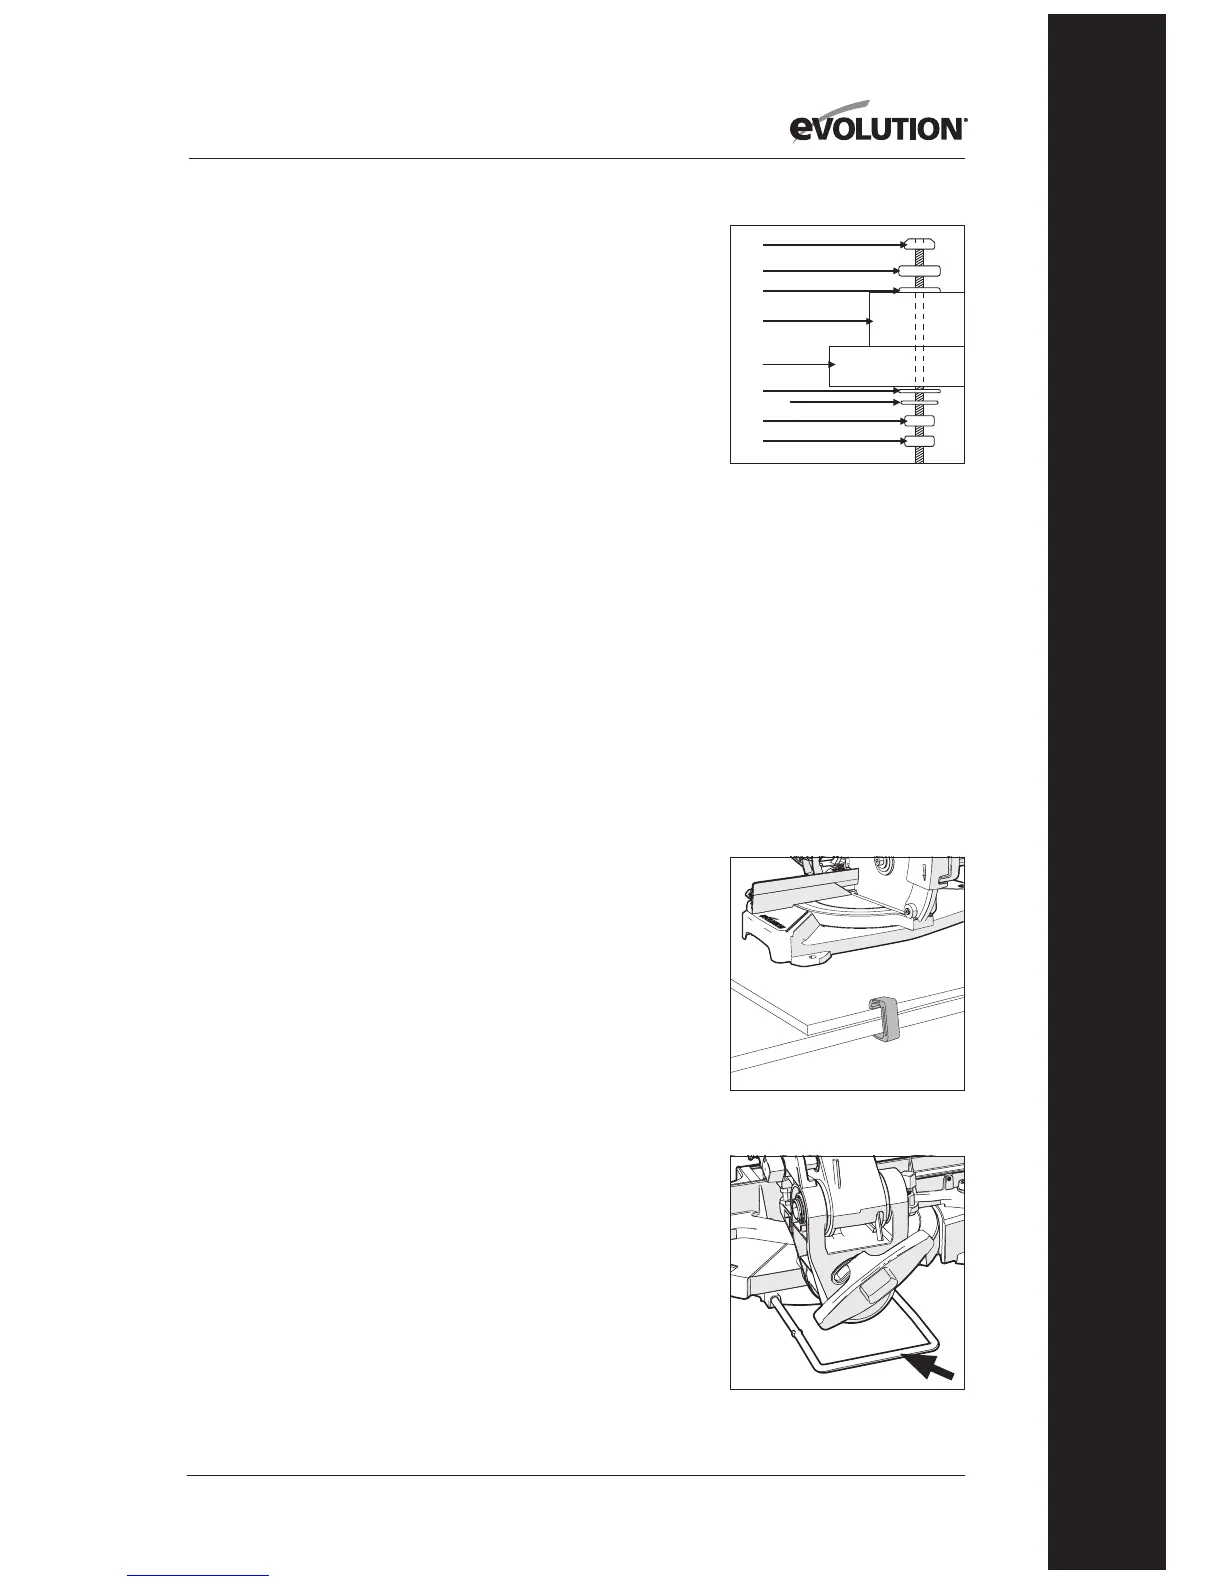
Fig. 1
(1) Hex headed bolt
(2) Spring washer
(3) Flat washer
(4) Mitre saw base
(5) Workbench
(6) Flat washer
(7) Spring washer
(8) Hex nut
(9) Lock nut
Fig. 2
Fig. 3
(1)
(2)
(3)
(4)
(5)
(6)
(7)
(8)
(9)