17
www.evolutionpowertools.com
EN
•Ifadjustmentisnecessary,loosenthetwofenceattachment
screws using a 5mm Hex key (Not supplied).
• Re-positionthefenceinitselongatedslotsuntilalignment
is achieved.
• SecurelytightenthesocketheadHexscrews.
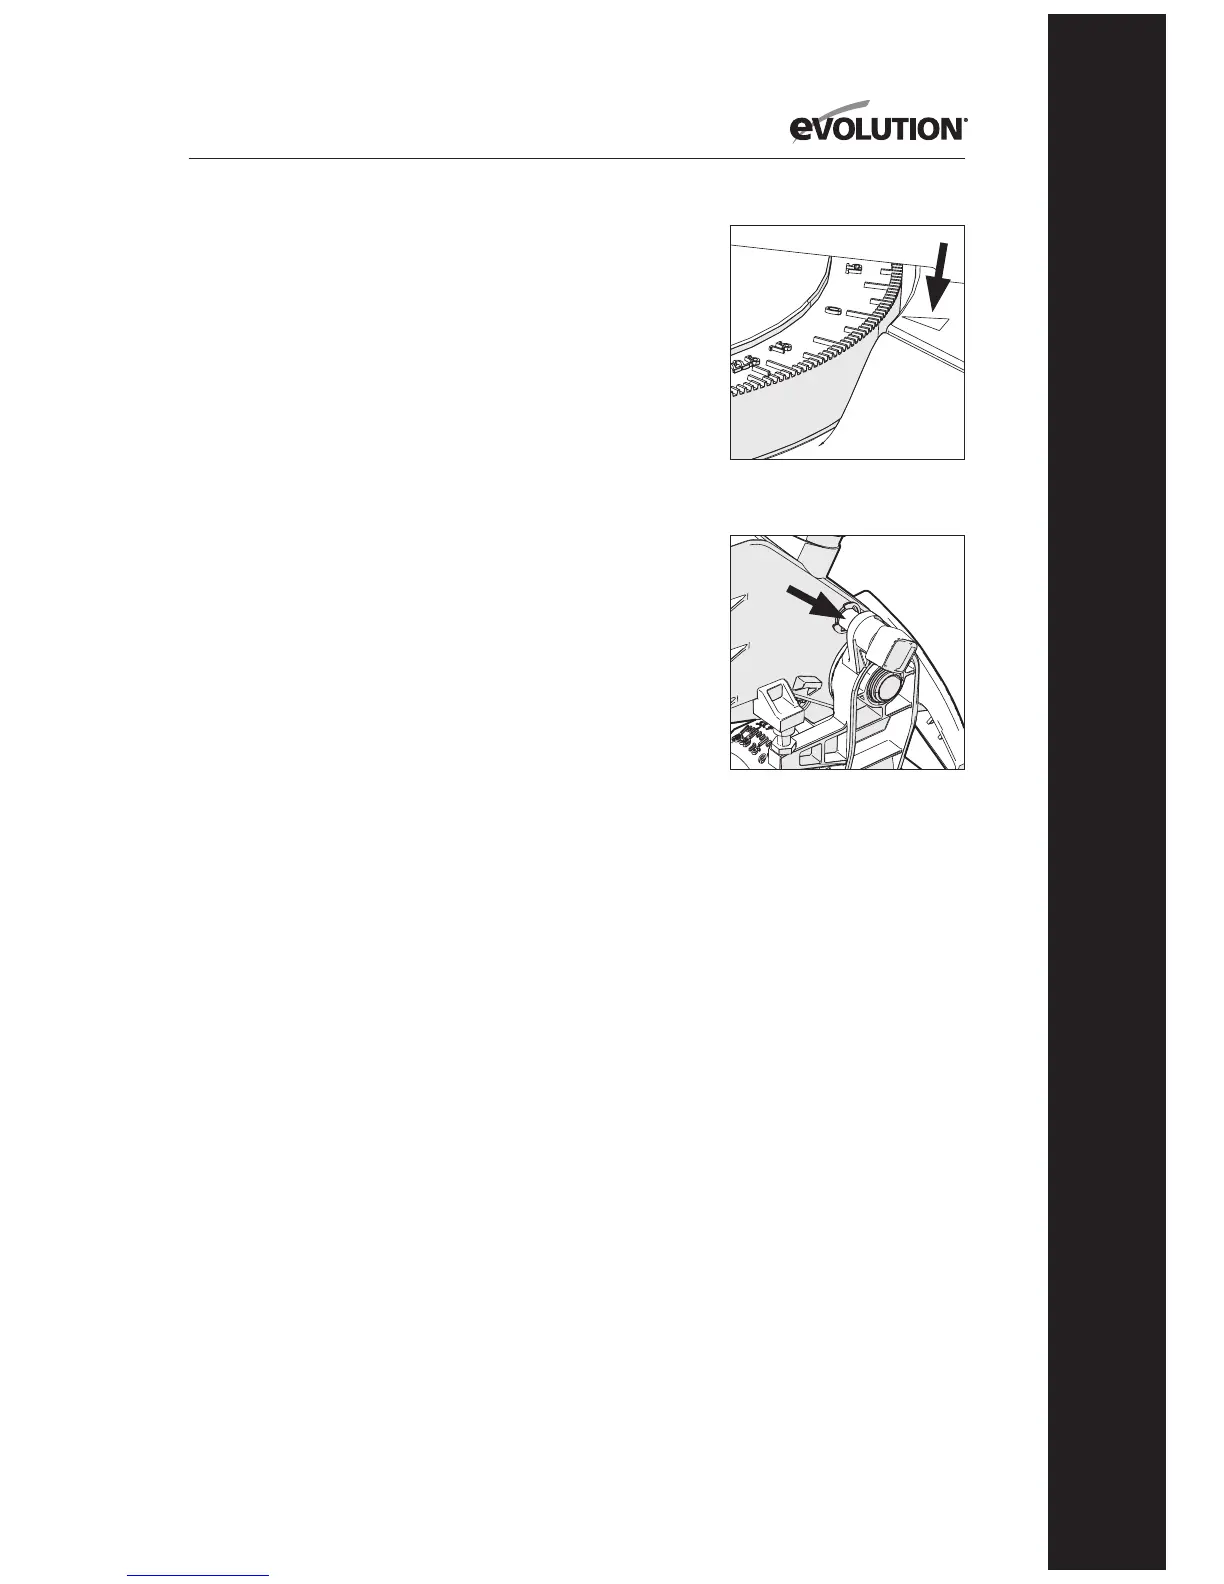
MITRE ANGLE SCALES & POINTER
Note: There are dual mitre angle scales cast into the RH (Right
Hand) side of the rotary table. A small pointer machined into
the machines base indicates the angle selected (Fig. 15).
FINAL ADJUSTMENT CHECKS
With the machine switched OFF and disconnected from the
mains supply carry out the following (when all adjustments
havebeenmade);
• Setthemachineateachofthemaximumsettings.
• Lowerthebladetoitslowestpositionandrotatetheblade
by hand, (it is advisable to wear gloves whilst doing this),
and ensure that the blade does not foul on any part of the
machine castings or guards.
(8.5)
PREPARING TO MAKE A CUT
WARNING: Do not over-reach.
Keep good footing and balance. Stand to one side so that your
face and body are out of line of a possible kickback.
Freehand cutting is a major cause of accidents and
should not be attempted.
• Ensurethattheworkpieceisalwaysrmlyrestingagainst
the fence, and where practical is clamped with the
top hold down clamp to the table.
• Thesawtableshouldbecleanandfreefromanysawdust,
etc, before the workpiece is clamped into position.
• Ensurethatthe‘cut-o’materialisfreetomovesideways
away from the blade when the cut is completed. Ensure that
the‘cut-o’piececannotbecome‘jammed’inanyother
part of the machine.
• Donotusethissawtocutsmallpieces.Iftheworkpiece
being cut would cause your hand or ngers to be within
150mm of the blade, the workpiece is too small.
(8.6)
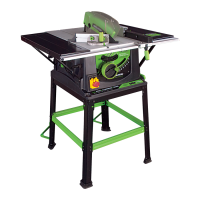
RELEASING THE CUTTING HEAD
The Cutting Head will automatically rise to the upper position
once it is released from the locked down position.
It will automatically lock in the upper position.
Fig. 15
Fig. 16