The guard should be secured to the riving knife by tightening
the locating pin wingnut. The guard should be positioned
so that the workpiece just slides under it, with the maximum
number of teeth possible shielded by the guard. Return the
guard to the original configuration when bevel, mitre or
compound cutting is completed. Recheck the operation
of the blade guard.
OPERATION
Controls
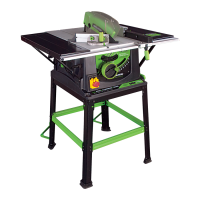
1. On/Off Safety Switch
WARNING: Before turning on the switch make sure that the
blade guard is correctly installed and operating properly.
To start the machine, press the tabs on either side of the red
safety button and lift it and the switch cover plate upwards to
reveal the on and off buttons. Push the ‘ON’ button to start the
machine and the ‘OFF’ button to stop the machine. See Fig 18.
WARNING: Never start the machine until all safety
checks and procedures have been carried out.
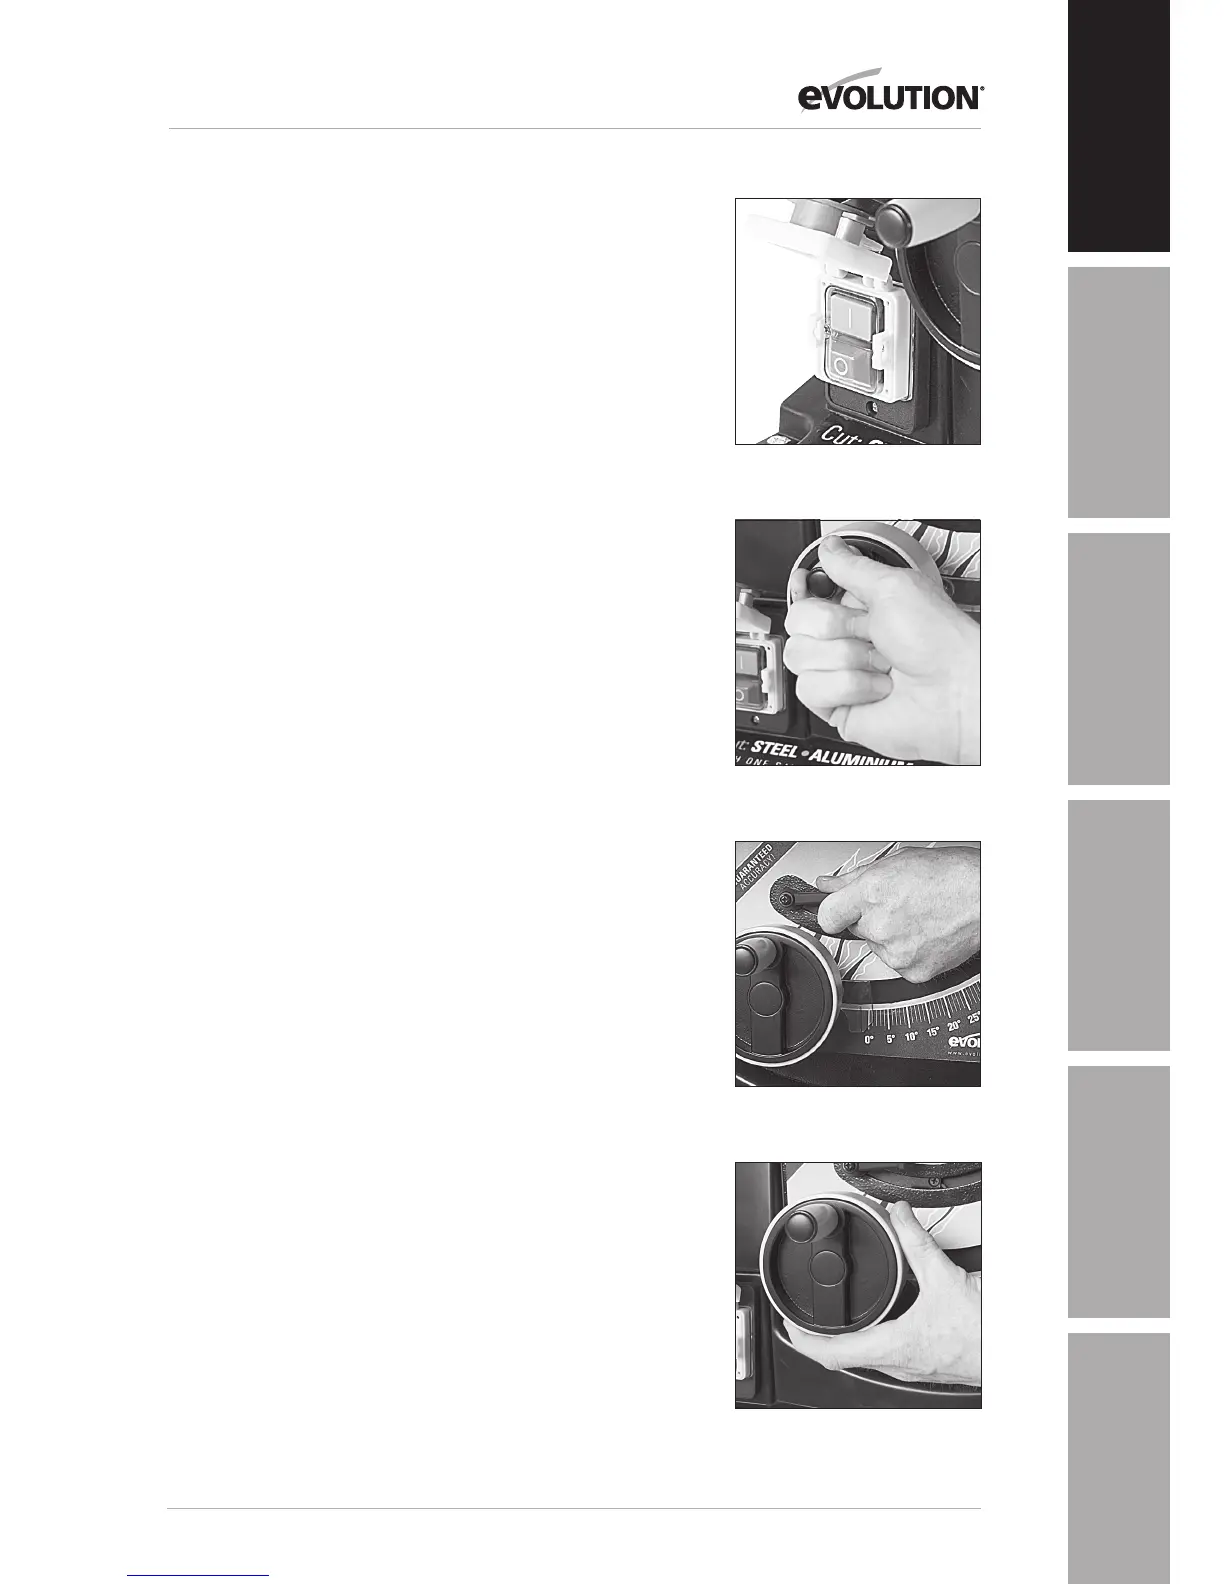
2. Raising/Lowering the blade
WARNING: Only make adjustments to the machine when the
machine is switched OFF and the blade is stationary.
The raising and lowering handle is used to raise or lower the
blade. Turn clockwise to lower the blade and counter-clockwise
to raise the blade. See Fig 19.
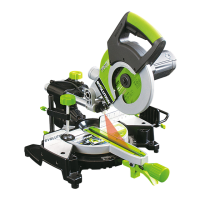
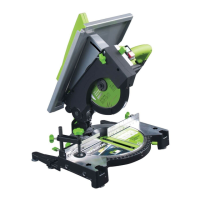
3. Tilting the Blade
The blade can be tilted up to 45
0
to the left. To tilt the blade
loosen the tilt locking lever and turn the tilt adjusting wheel
until the desired angle is achieved. Tighten the tilt locking lever
before using the machine. See Fig 20 (A) and Fig 20 (B).
4. Rip Fence Guide
The rip fence can be positioned either side of the blade and is
locked in position by using the locking lever. Push down to lock,
and pull up to unlock.
Note: The rip fence guide incorporates a magnifier to aid
reading the measurement scale found on the fence rail.
Fig 18
Fig 19
Fig 20A
Fig 20B